How to build a VIP Alert app in Zendesk from scratch
This article contains a full tutorial on how to build a small Zendesk Support app that alerts your agents whenever they're looking at a VIP ticket.
How to build a VIP Alert app in Zendesk from scratch

On this page
This article was inspired by a Community Post where a Zendesk customer asked about the best way to alert agents when a ticket requester is a VIP user.
People suggested tweaking the organisation name with an alert (🚨🚨🚨 Acme.Inc), change the subject to start with the word VIP via a trigger, dedicated views,.. there were many suggested solutions.

My suggestion was to leverage SLA by giving VIP users a higher priority or use the new Essentials Card ti highlight the VIP tag. A more advanced solution was building a dedicated app in Zendesk for this:
... and finally I would write a simple Zendesk app that looks at the current user and if they contain the tag VIP we show a popup top right.
I wrote a quick version of the app, available here as a private app. You can find the latest version in the TMP folder.
https://github.com/verschoren/vip_alerts
My comment linked directly to the app, this article will explain how to build it.
You can download the application via this GitHub repository, or you can keep reading and build your own! (I would live to publish these apps directly on the marketplace as free apps, but my current employer contract limits this for understandable reasons)
 verschoren
Requirements
Zendesk apps are written in HTML and Javascript and can be build and packaged via the ZCLI. To get started, you need to install ZCLI.
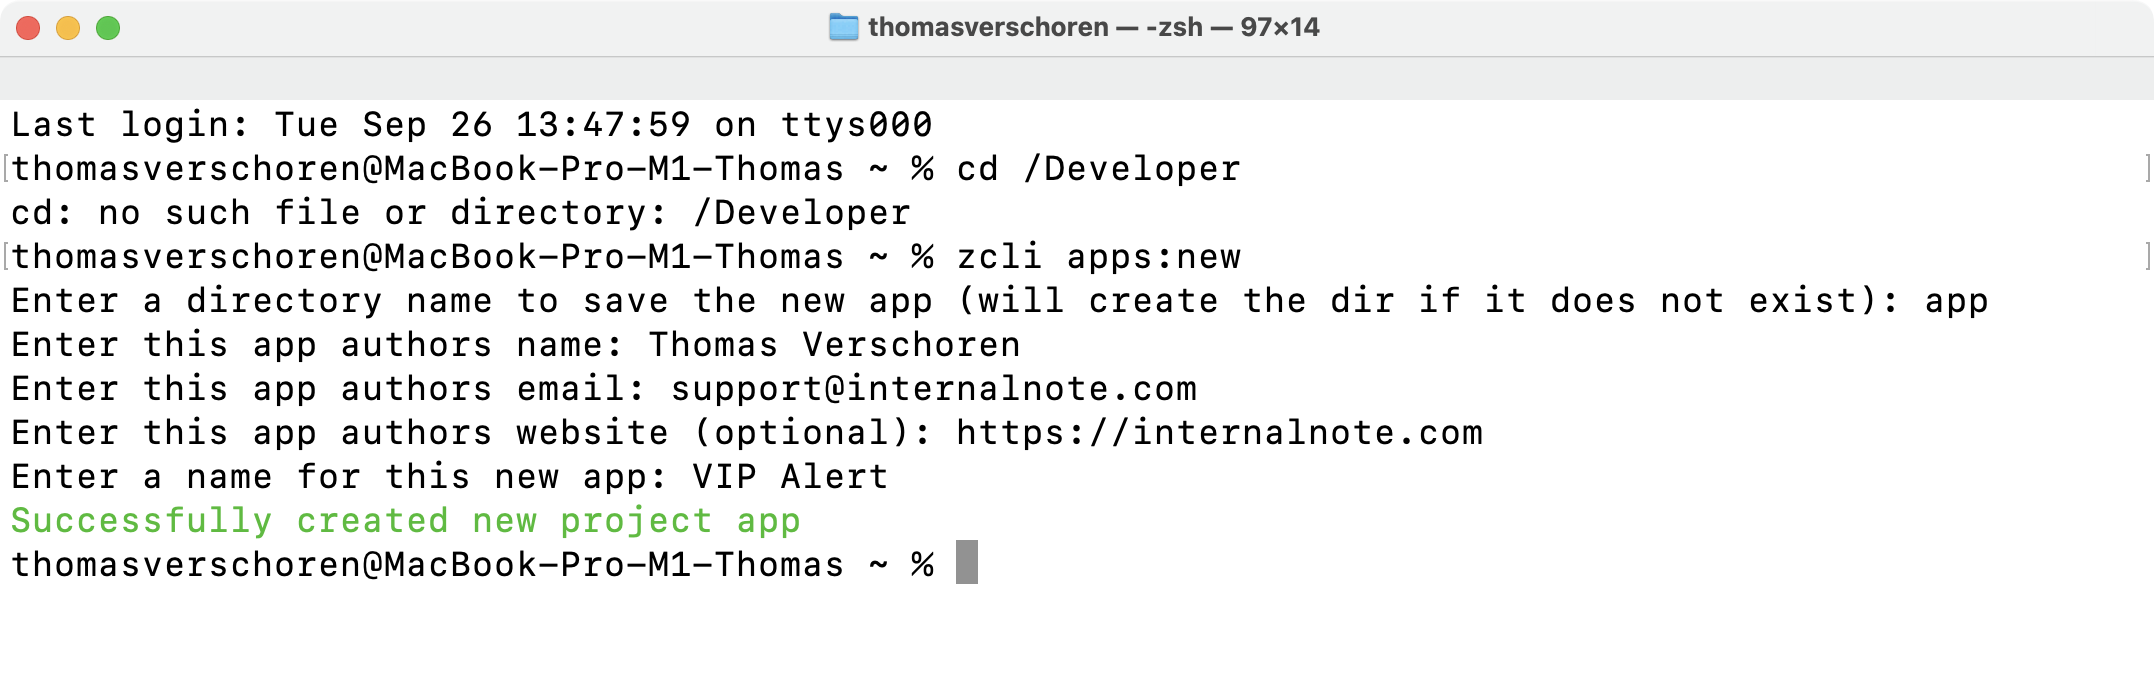
Once done, create a new folder for this project on your computer and open the folder in your terminal and run:
zcli apps:newThe script will ask for some information:
The Code
After running the script you'll end up with these files:

manifest.json
Our app can only be installed if we have a valid Manifest file in the bundle.
There's a few things we need to add to the default manifest.json file.
Autohide
We need to add an "autoHide": true parameter to hide our app from agents and run it in the background.
"location": {
    "support": {
      "ticket_sidebar": {
        "url": "assets/iframe.html",
        "flexible": true,
        "autoHide": true
      }
    }
}
Second we need to add a few settings via a parameter array. We'll use these later in the apps' logic.
"parameters": [
  {
    "name": "vip_tag",
    "type": "text",
    "required": true,
    "default": "vip"
  },
  {
    "name": "message",
    "type": "text",
    "required": true,
    "default": "This user is a VIP!"
  },
  {
    "name": "sticky",
    "type": "checkbox"
  }
]
assets/iframe.html
As defined in the manifest.json file our will be a background app and won't be visible for agents, except for notifications, so the UI of the app will be non-existent and this file will be mostly empty.
Replace the content of iframe.html with the code below. Note that we link to js/main.js to store our logic.
<html>
<head>
  <meta charset="utf-8">
</head>
<body>
  <script src="https://static.zdassets.com/zendesk_app_framework_sdk/2.0/zaf_sdk.min.js"></script>
  <script src="js/main.js"></script>
</body>
</html>
js/main.js
Create a new file to store the apps' logic.
Anytime we need to use Zendesk information like the ticket requester, assignee or other, we need to ask this information in our code. This is done by making use of the ZAF Framework and its ZAF Client.
The initial code looks like the snippet below. Since most ZAF functions run async, it's easiest to wrap the entire app in an async function itself.
var client = ZAFClient.init();

init();

async function init() {
  ...
}
Get the metadata
Our app has three settings stored in the manifest file:
- A
vip_tagfield that stores the tag used to recognise your vip users. - A
messagefield that stores the message shown to your agents. - A
stickytoggle that decides if the alert disappears (default) or not.
We can access these app settings by calling client.metadata() and then storing the three settings as variables. Note that we store a default value, in case the app settings are not configured correctly by the end-user.
//Add the following inside the init() function:
var metadata = await client.metadata();

var vip_tag = metadata.settings.vip_tag != '' ? metadata.settings.vip_tag : 'vip';
var message = metadata.settings.message != '' ? metadata.settings.message : 'This user is a VIP';
var sticky = metadata.settings.sticky != '' ? metadata.settings.sticky : false;
Once we have our settings, we need the tags of the ticket requester. We can do this by calling client.get and retrieving the ticket.requester object.
Add the following to the init() function:
// Add to the init() function:
var requester = await client.get('ticket.requester');
var tags = requester['ticket.requester'].tags;
Finally we can check if the requesters' tags include our vip_tag, and if so, we show an alert via client.invoke(). Note that we set the sticky parameter and message we stored in our settings.
//Append to the init() function:
var isVIP = tags.includes(vip_tag);

if (isVIP){
  client.invoke('notify', message, {sticky: persistent});
}
Additional Files
en.json
Zendesk apps can be translated. Ours currently only works in one default language but you can add others if you want.
To make the install experience nicer, we should also add our parameters to the translations/en.json file. This makes sure that the apps' settings during installation have a nice label and description.
"parameters": {
  "vip_tag": {
    "label": "Tag used for VIP user",
    "helpText": "Defaults to vip, can not be blank"
  },
  "message": {
    "label": "Message to display",
    "helpText": "Defaults to 'This user is a VIP!', can not be blank"
  },
  "sticky": {
    "label": "Persistent alert",
    "helpText": "Defaults to false"
  }
}
Assets
And finally, we need icons for our app. You can use mine below, or build your own. See requirements here.
logo.png, logo-small.png, logo.svg
Installation process
To install the app we need to do a few things:
- We need to run
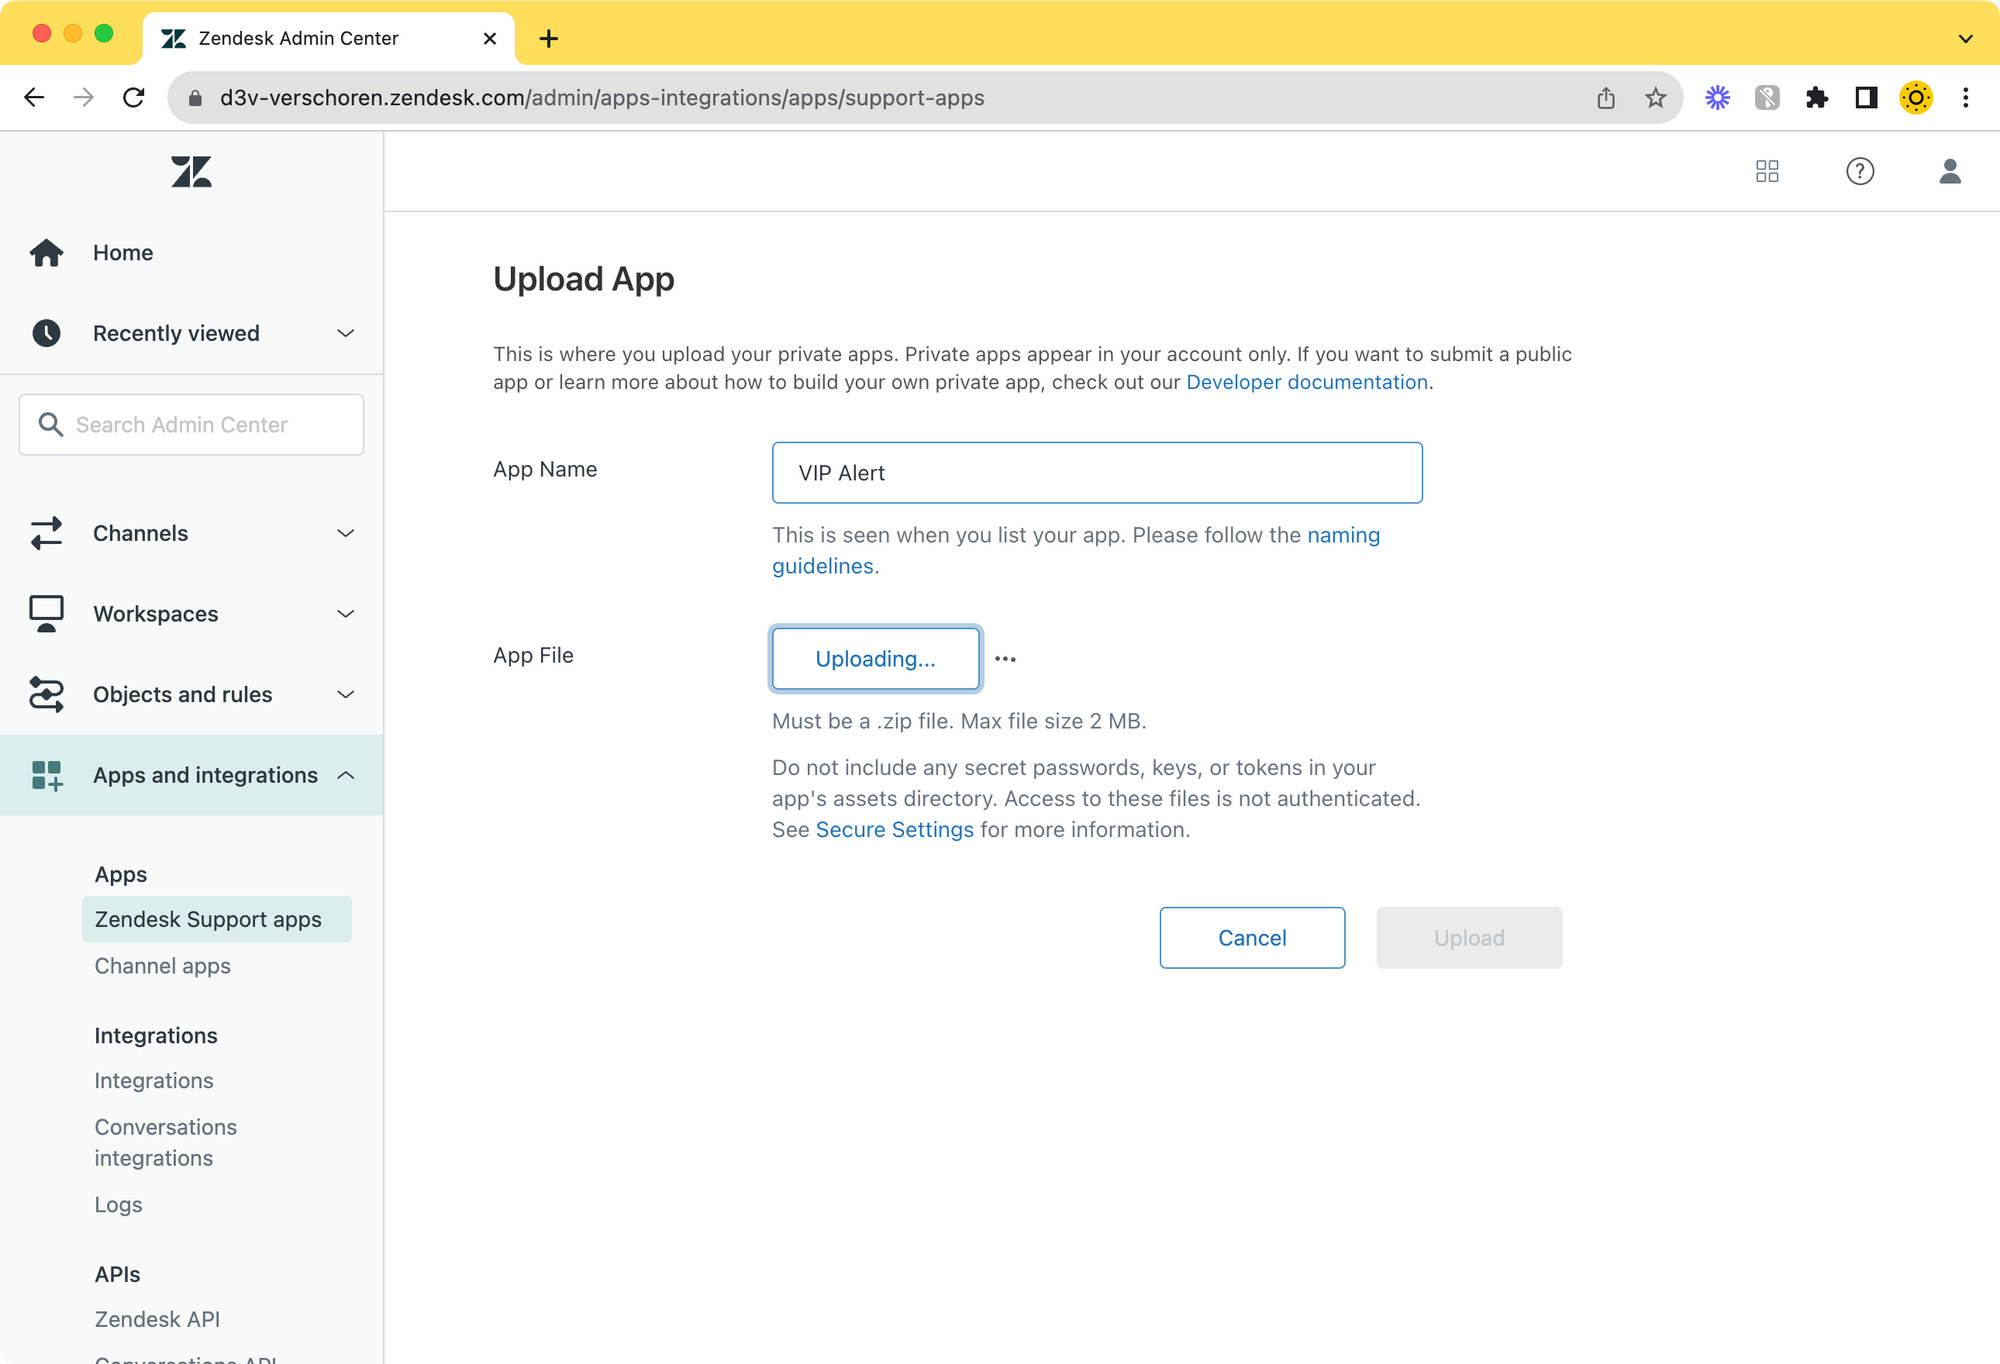
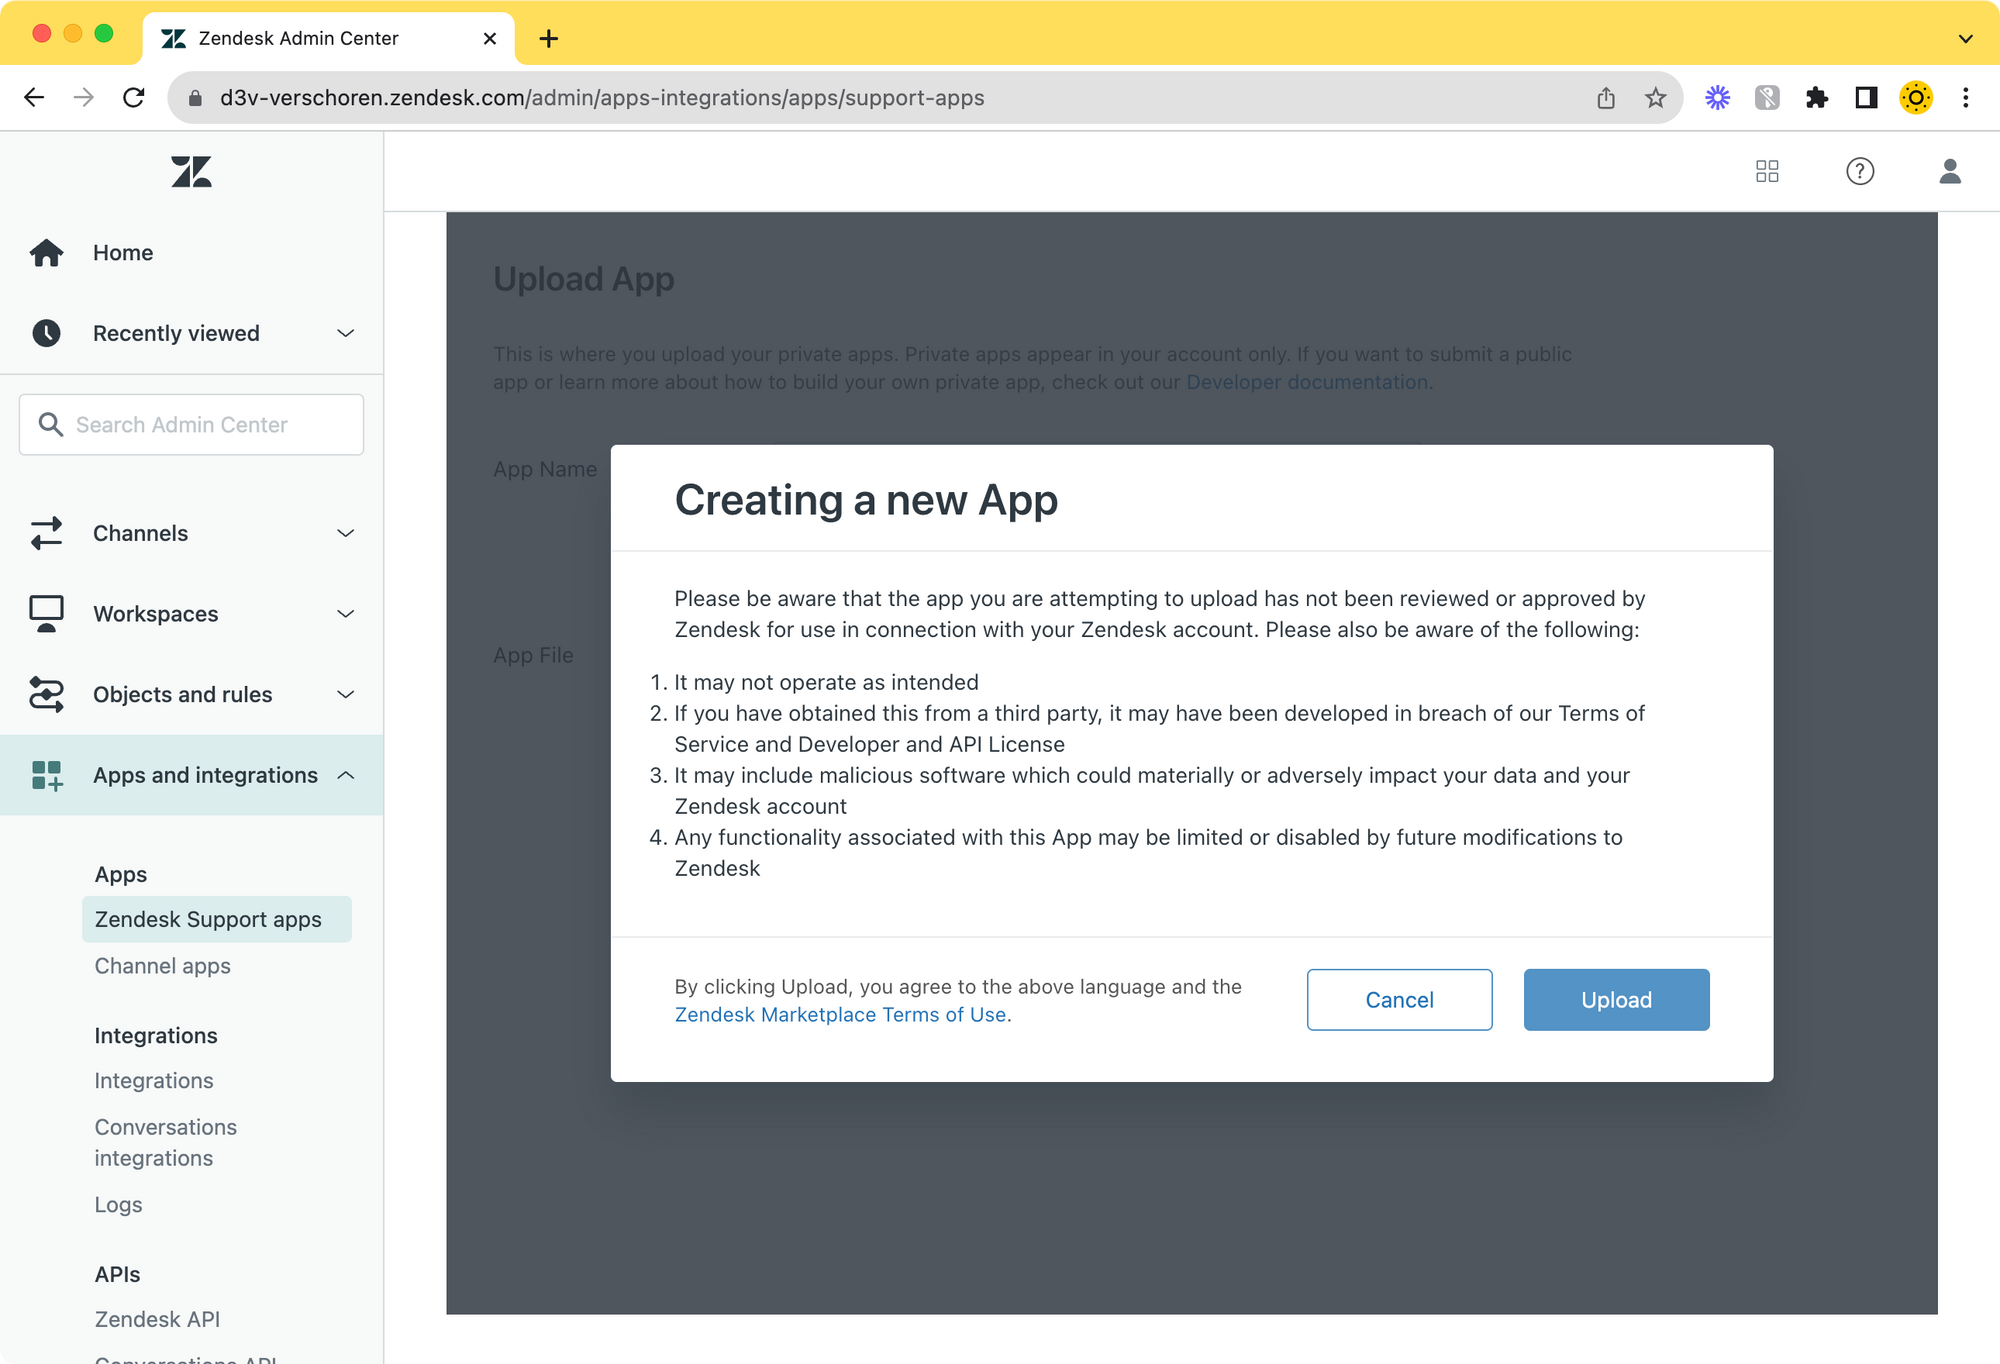
zcli apps:packageto create a bundled version of the app. This created a zip file stored in atmpfolder inside your apps' main folder. - You can then upload this .zip file via the Admin Panel > Apps and Integrations > Zendesk Support apps > Upload private app
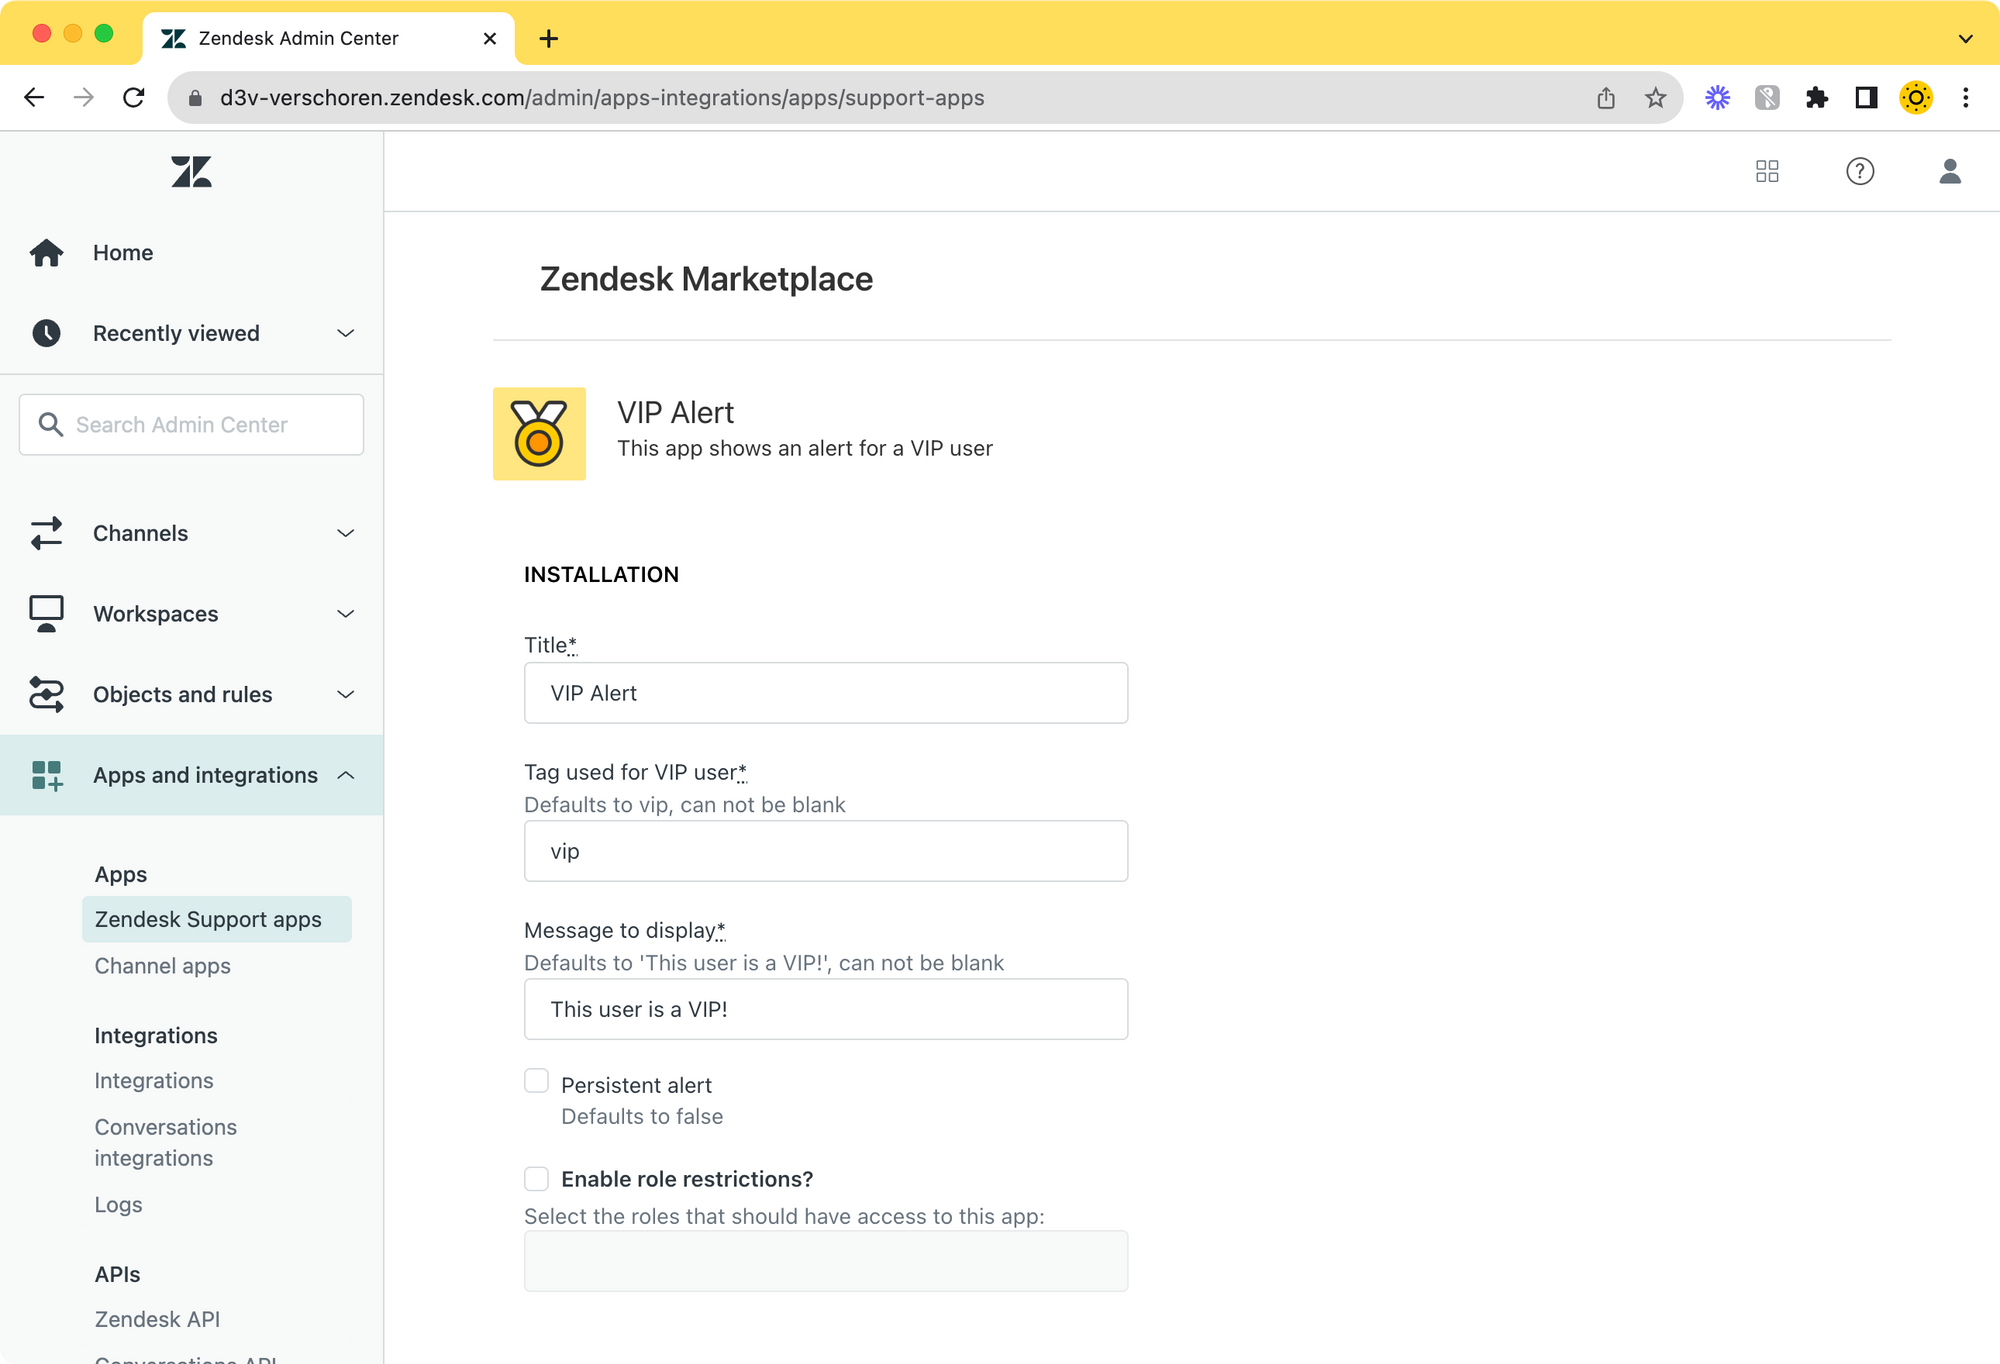
- Once uploaded you can configure the app to your liking by setting the tag, message and persistence settings.
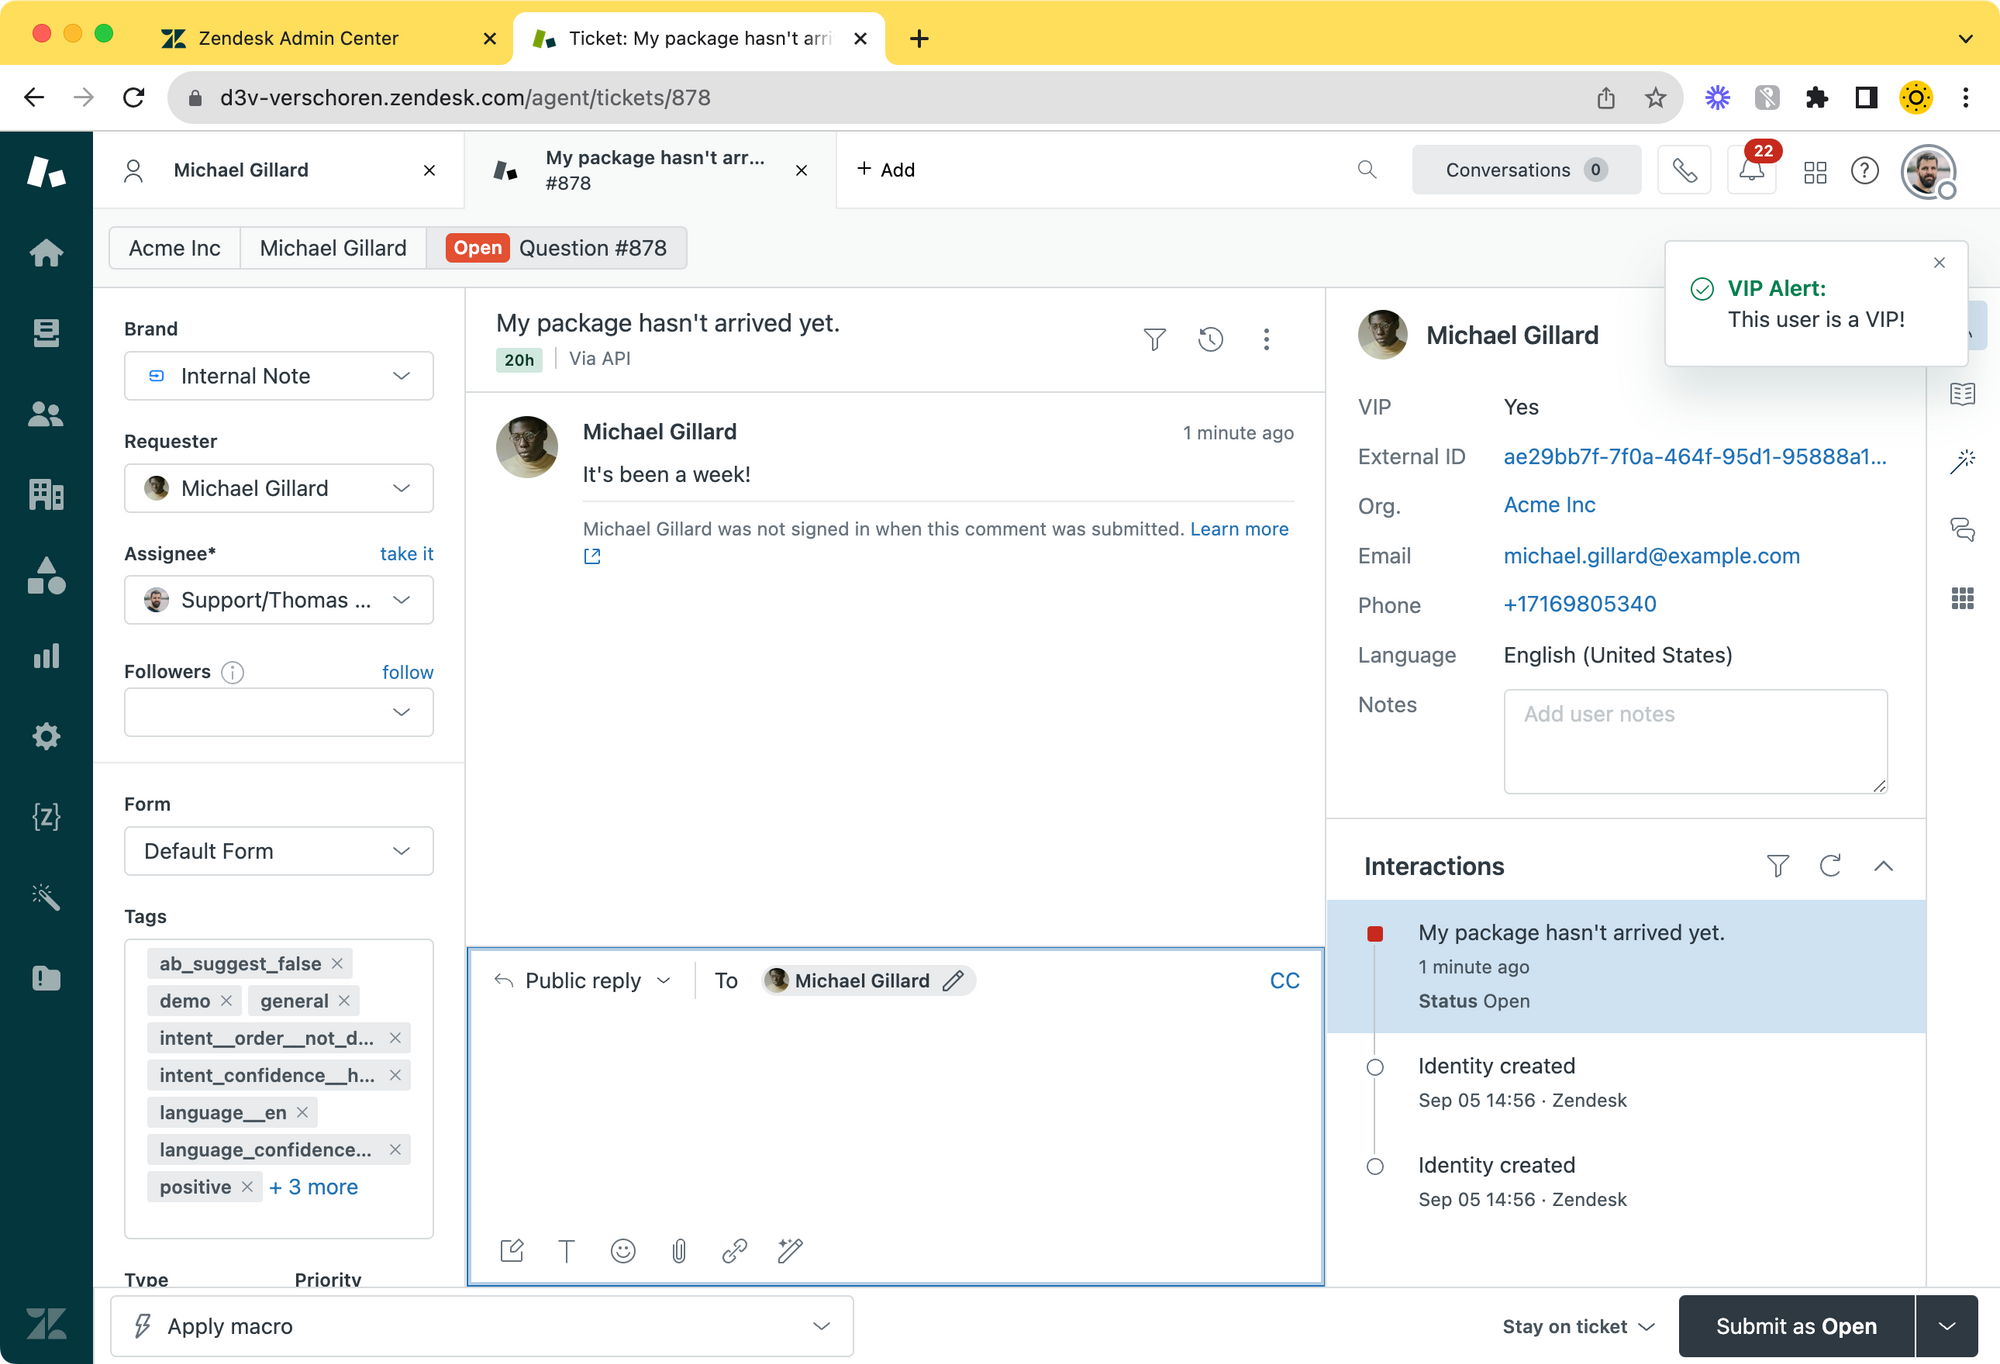
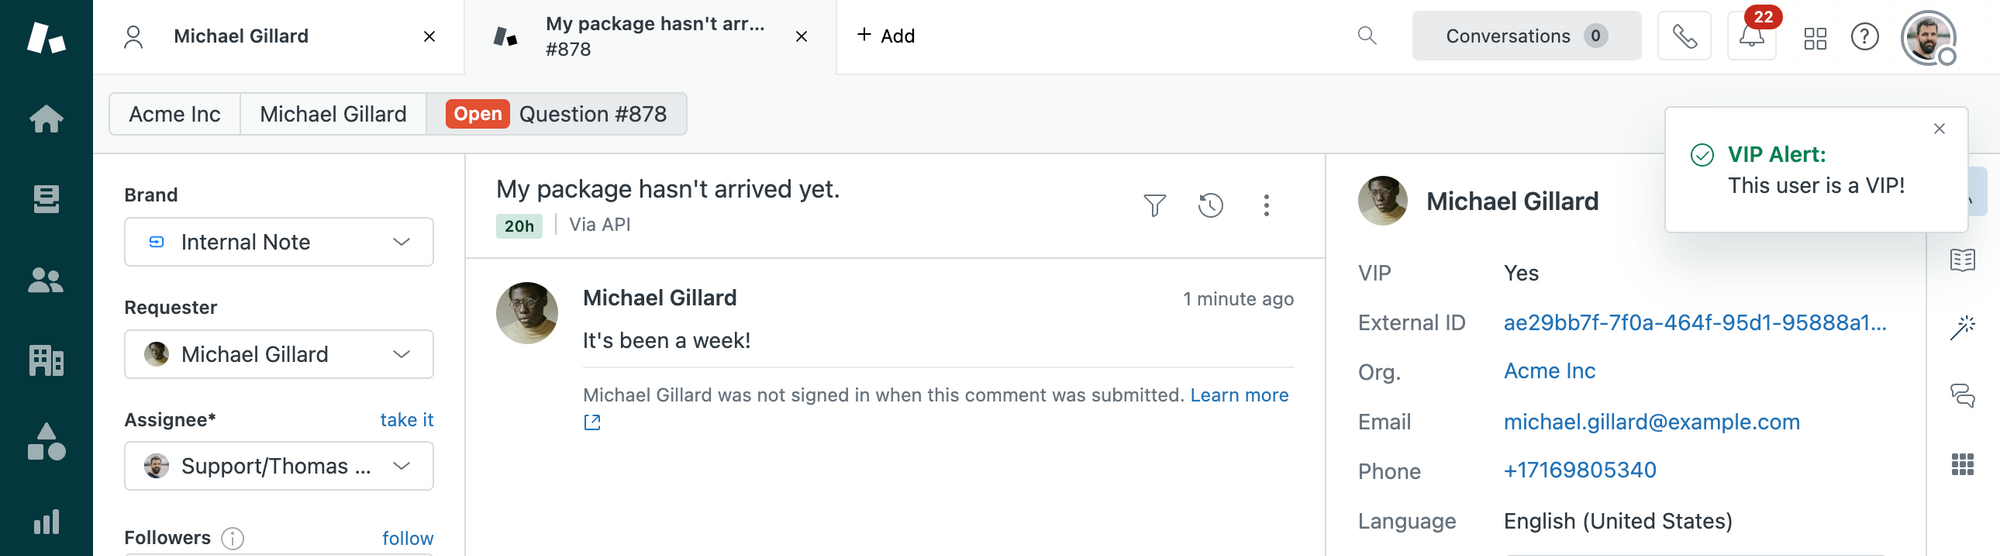
Agent Experience
To conclude, this is how our little app shows up for agents.
If they look at a ticket of a user with a VIP tag (or a checkbox VIP with an attached tag vip, an alert will appear top right!