Custom Ticket Status API exploring
Exploring the technical side of Custom Statusses
Custom Ticket Status API exploring

On this page
With the release of Custom Statuses Zendesk opened a whole new way of working for agents, made triggers and automations a lot easier to create and turned a static system with six ticket statuses into a dynamic system.
The migration
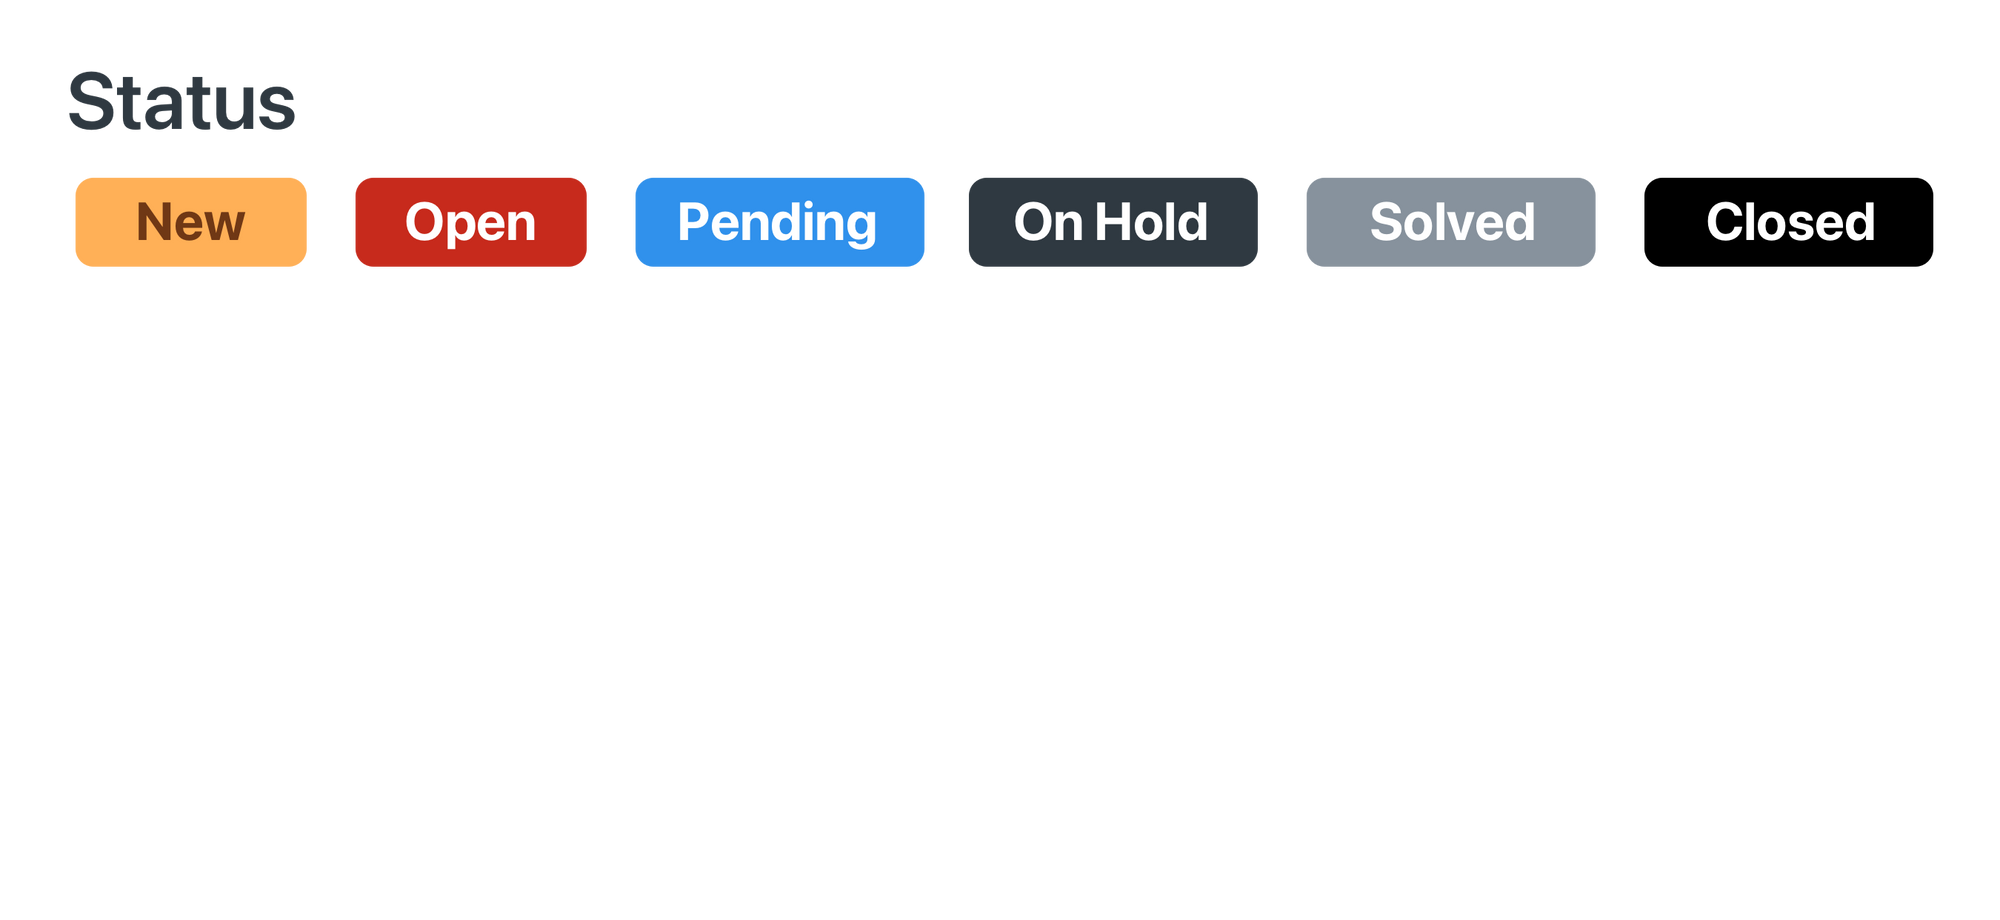
First off, from a technical standpoint it’s important to know that Custom Statuses are a subset of your existing statuses.
What we used to call Status is now called a status_category and the new Custom Status is a custom_status
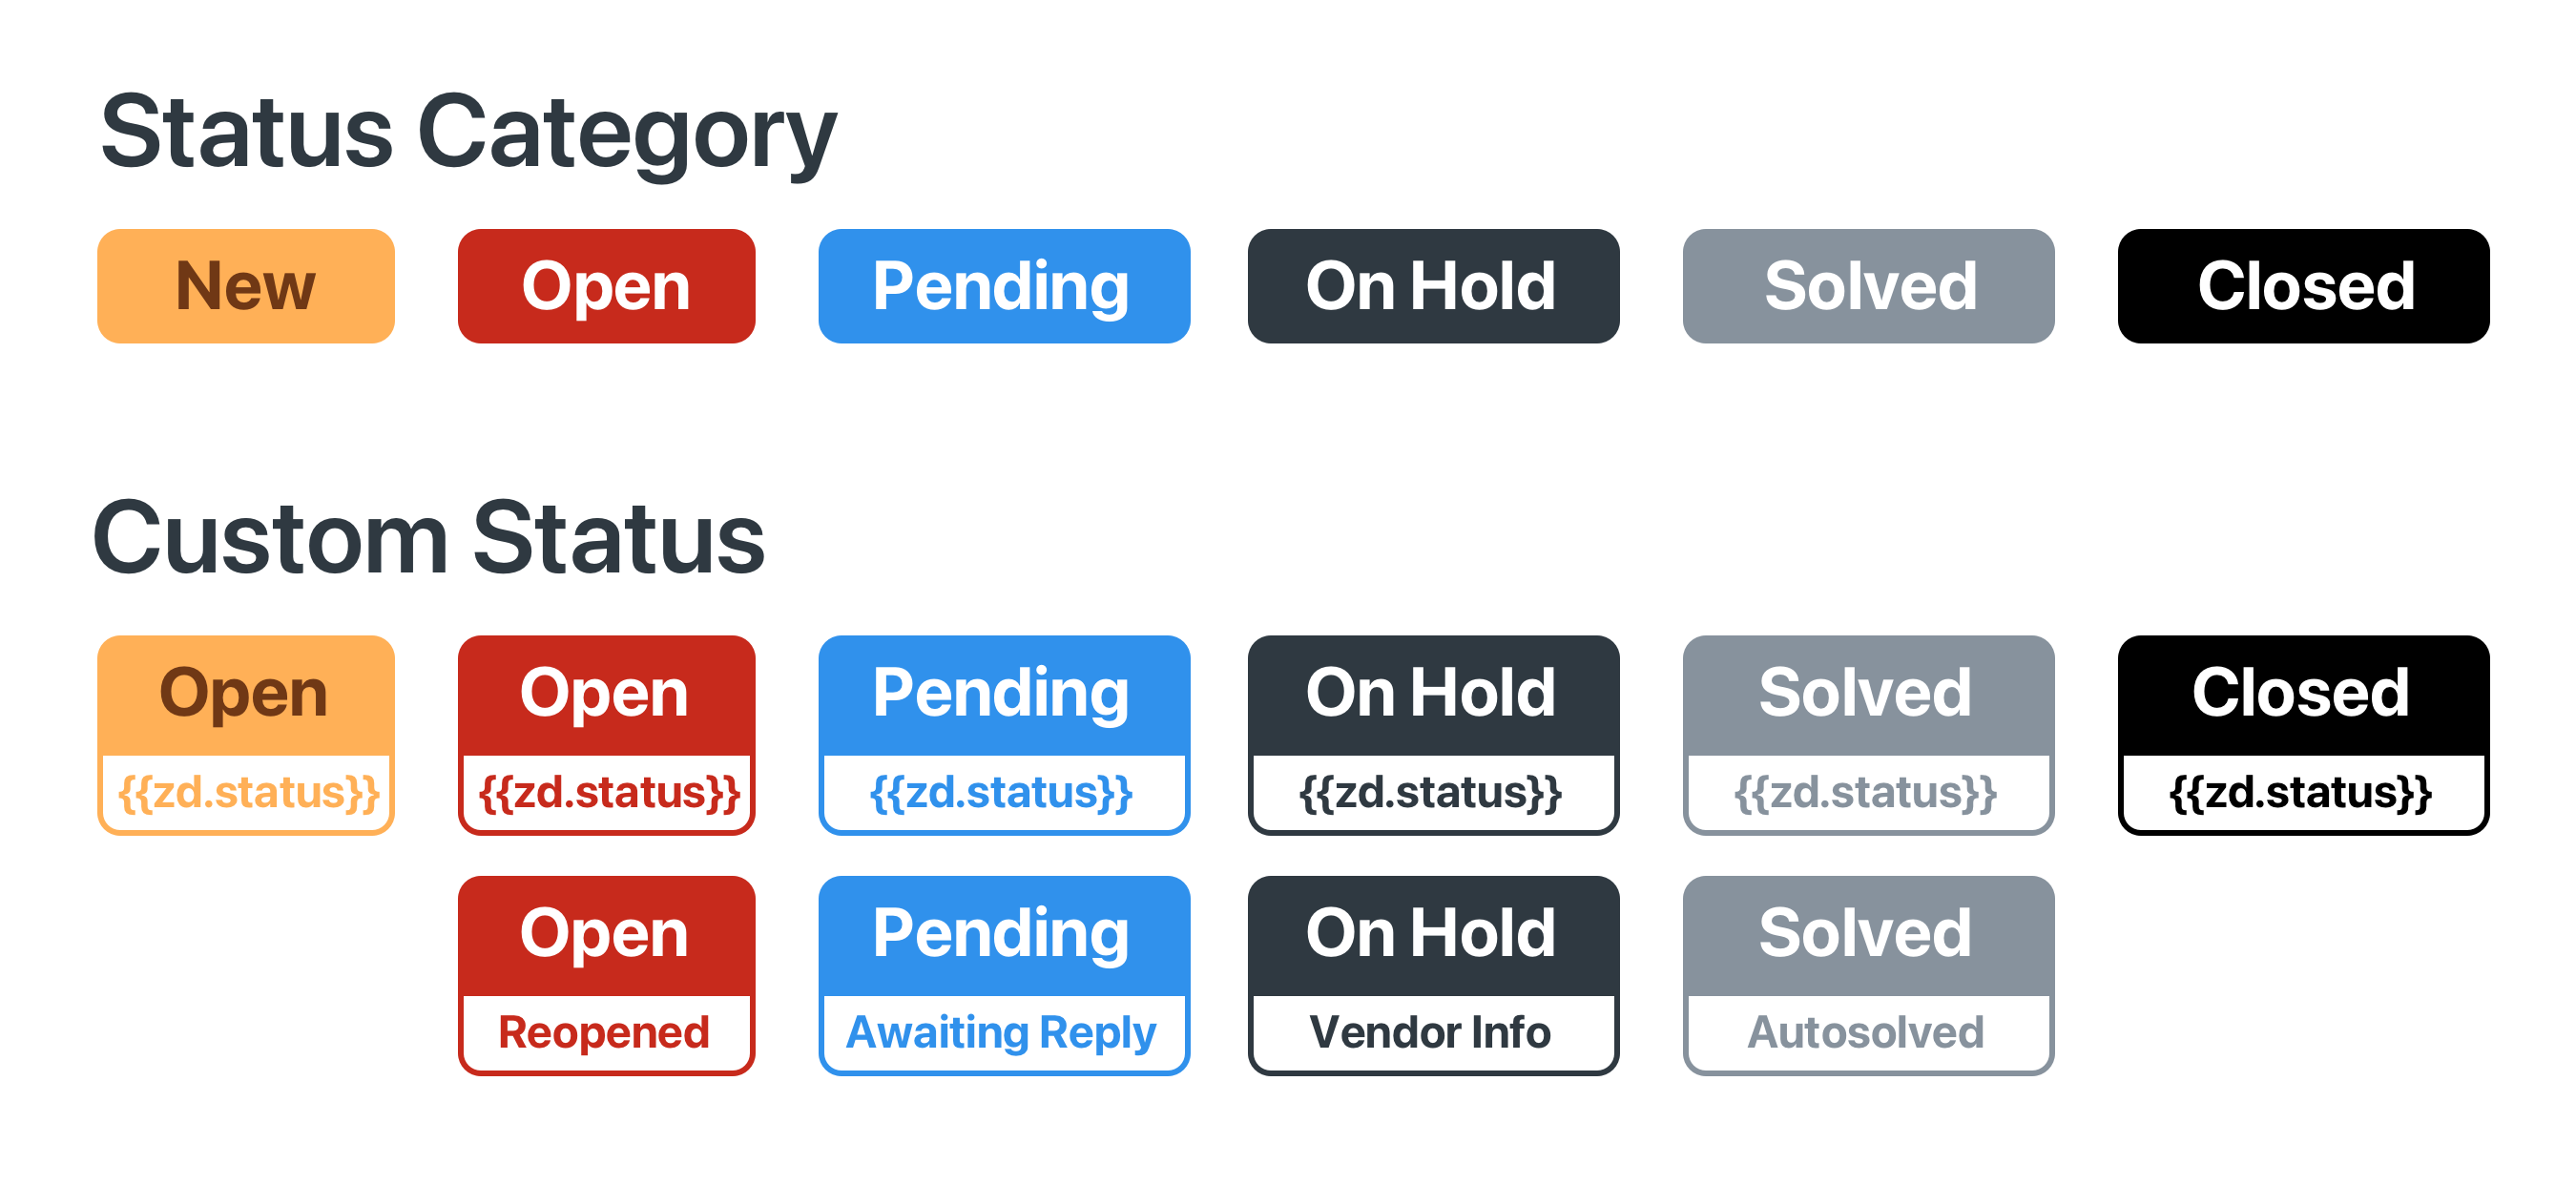
This means that where triggers, views, macros and automations used to have a Status condition in their parameters, that dropdown has now been renamed to Status Category. This happened automatically.
All those settings now also refer to a Custom Status condition. That one contains all new custom statuses. By default custom statuses contain six Zendesk statuses but you can (and should) add your own.
Accessing Custom Status via API
The default endpoint to GET data on Custom Status is https://{{domain}}.zendesk.com/api/v2/custom_statuses.json
This returns the following array.
Noteable items:
status_categorydenotes the parent category of your Custom Status.- Statuses can have both an agent and customer facing label and description.
- They support dynamic content
- Default Zendesk statuses have a {{zd.status}} label and can’t be disabled
{
"custom_statuses": [{
"id": 5016299,
"status_category": "open",
"agent_label": "Open",
"raw_agent_label": "{{zd.status_open}}",
"end_user_label": "Open",
"raw_end_user_label": "{{zd.status_end_user_open}}",
"description": "Staff is working on the ticket",
"raw_description": "{{zd.status_open_description}}",
"end_user_description": "We are working on a response for you",
"raw_end_user_description": "{{zd.status_end_user_open_description}}",
"active": true,
"default": true,
},
{
"id": 7843129219218,
"status_category": "open",
"agent_label": "Reopened",
"raw_agent_label": "Reopened",
"end_user_label": "Reopened",
"raw_end_user_label": "Reopened",
"description": "Ticket reopened via trigger or automation",
"raw_description": "Ticket reopened via trigger or automation",
"end_user_description": "Ticket reopened via trigger or automation",
"raw_end_user_description": "Ticket reopened via trigger or automation",
"active": true,
"default": false,
}]
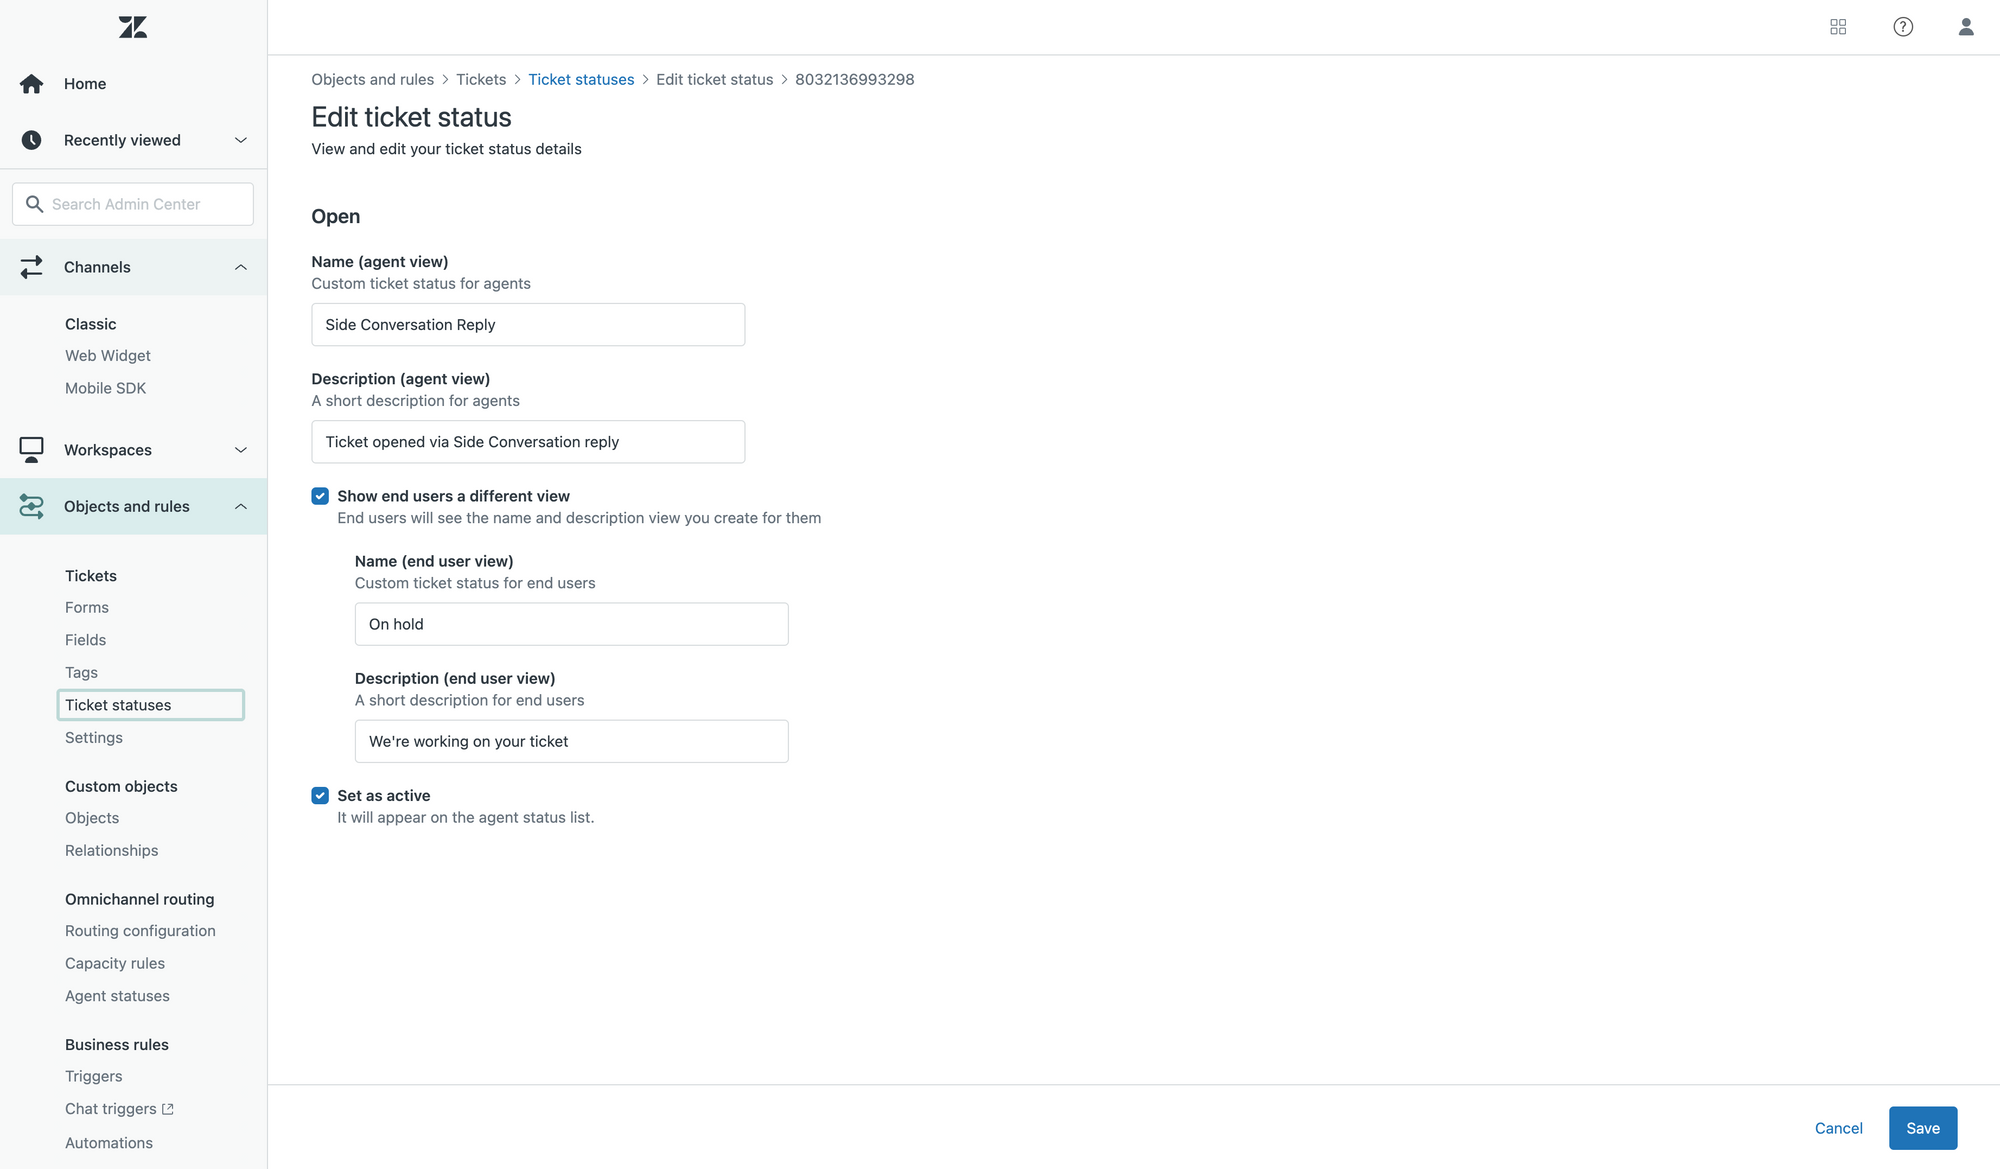
}Creating new status
Creating a new status is done by calling POST to https://{{domain}}.zendesk.com/api/v2/custom_statuses.json with the following JSON payload.
Note that all end_user fields are optional.
{
	"custom_status": {
		"status_category": "open",
		"agent_label": "Side Conversation Reply",
		"end_user_label": "On hold",
		"description": "Ticket opened via Side Conversation reply",
		"end_user_description": "We're working on your ticket",
		"active": true,
		"default": false
	}
}
This will return a 201 (OK) or 404 (Error).
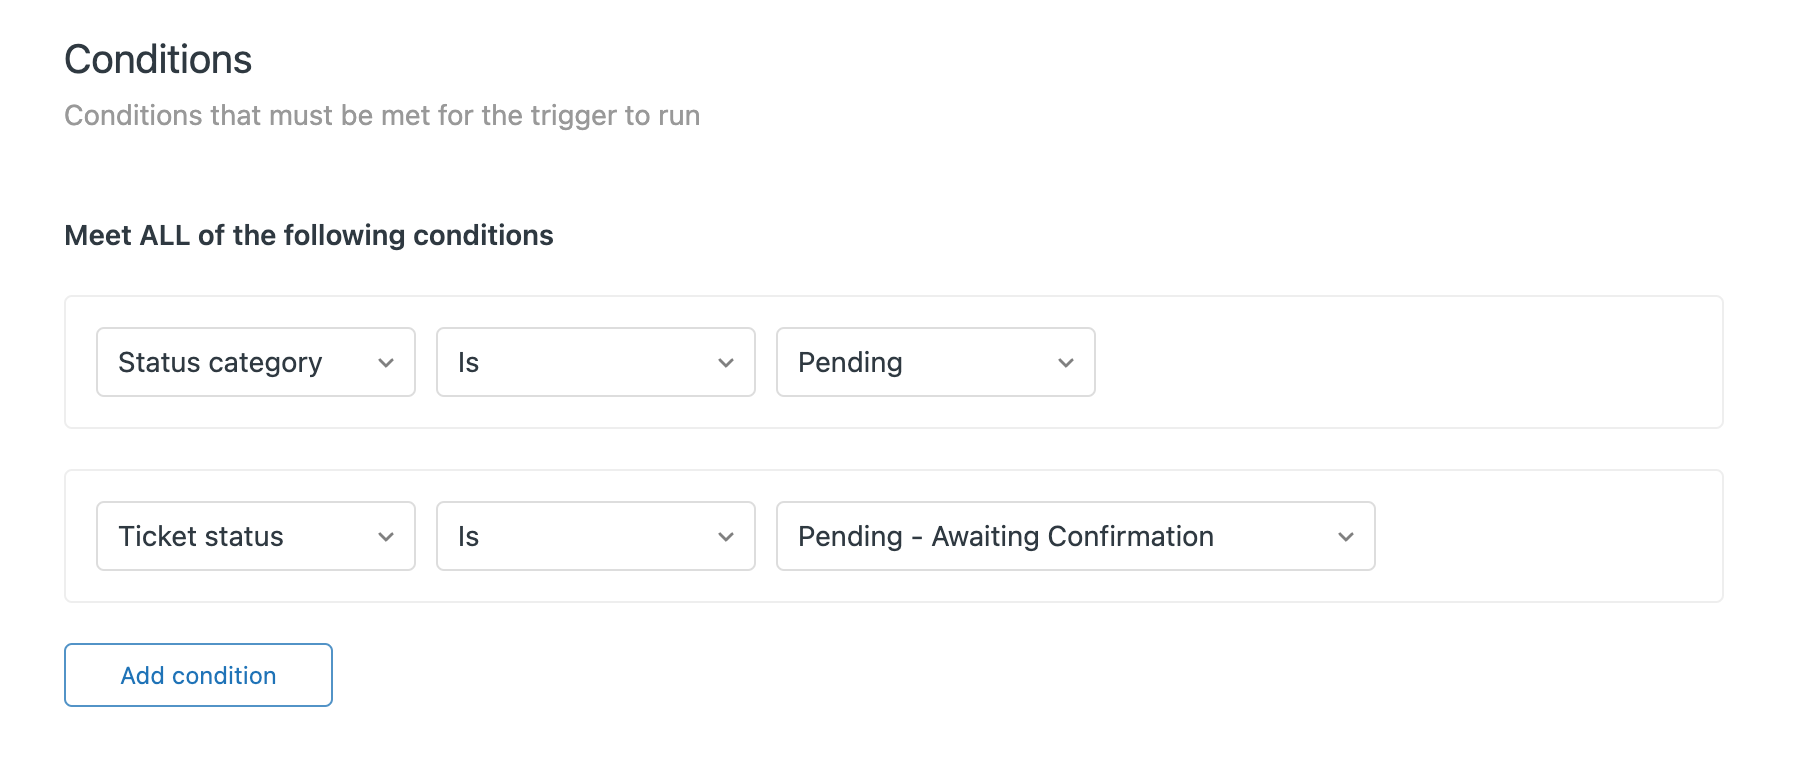
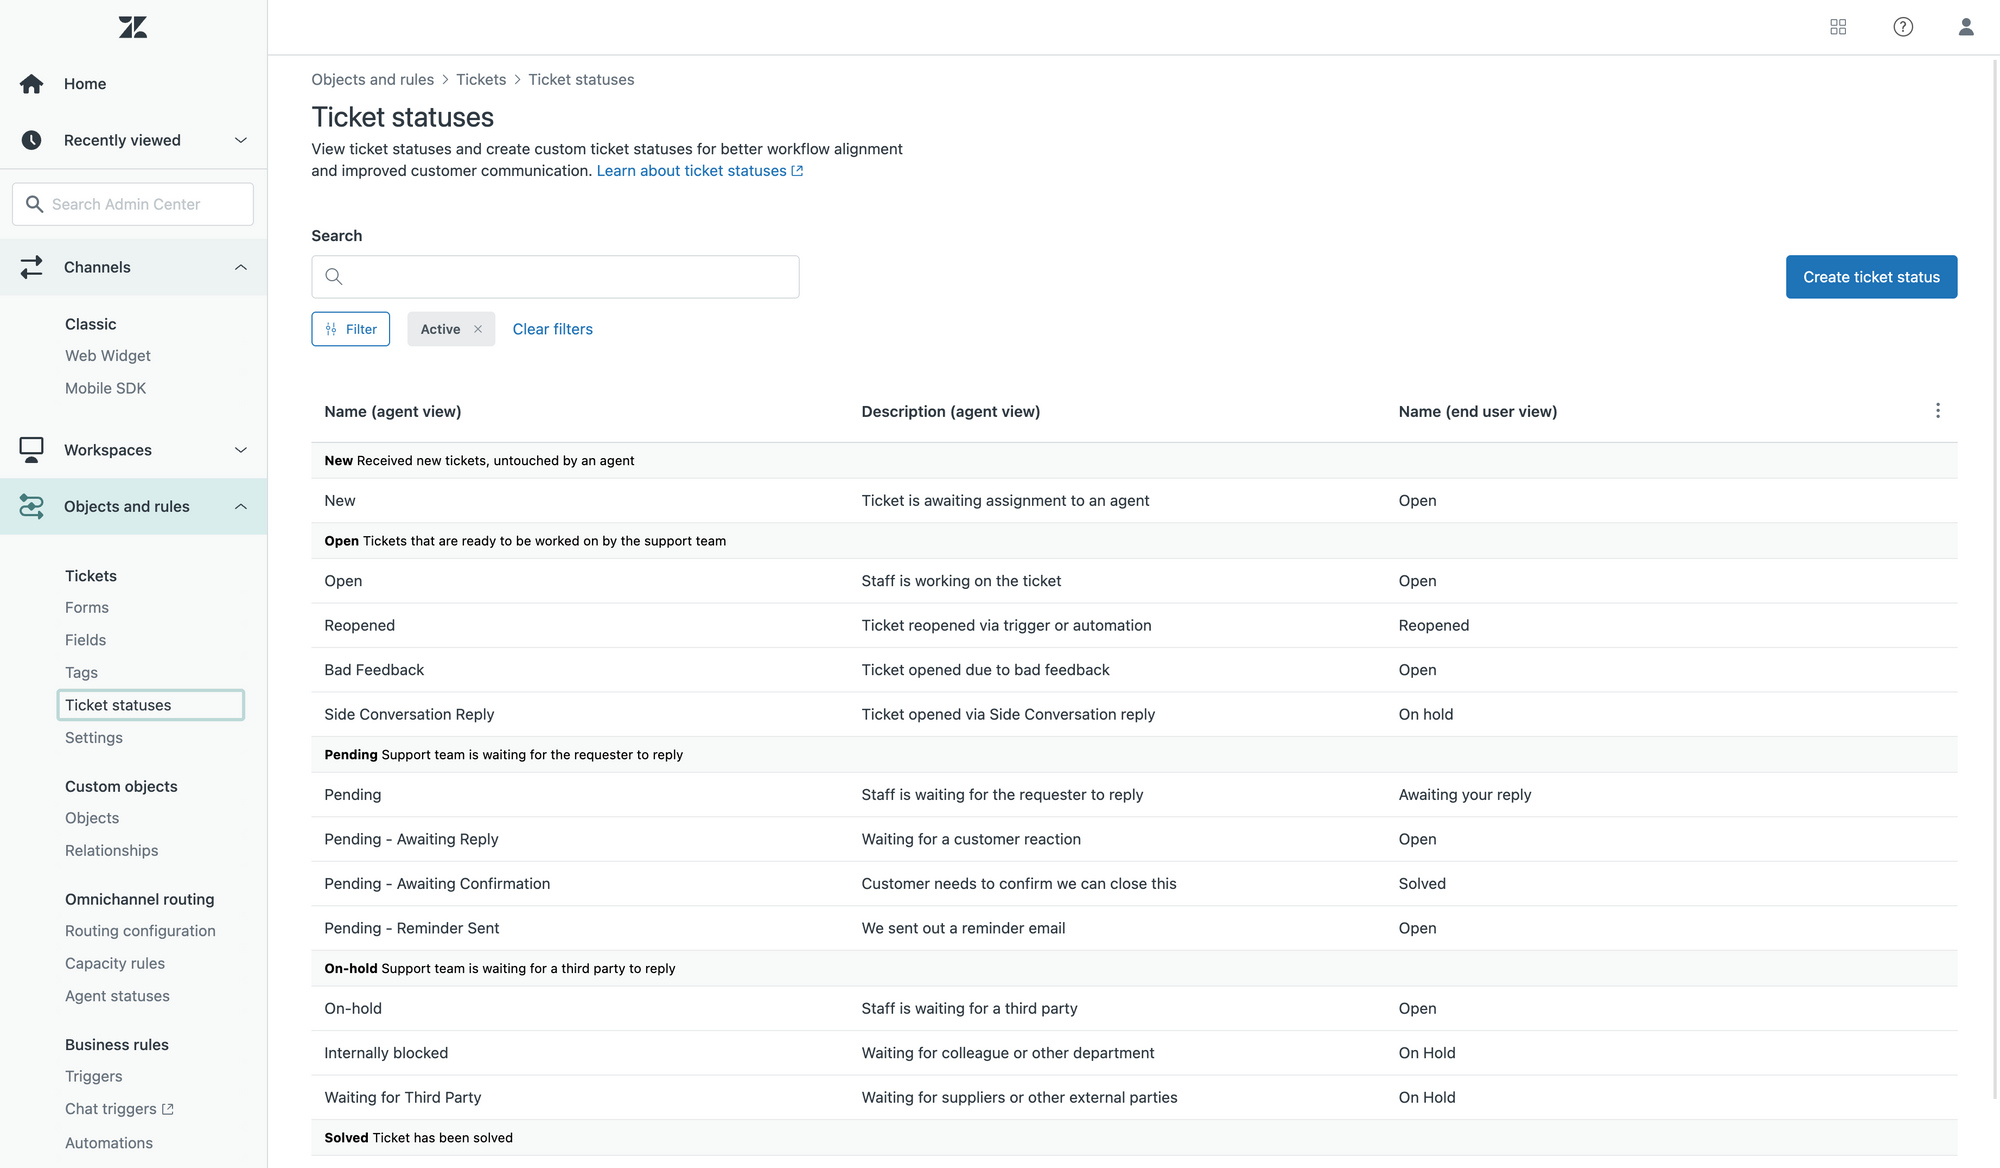
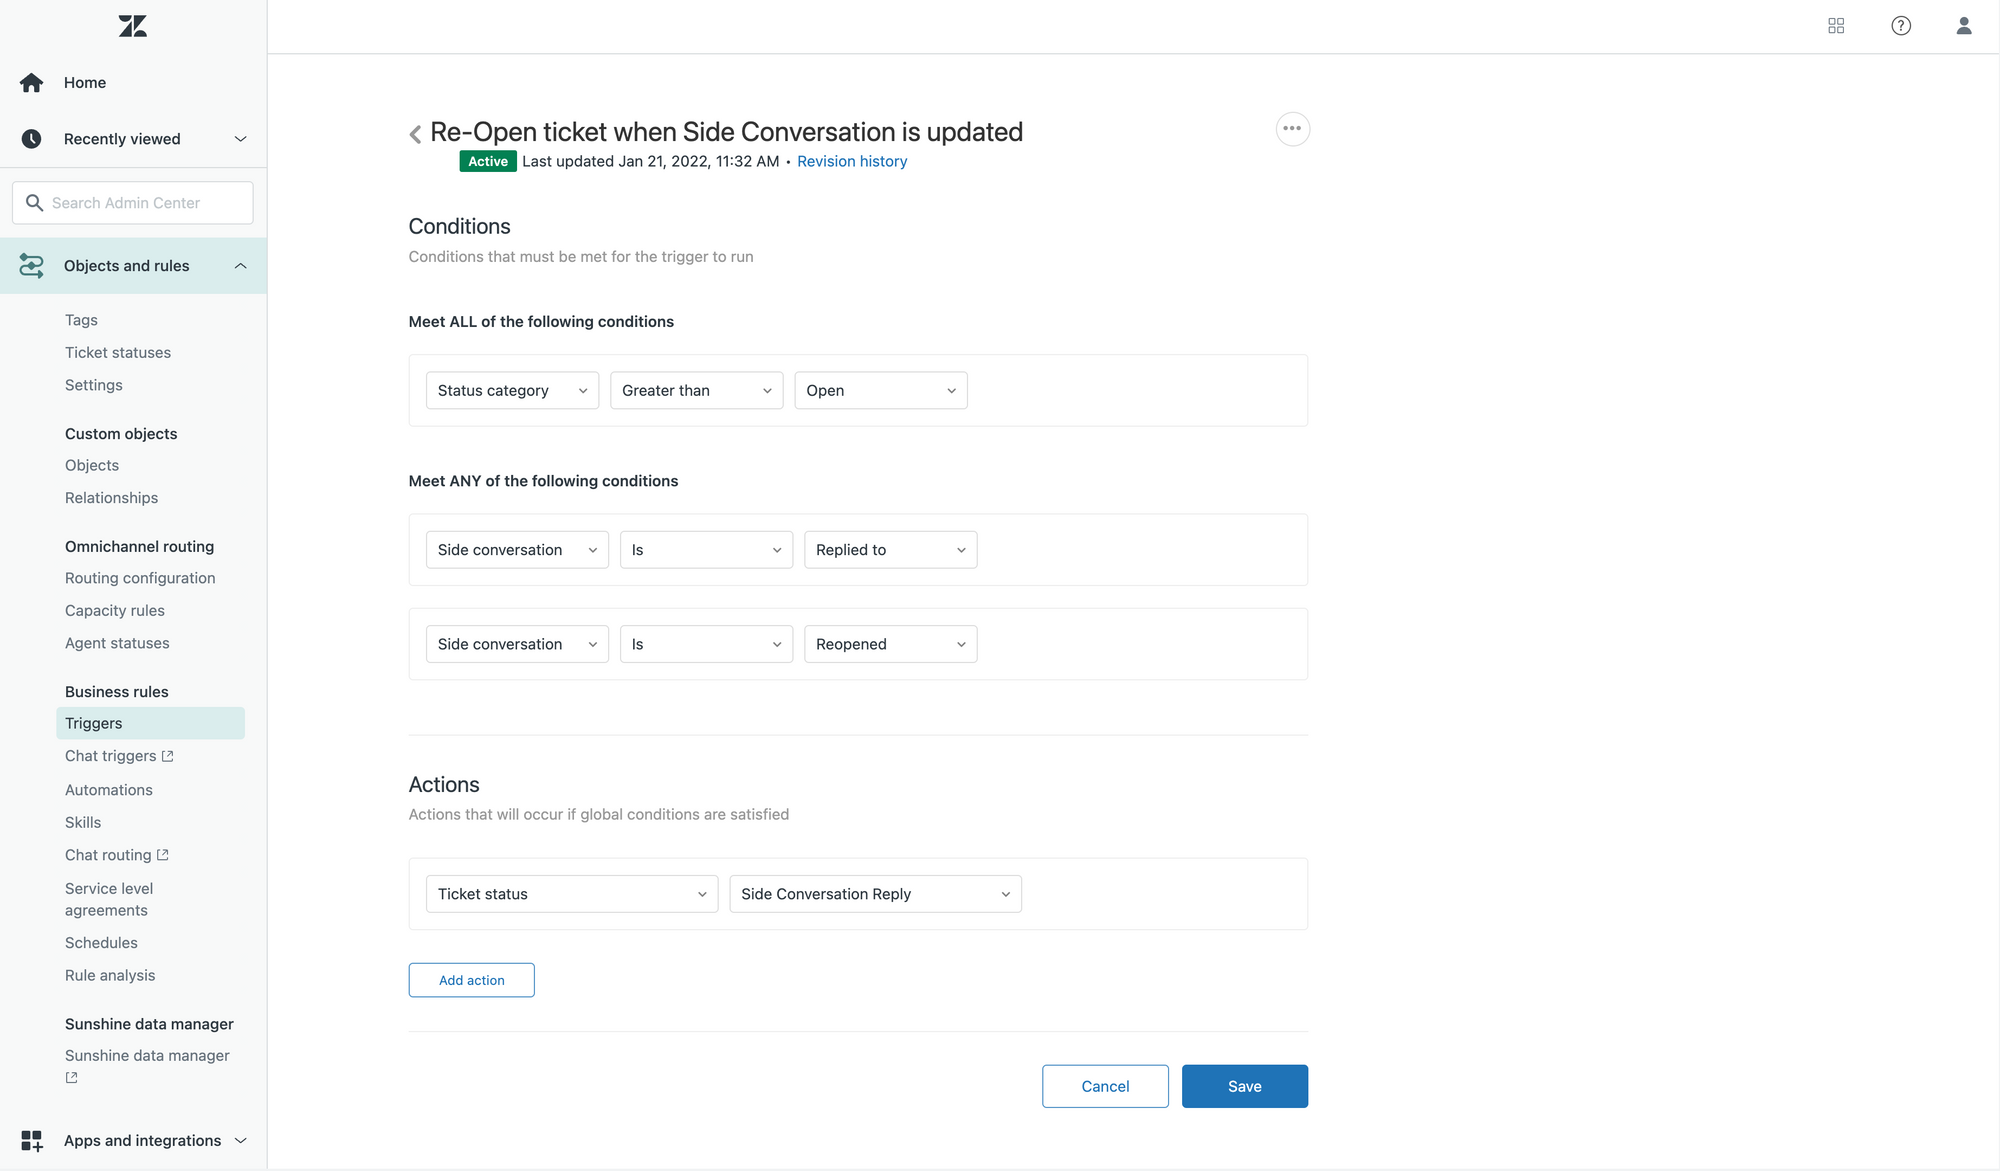
The result will be a Custom Status that shows up in your Admin Center and that can obviously be used in custom triggers like the one below.
Updating a Custom Status
Updating a custom status happens by calling PUT on https://{{domain}}.zendesk.com/api/v2/customstatuses/{{custom_status_id}}.json and posting the following object. You only have to add the key:value pairs you wish to update.
{
	"custom_status": {
    	"agent_label": "Reply to a Side Convo"
    }
}
Ticket with custom status
Once you enable Custom Statuses Zendesk will perform a migration on all your tickets.
Doing a GET on any ticket via https://{{domain}}.zendesk.com/api/v2/tickets/379now returns the following JSON object:
{
	"ticket": {
		"id": 379,
		"type": "question",
		"subject": "Subscription Zendesk - WeTransfer App",
		"description": "Hey,\n\nYou have an active subscription on our WeTransfer for Zendesk application for 4 agents renewing every end of the month.\n\nApparently the credit card used expired meaning your subscription has paused.\n\nYou can use the following Stripe link to update your details (or download invoices) in a secure manner\n\nbilling.stripe.com/p/login/28o9BE4I41fCgh2dQQ\n\nThanks in advance and feel free to reach out if you have any questions.\n\nThomas",
		"priority": "normal",
		"status": "hold",
		"custom_status_id": 7843382833170...
	}
}
The good news is that if you have existing automations or scripts that expect a status key will not be affected. Since the Status Categories map 1:1 to the existing statuses and have the same values, those scripts will not be impacted.
There is however a new key custom_status_id that contains the Custom Status you assigned to the ticket. It’s an ID, so you should use https://{{domain}}.zendesk.com/api/v2/custom_statuses.json to lookup its real name and value.
Conclusion
Like I showed in an earlier post, these new custom statuses open a whole lot of new possibilities both from an Agent Standpoint (better context), workflows (easier trigger setup) and reporting (why are these on hold?)
I’d love to see a Deletion Endpoint for obvious reasons and a way to disable the default Zendesk Statuses. But aside from that these feels like a very solid release.