Lookup Relationship Fields and Ticket Escalation
Lookup Relationship fields are a recently added features that expands the existing user, organization and ticket fields with a new type. This new field type allows you to interlink Zendesk objects and create relationships. In this article we build a complete use case.
Lookup Relationship Fields and Ticket Escalation

On this page
Lookup Relationship fields are a recently added features that expands the existing user, organisation and ticket fields with a new type. This new field type allows you to interlink Zendesk objects and create relationships.
However you turn it, Lookup Fields allows for linking users, organisations and tickets in new ways independent from the old ticket, requesters organisation hierarchy.
Automatic Ticket Escalation
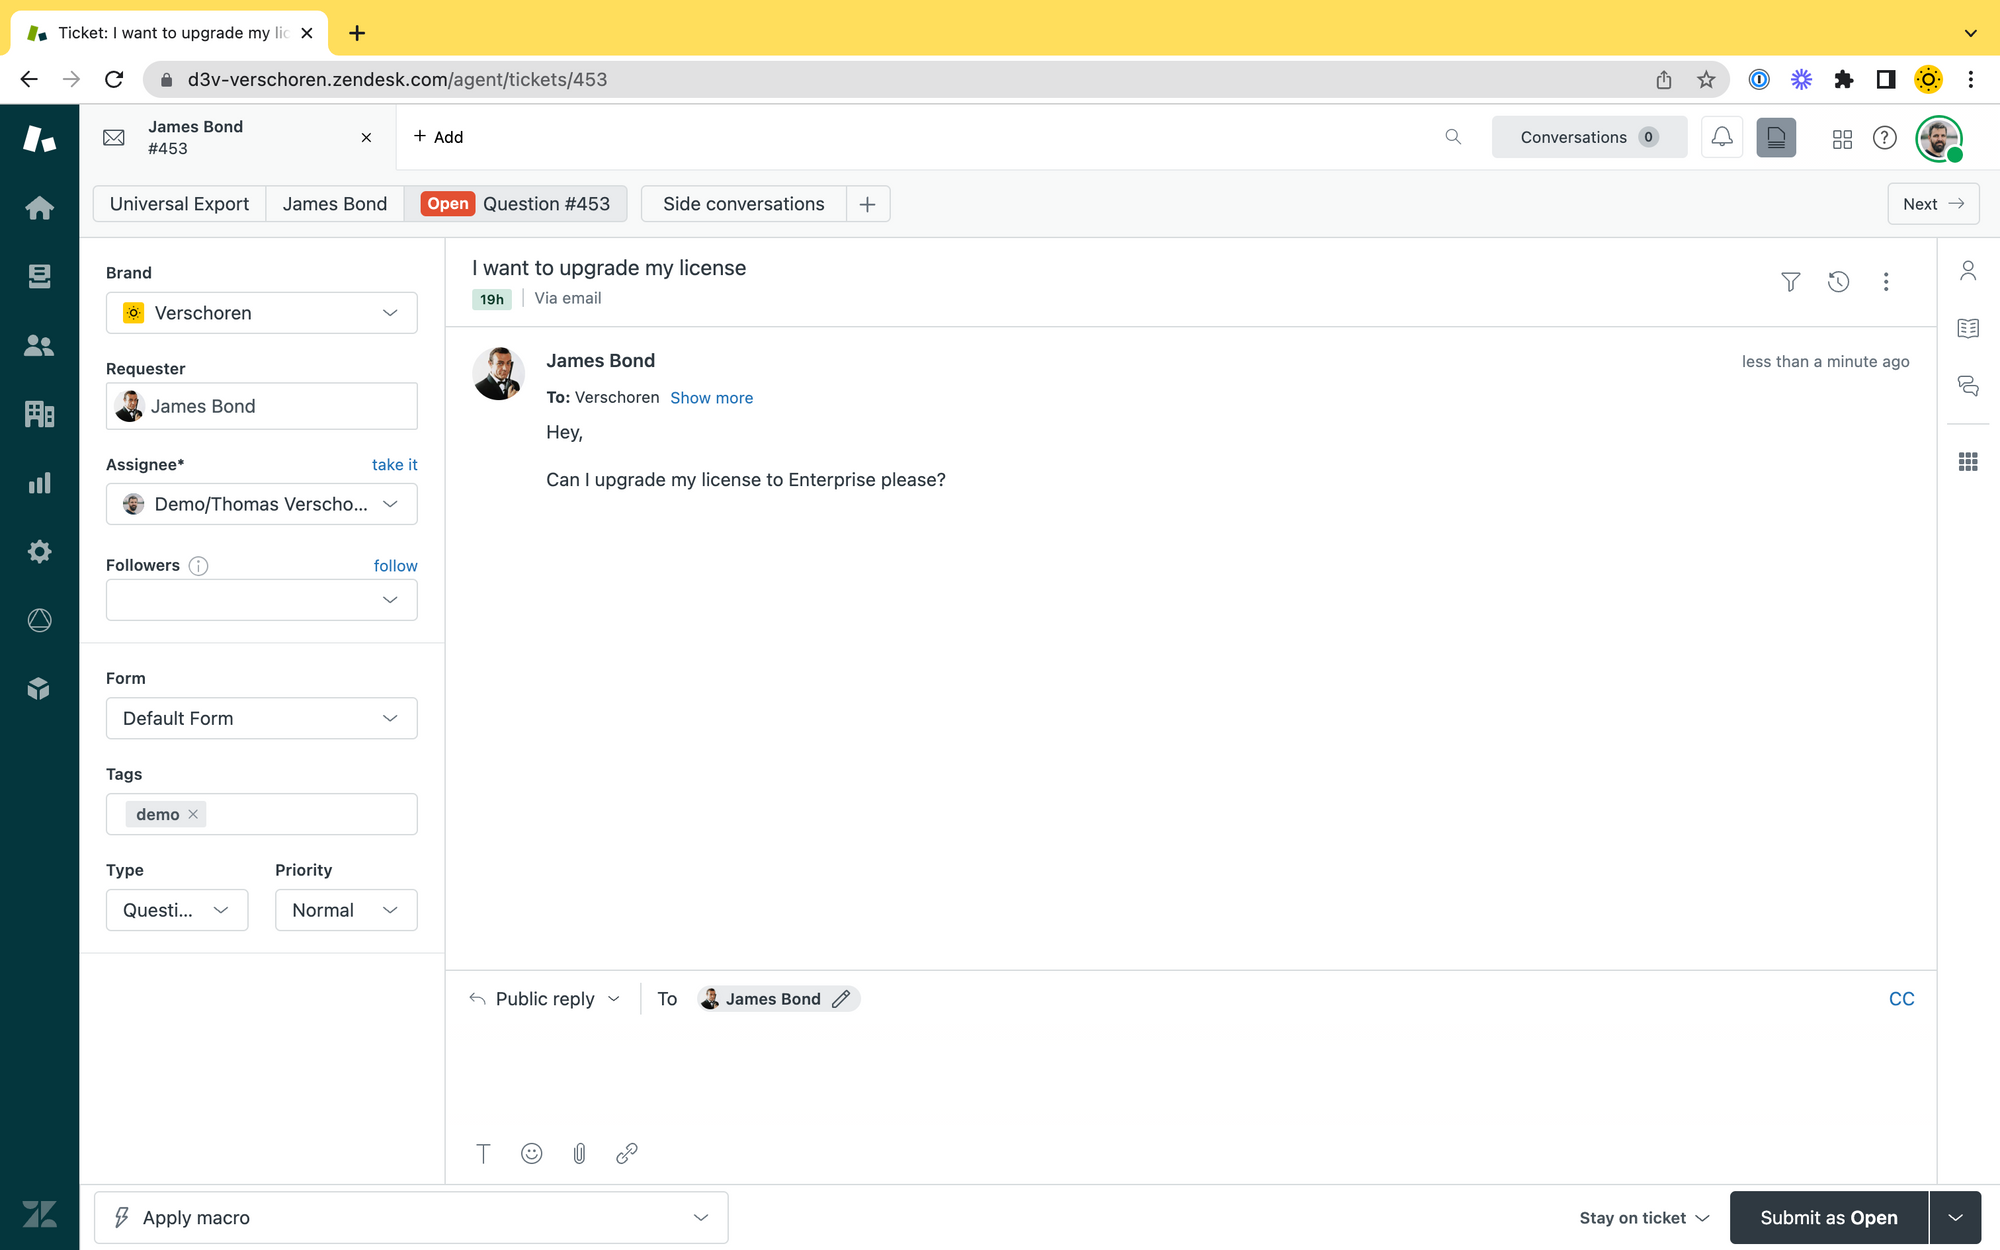
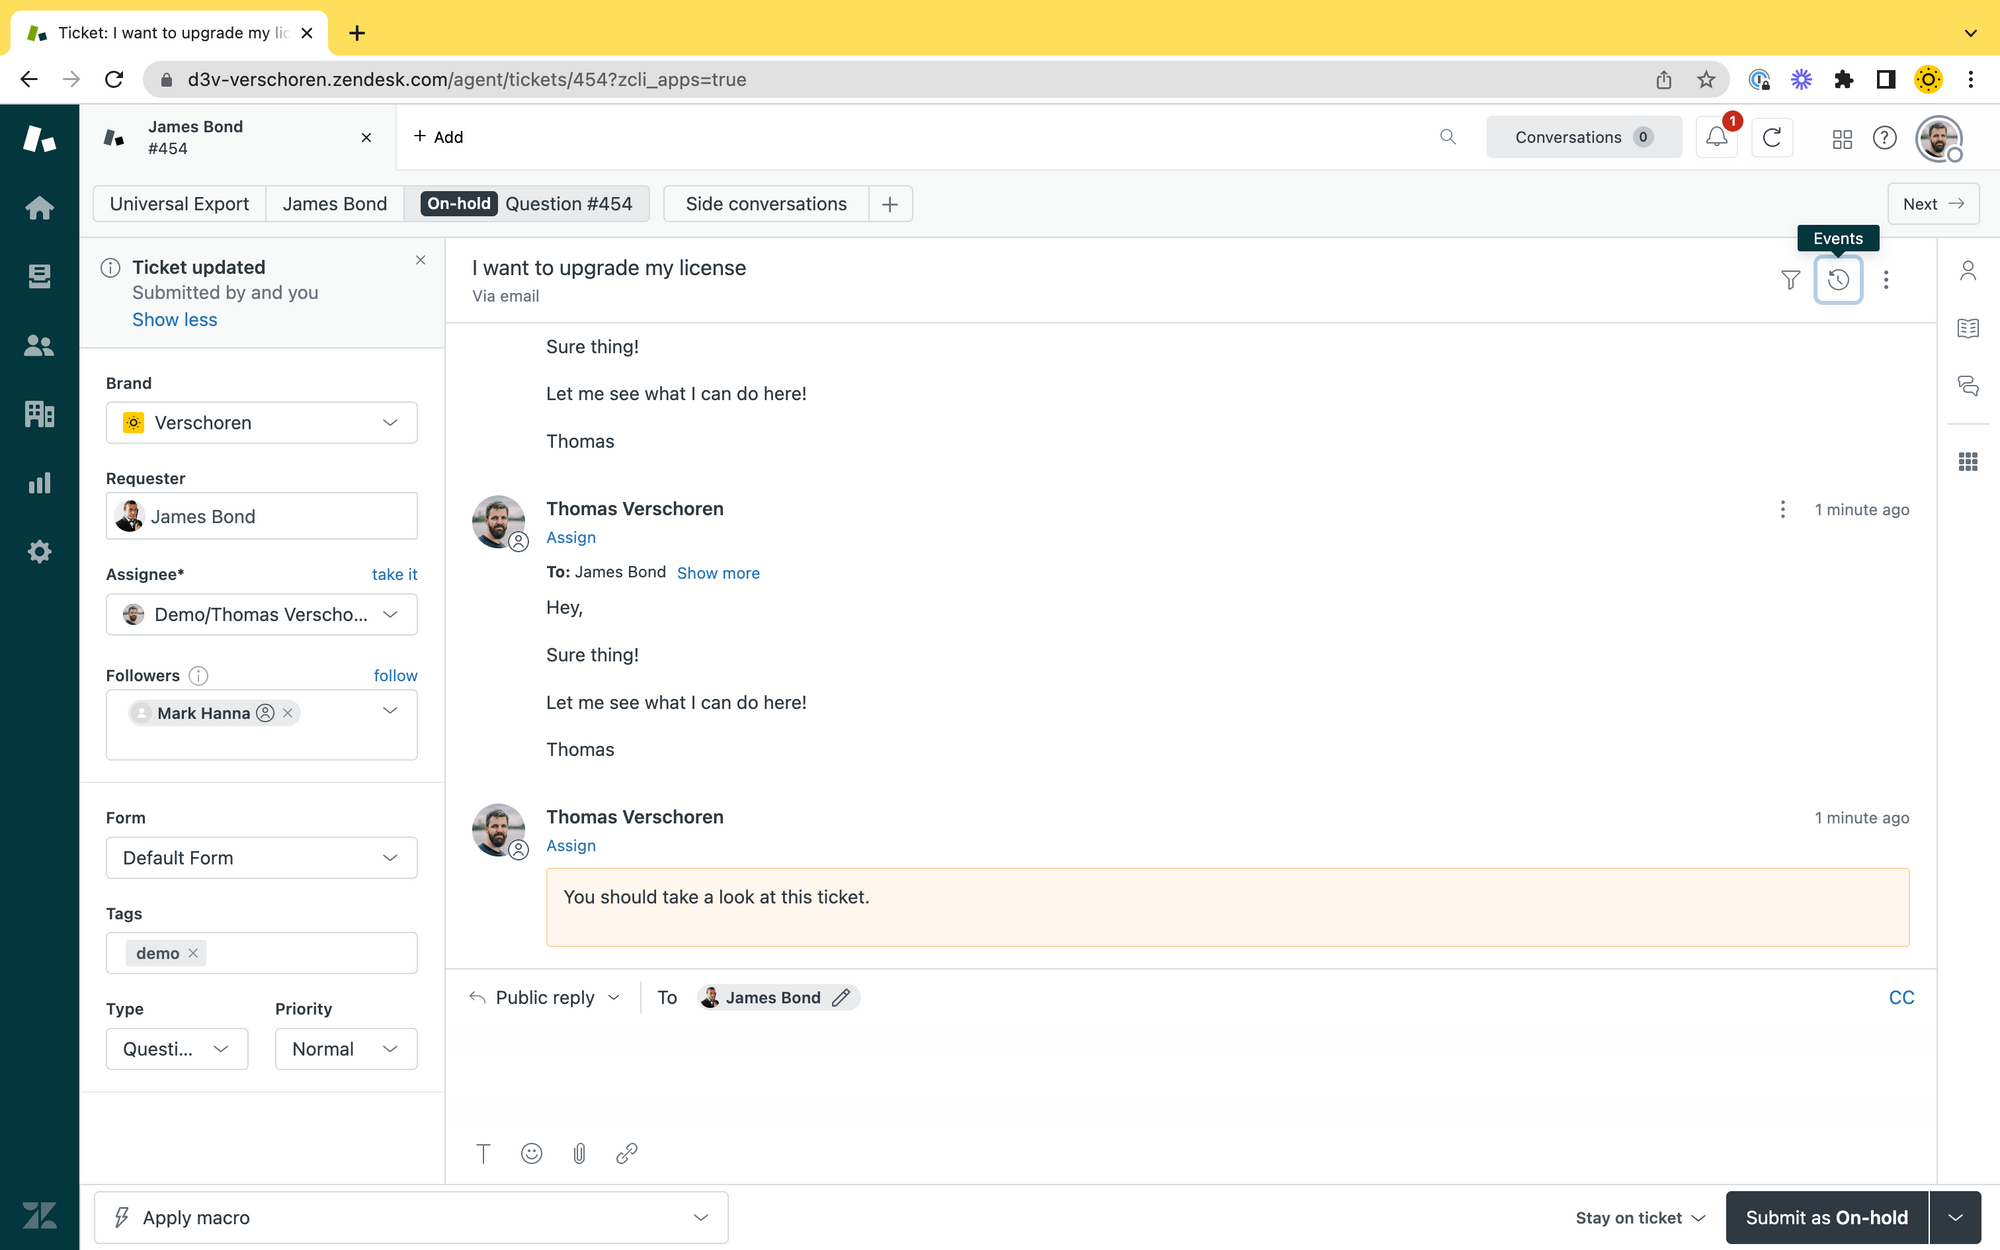
The video below shows an example flow that leverages Lookup Fields to find an organisation's' account manager, and add them as a Follower to the ticket.
The flow runs as follows:
- Organisations in our instance have an Account Manager stored in a
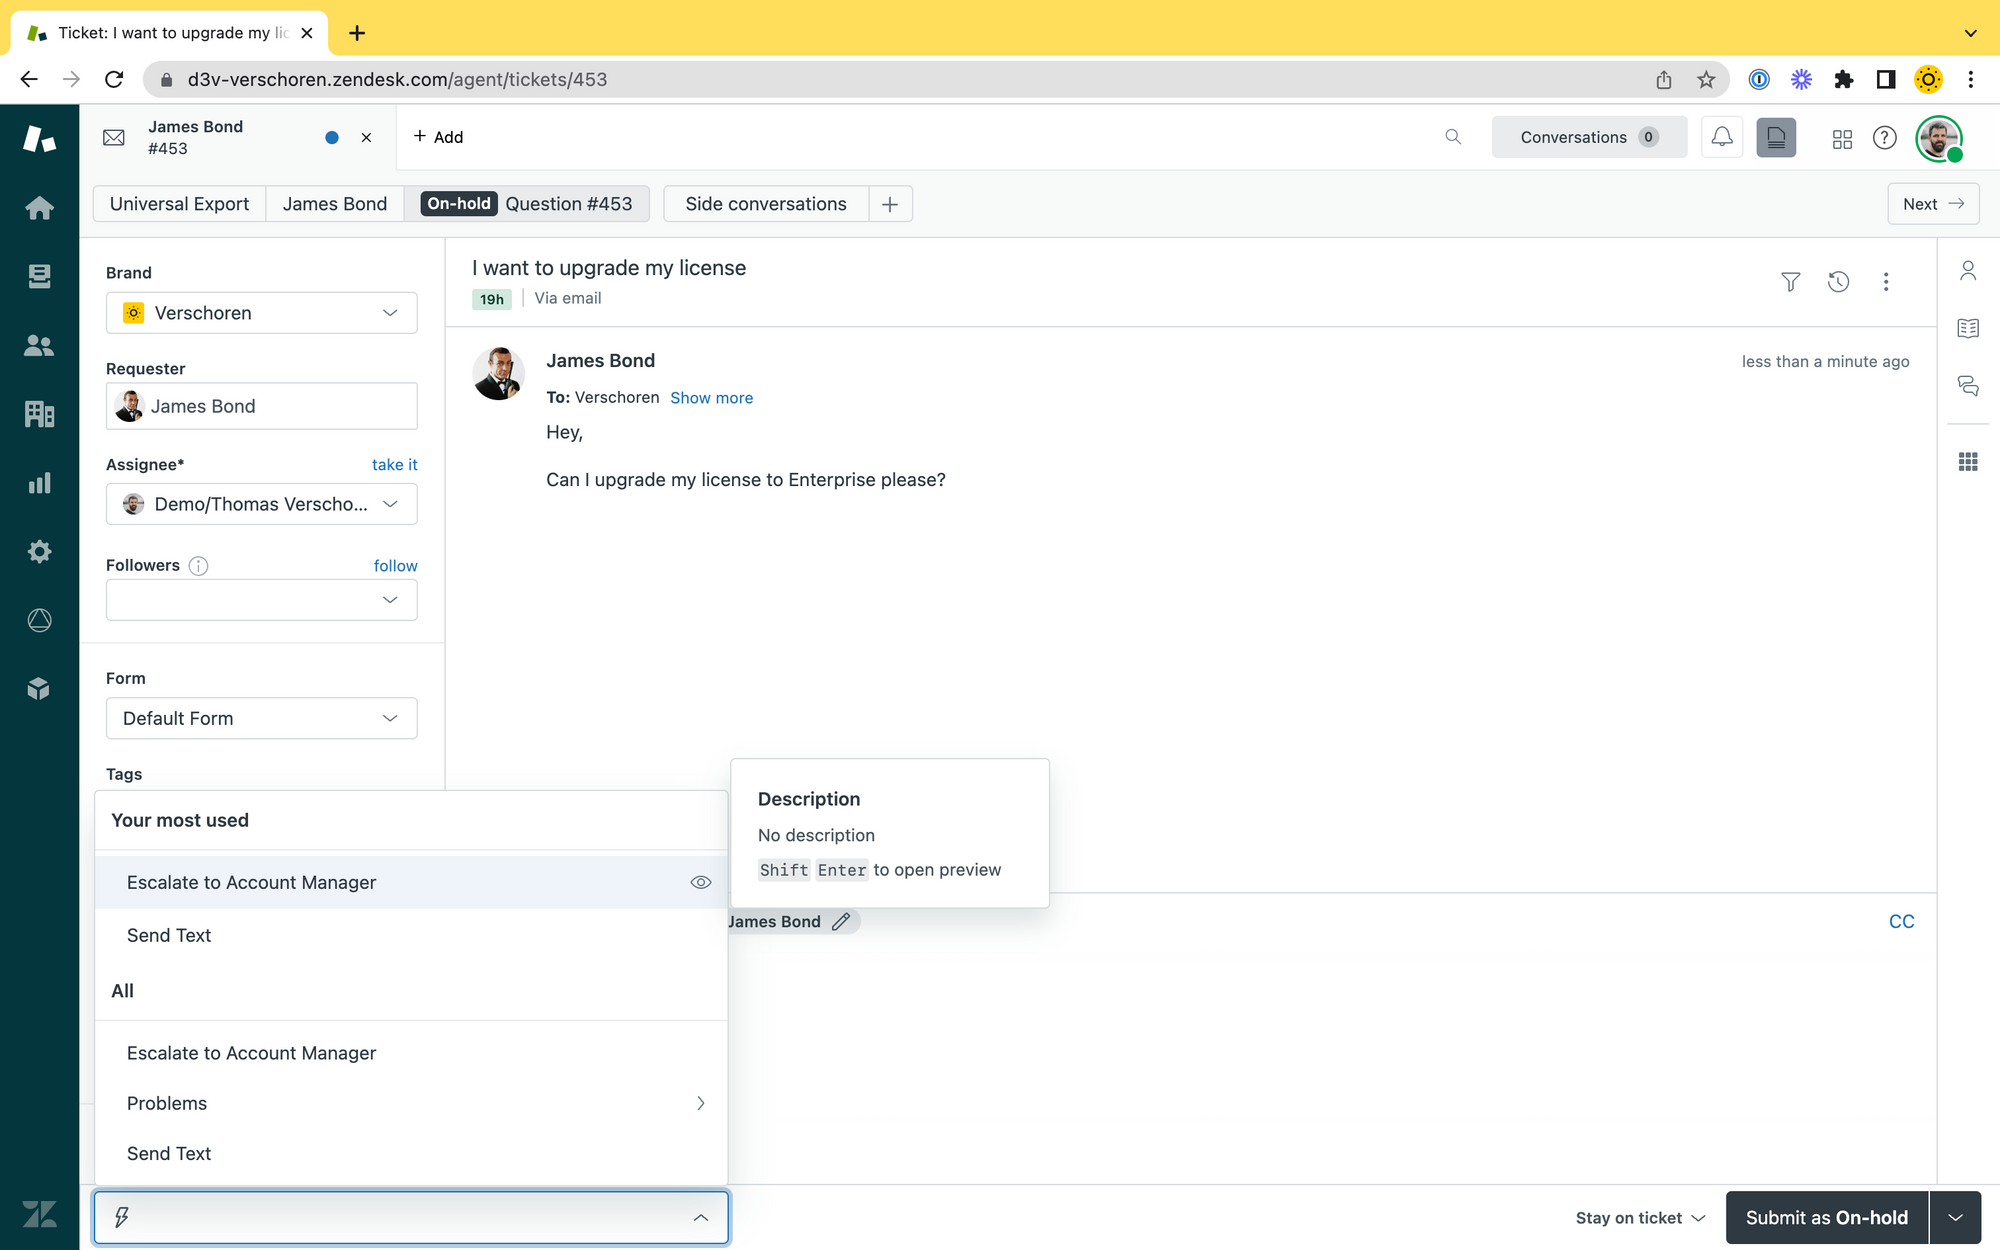
Lookup Field. - An agent uses the Escalate to Account Manager macro.
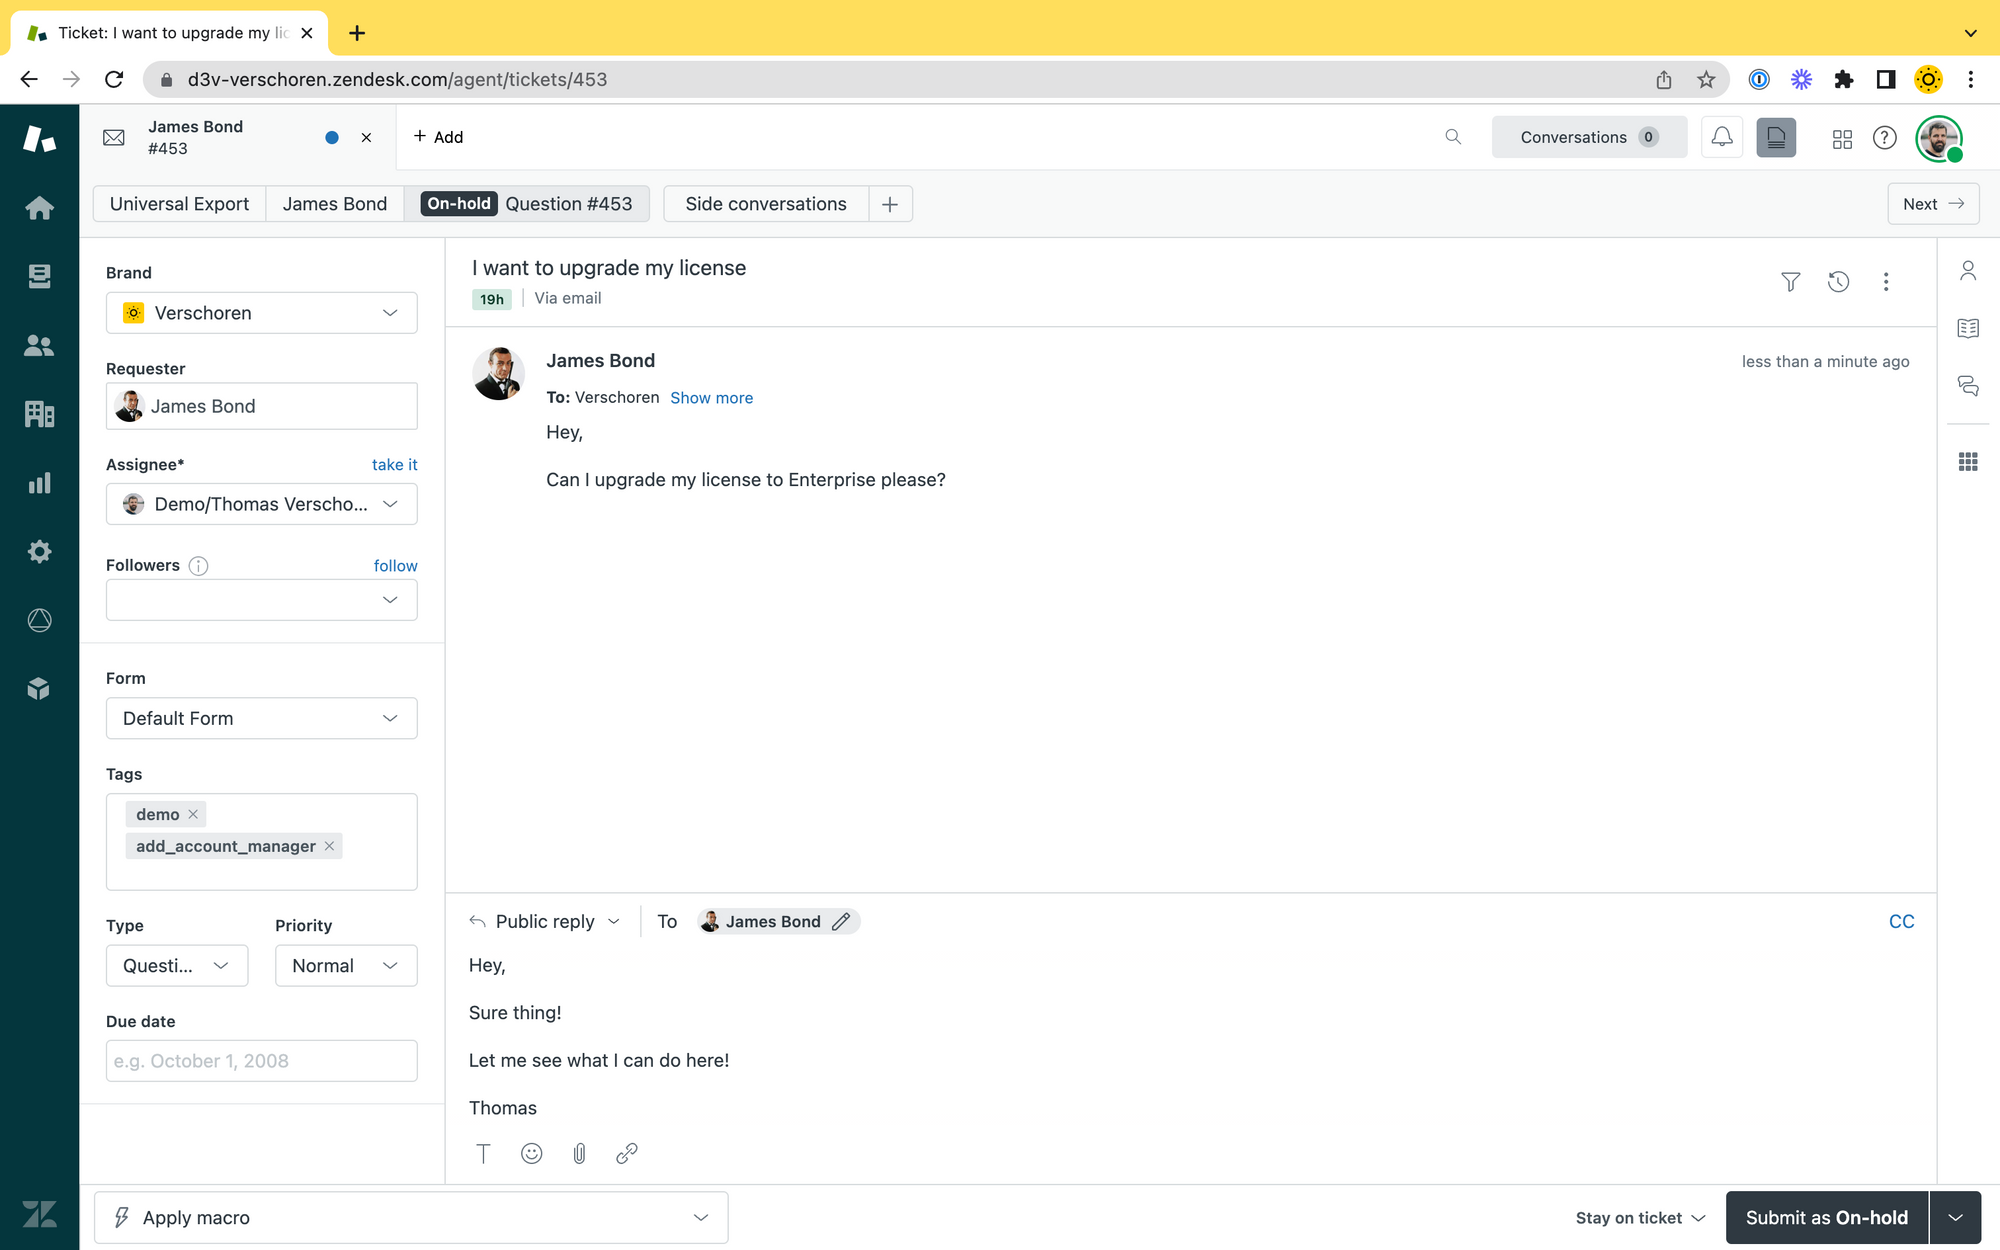
- That macro adds a tag to the ticket.
- A trigger runs and it adds the Account Manager of the organisation as a follower to the ticket.
- From now on, the account manager stays in the loop of the ticket.
Admin Panel
Create Lookup Field
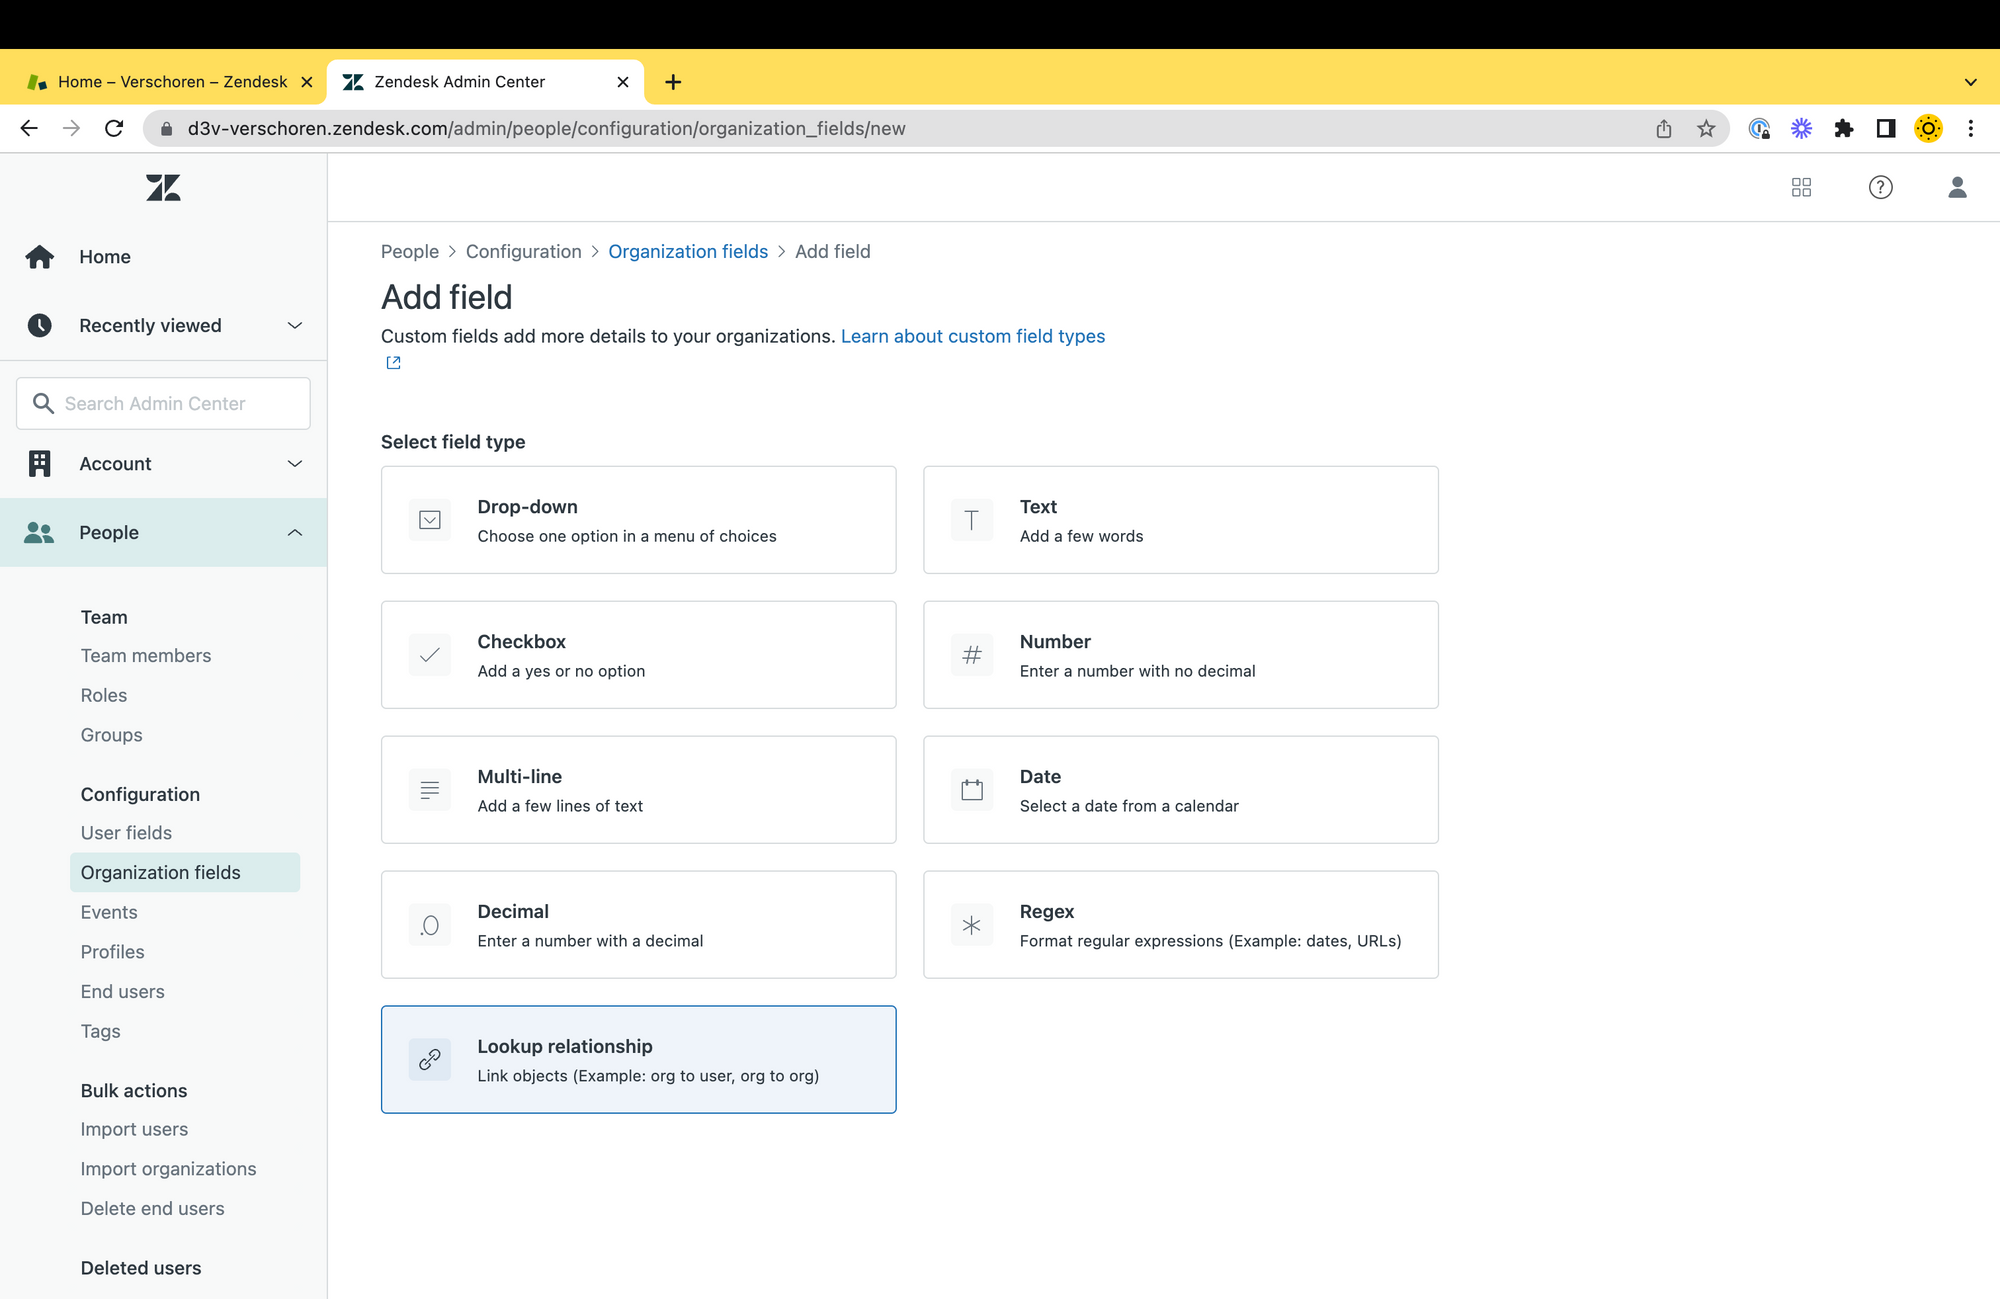
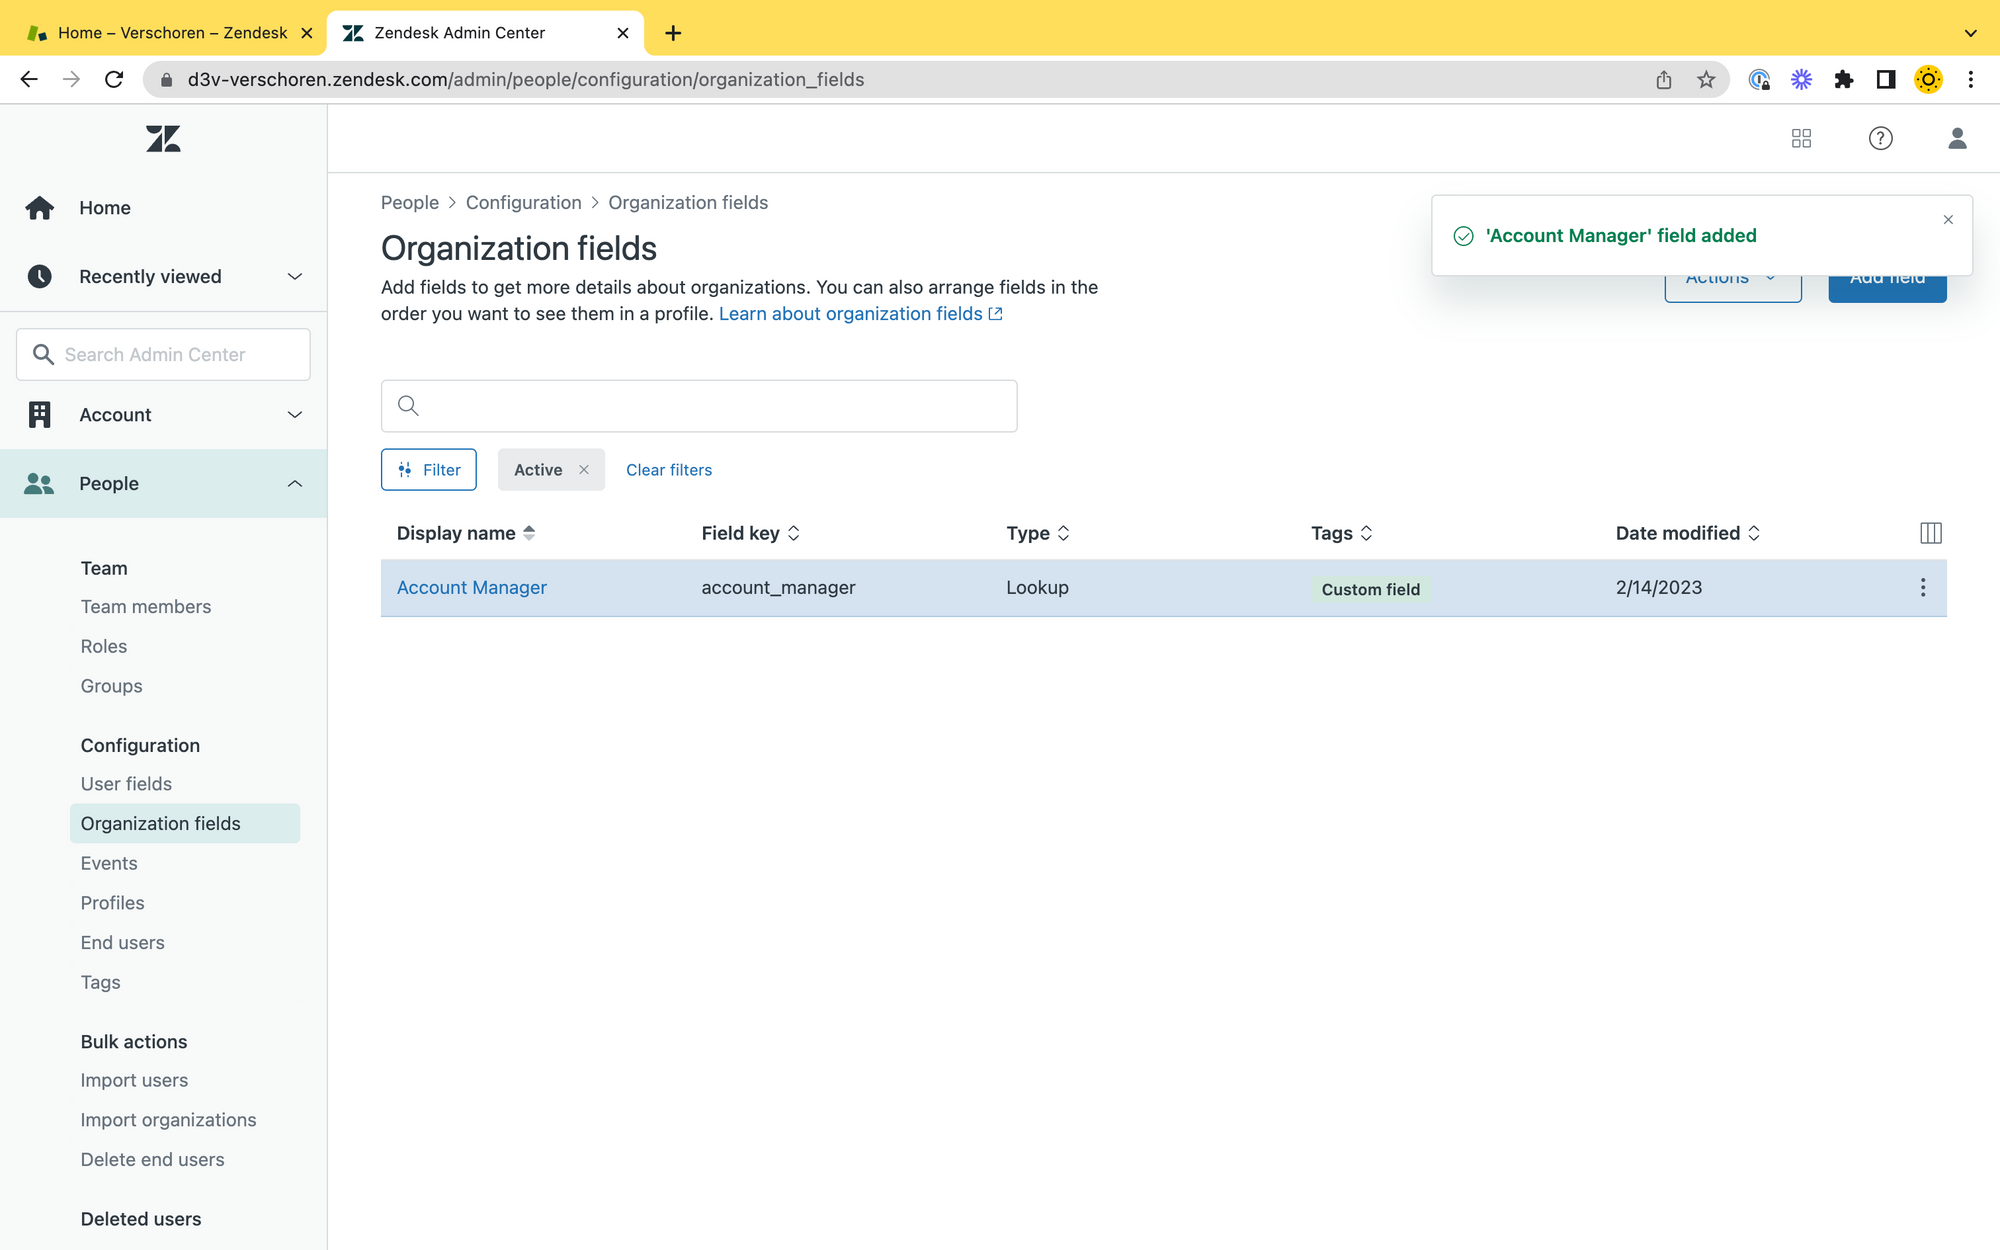
The first step of this flow is the creation of the Lookup Field. Since we want to store an Account Manager on our Organisation we need to create a new Organisation Field.
- Go to the Admin Panel > People > Organisation fields and add a new
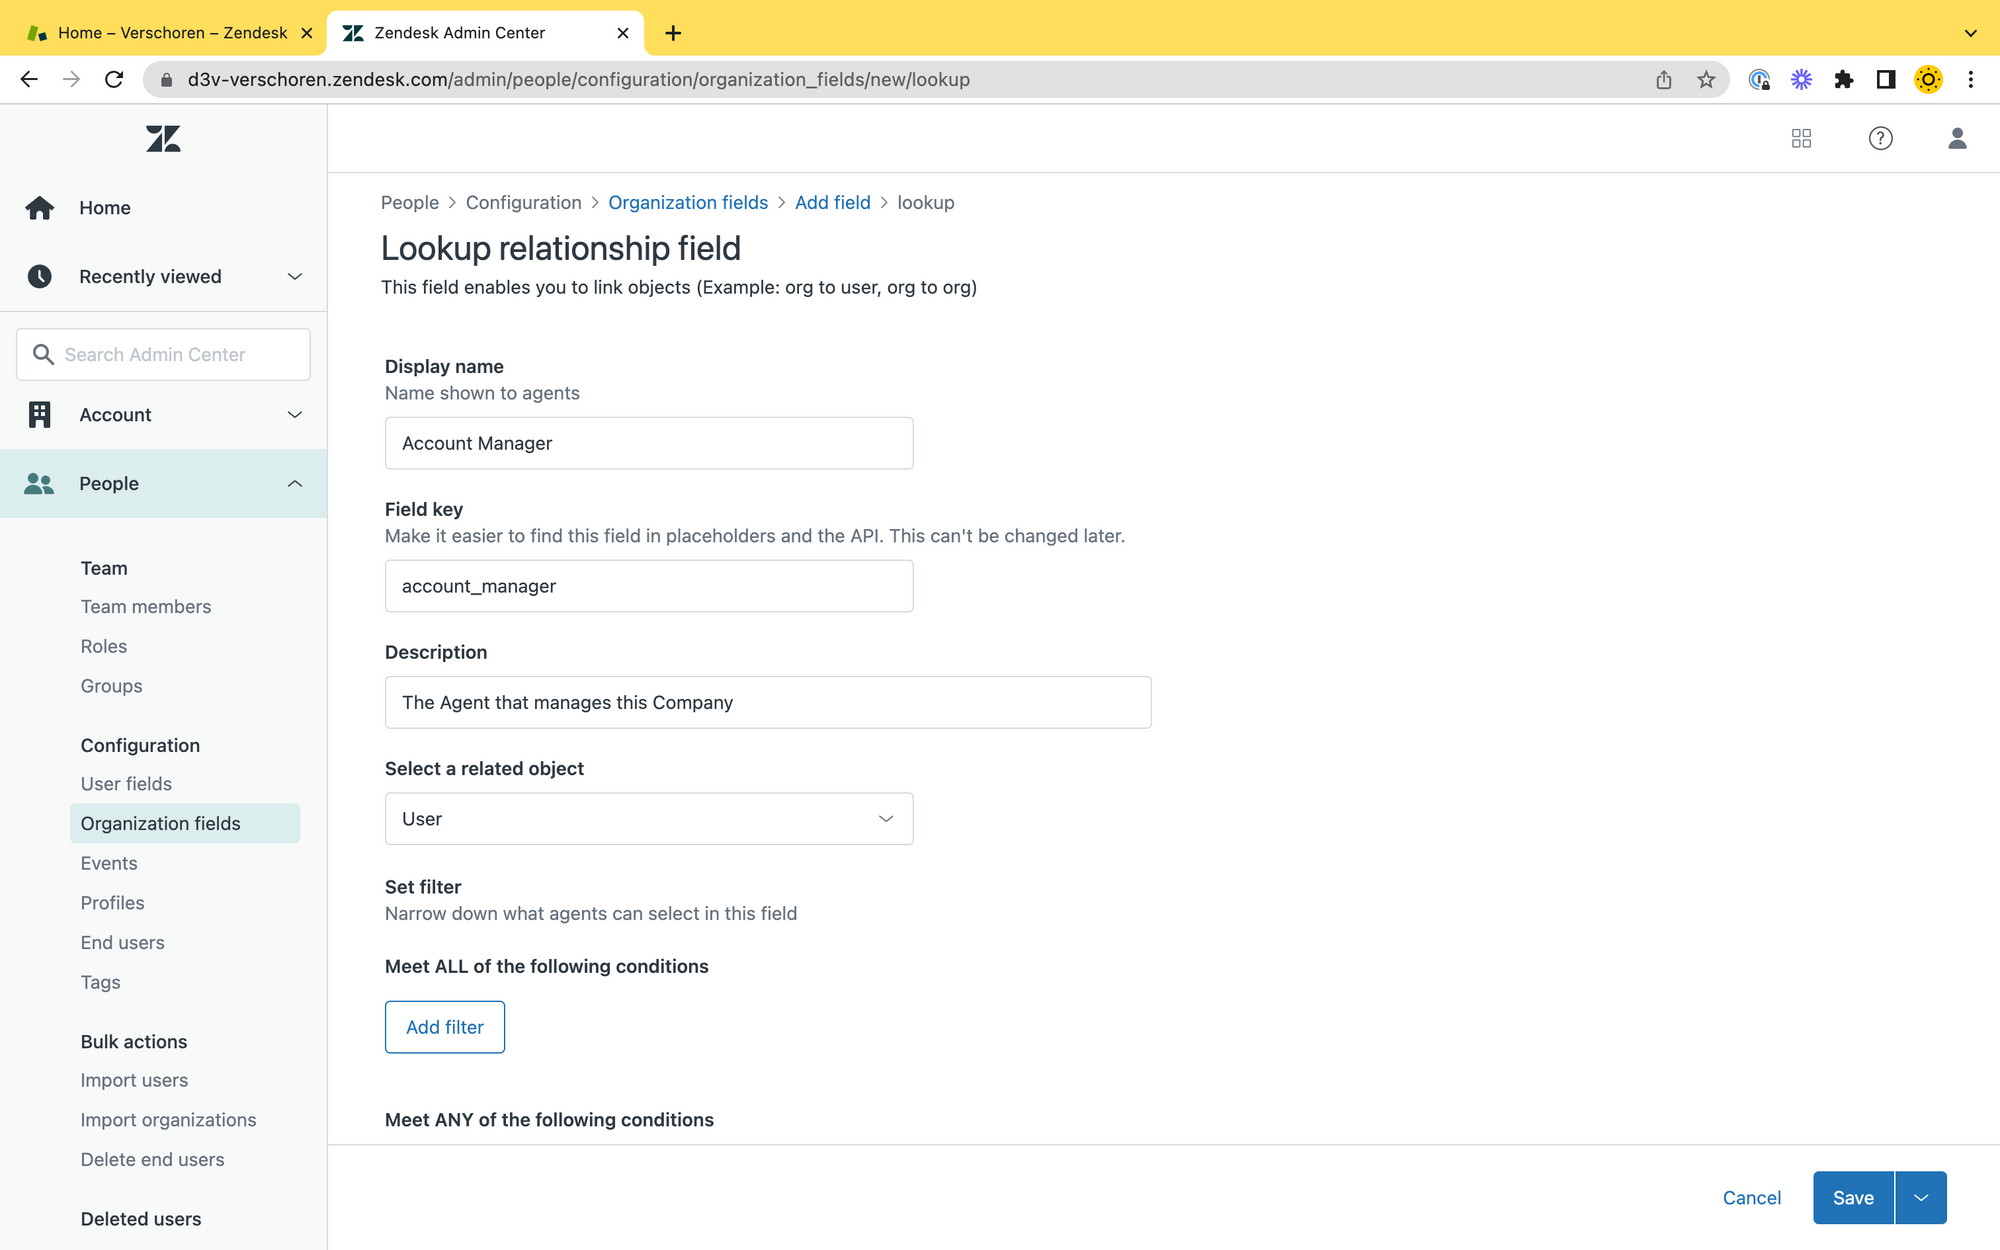
Lookup Relationship - Give it a logical name like Account Manager and set the type to User.
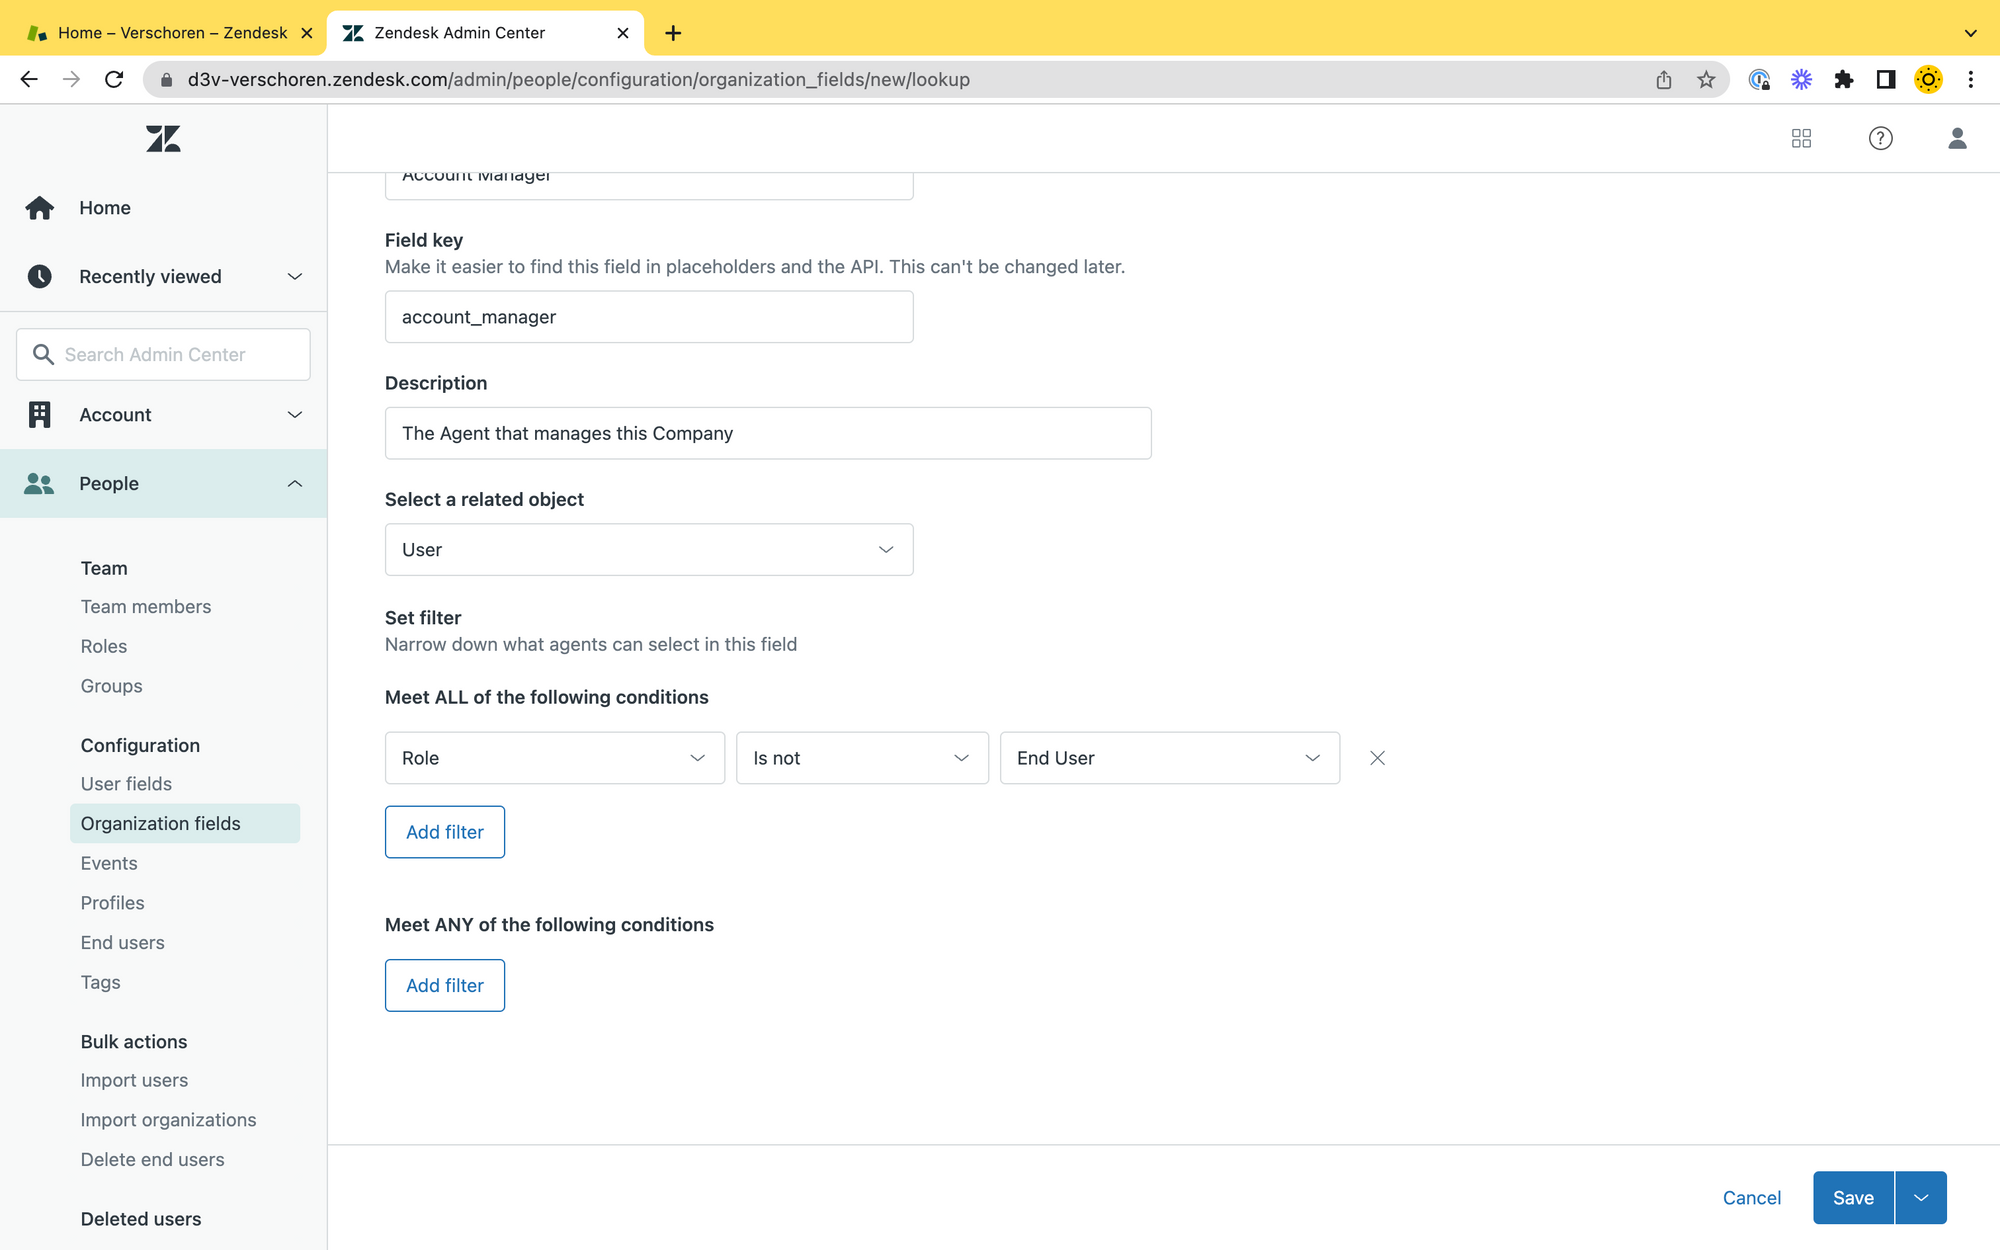
- Add a filter to exclude End-Users, so we can only select Agents in our instance.

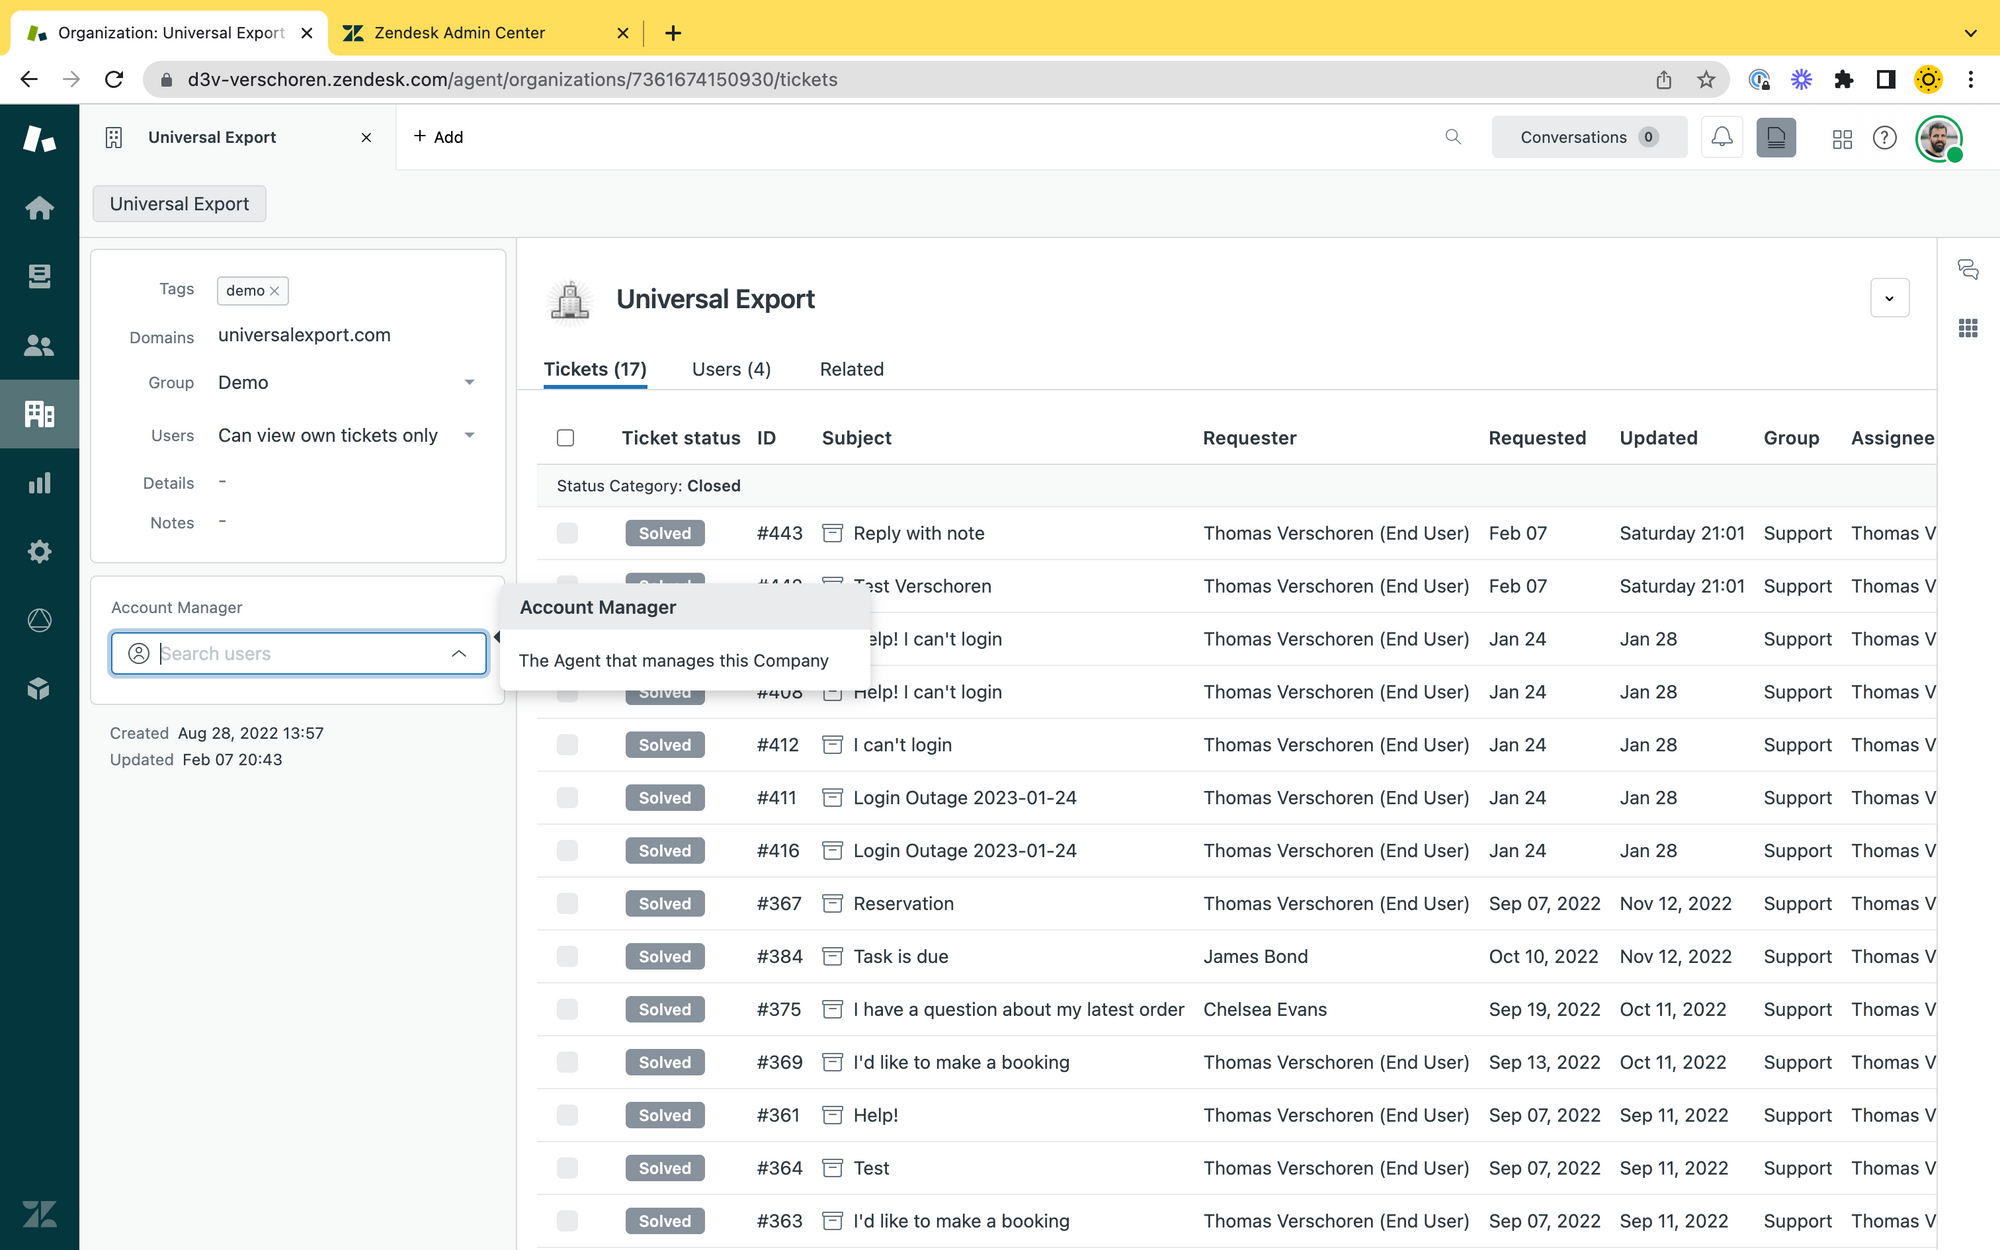
Link Account Manager to Organisation
The next step is a manual step, but you can use the API to automate this process. (A future article will explain potential automations in more depth).
To link Account Managers to Organizations you:
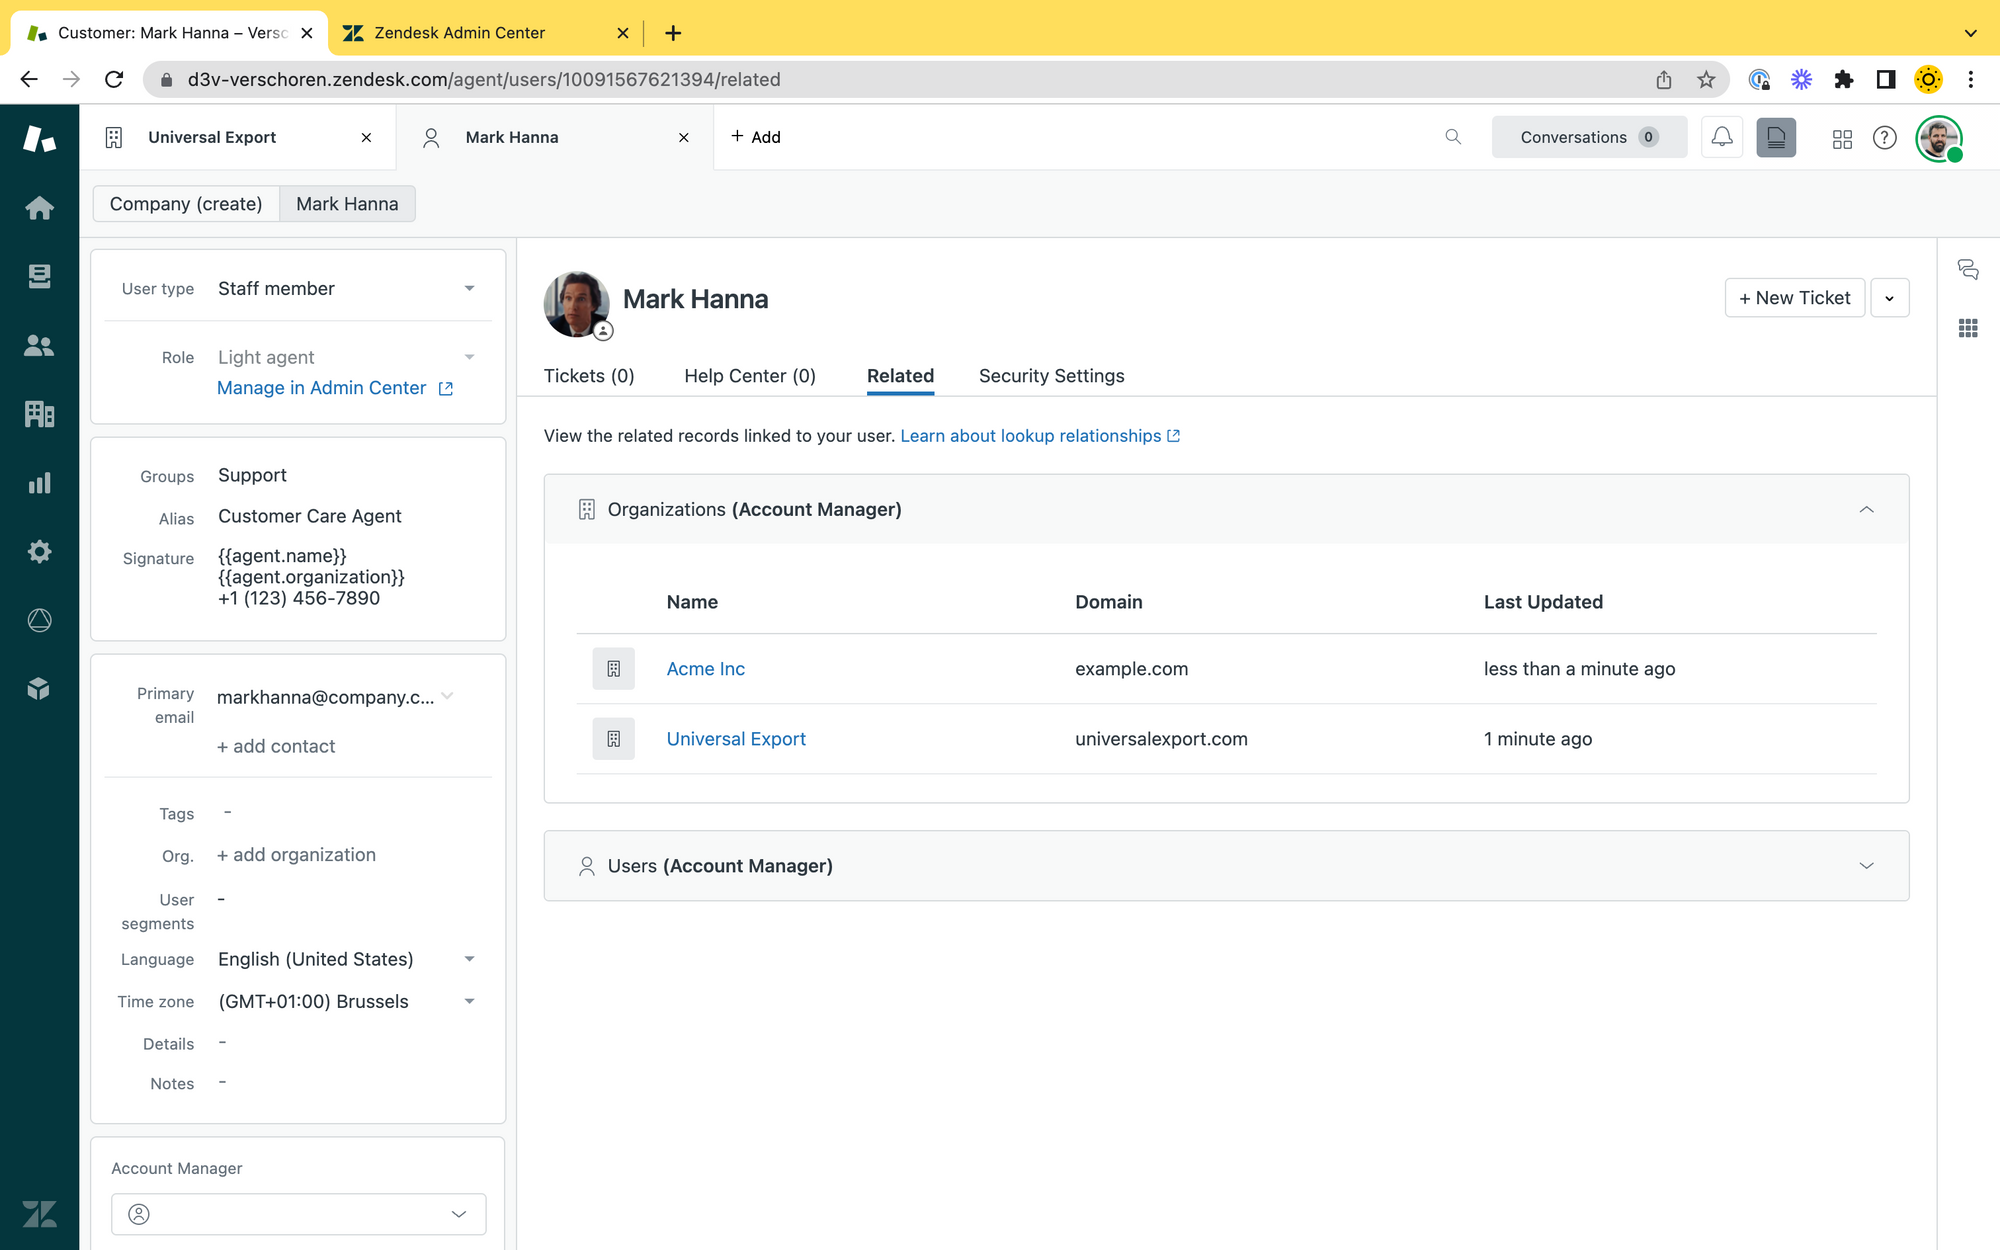
- Open an organisation profile by searching for them or finding them in the new Organisation View
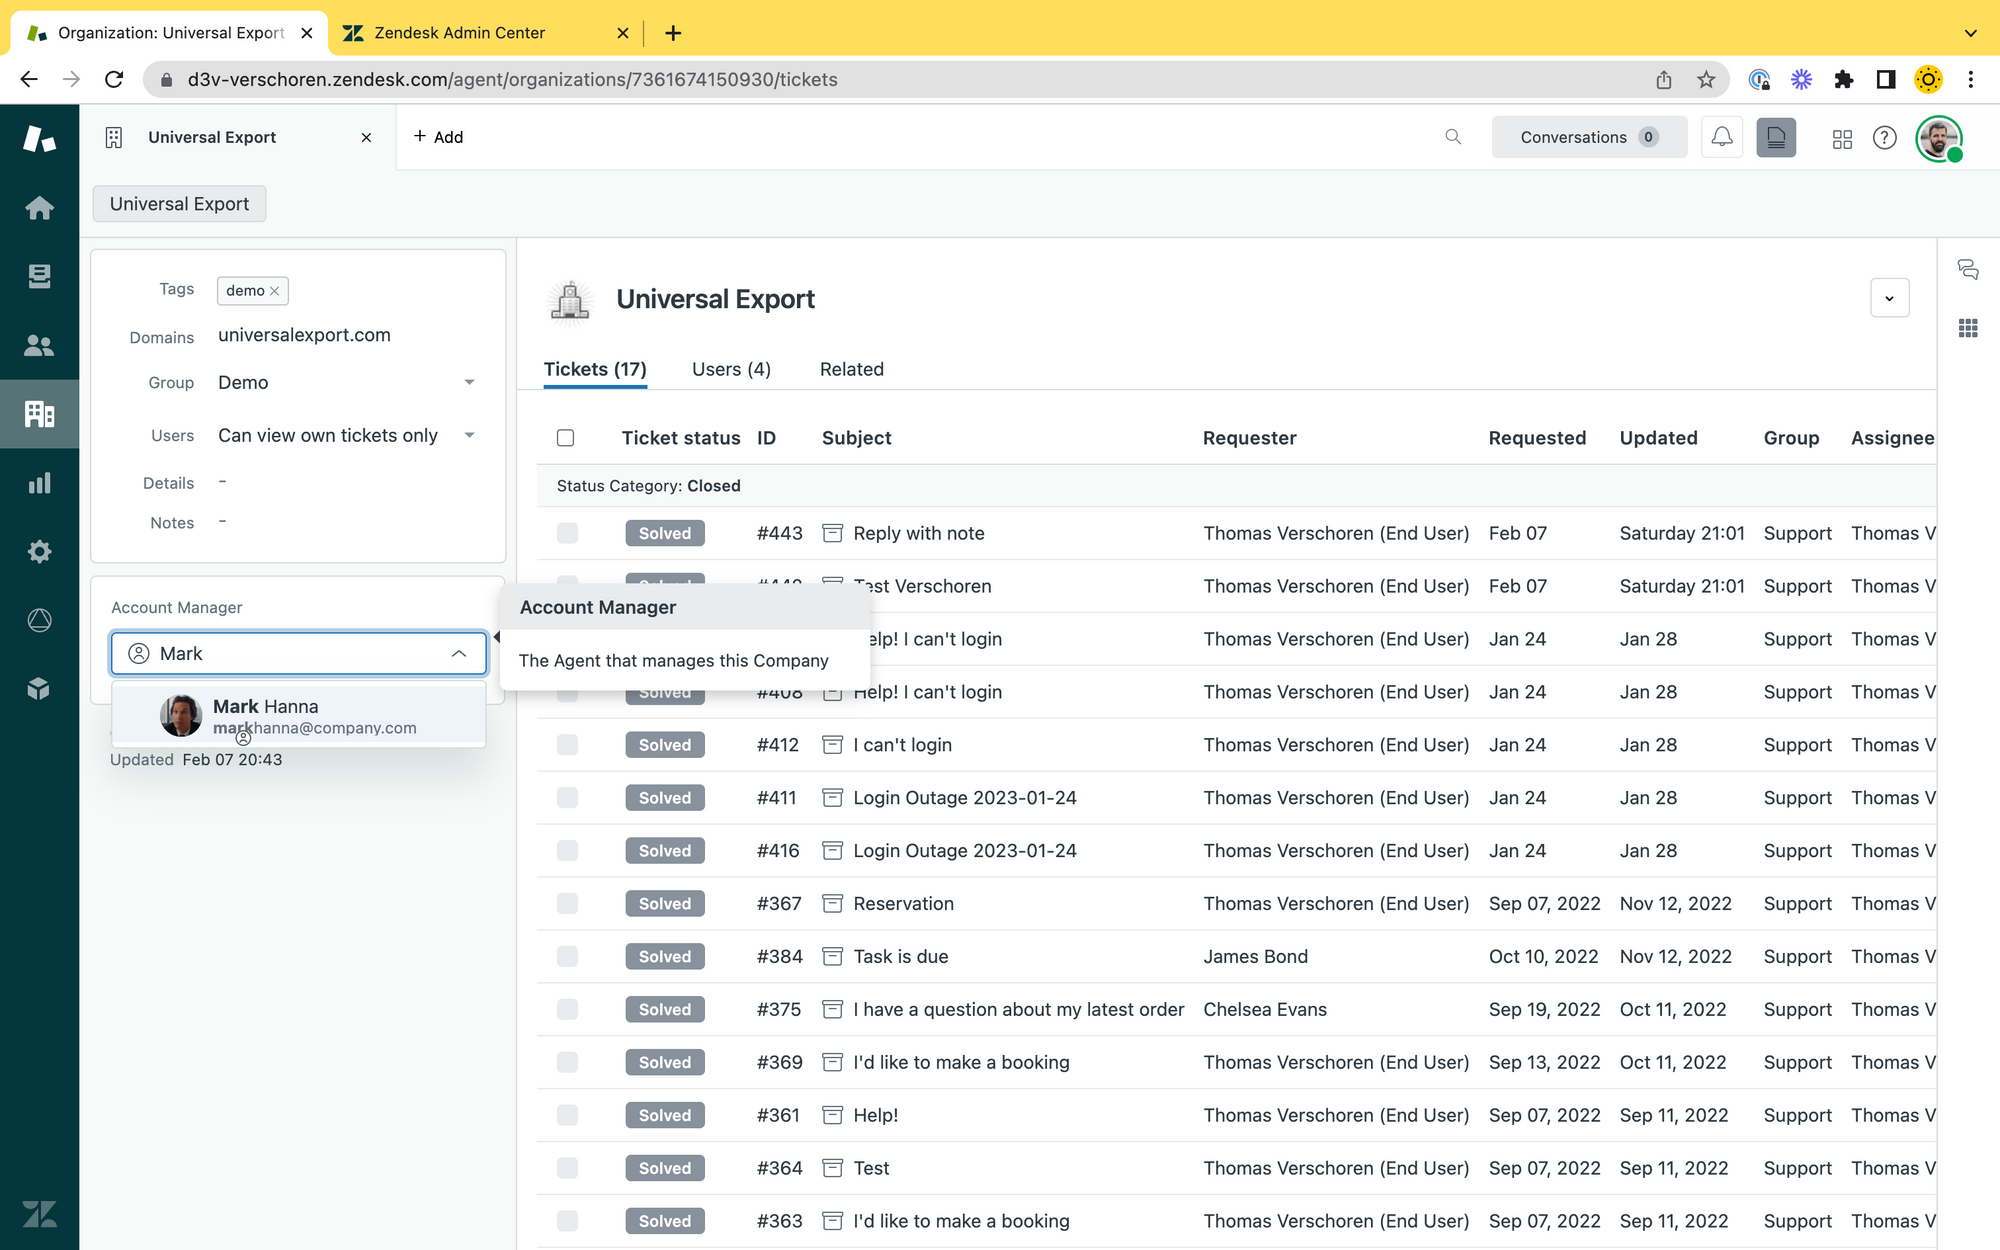
- Select our Account Manager field and search for an Agent
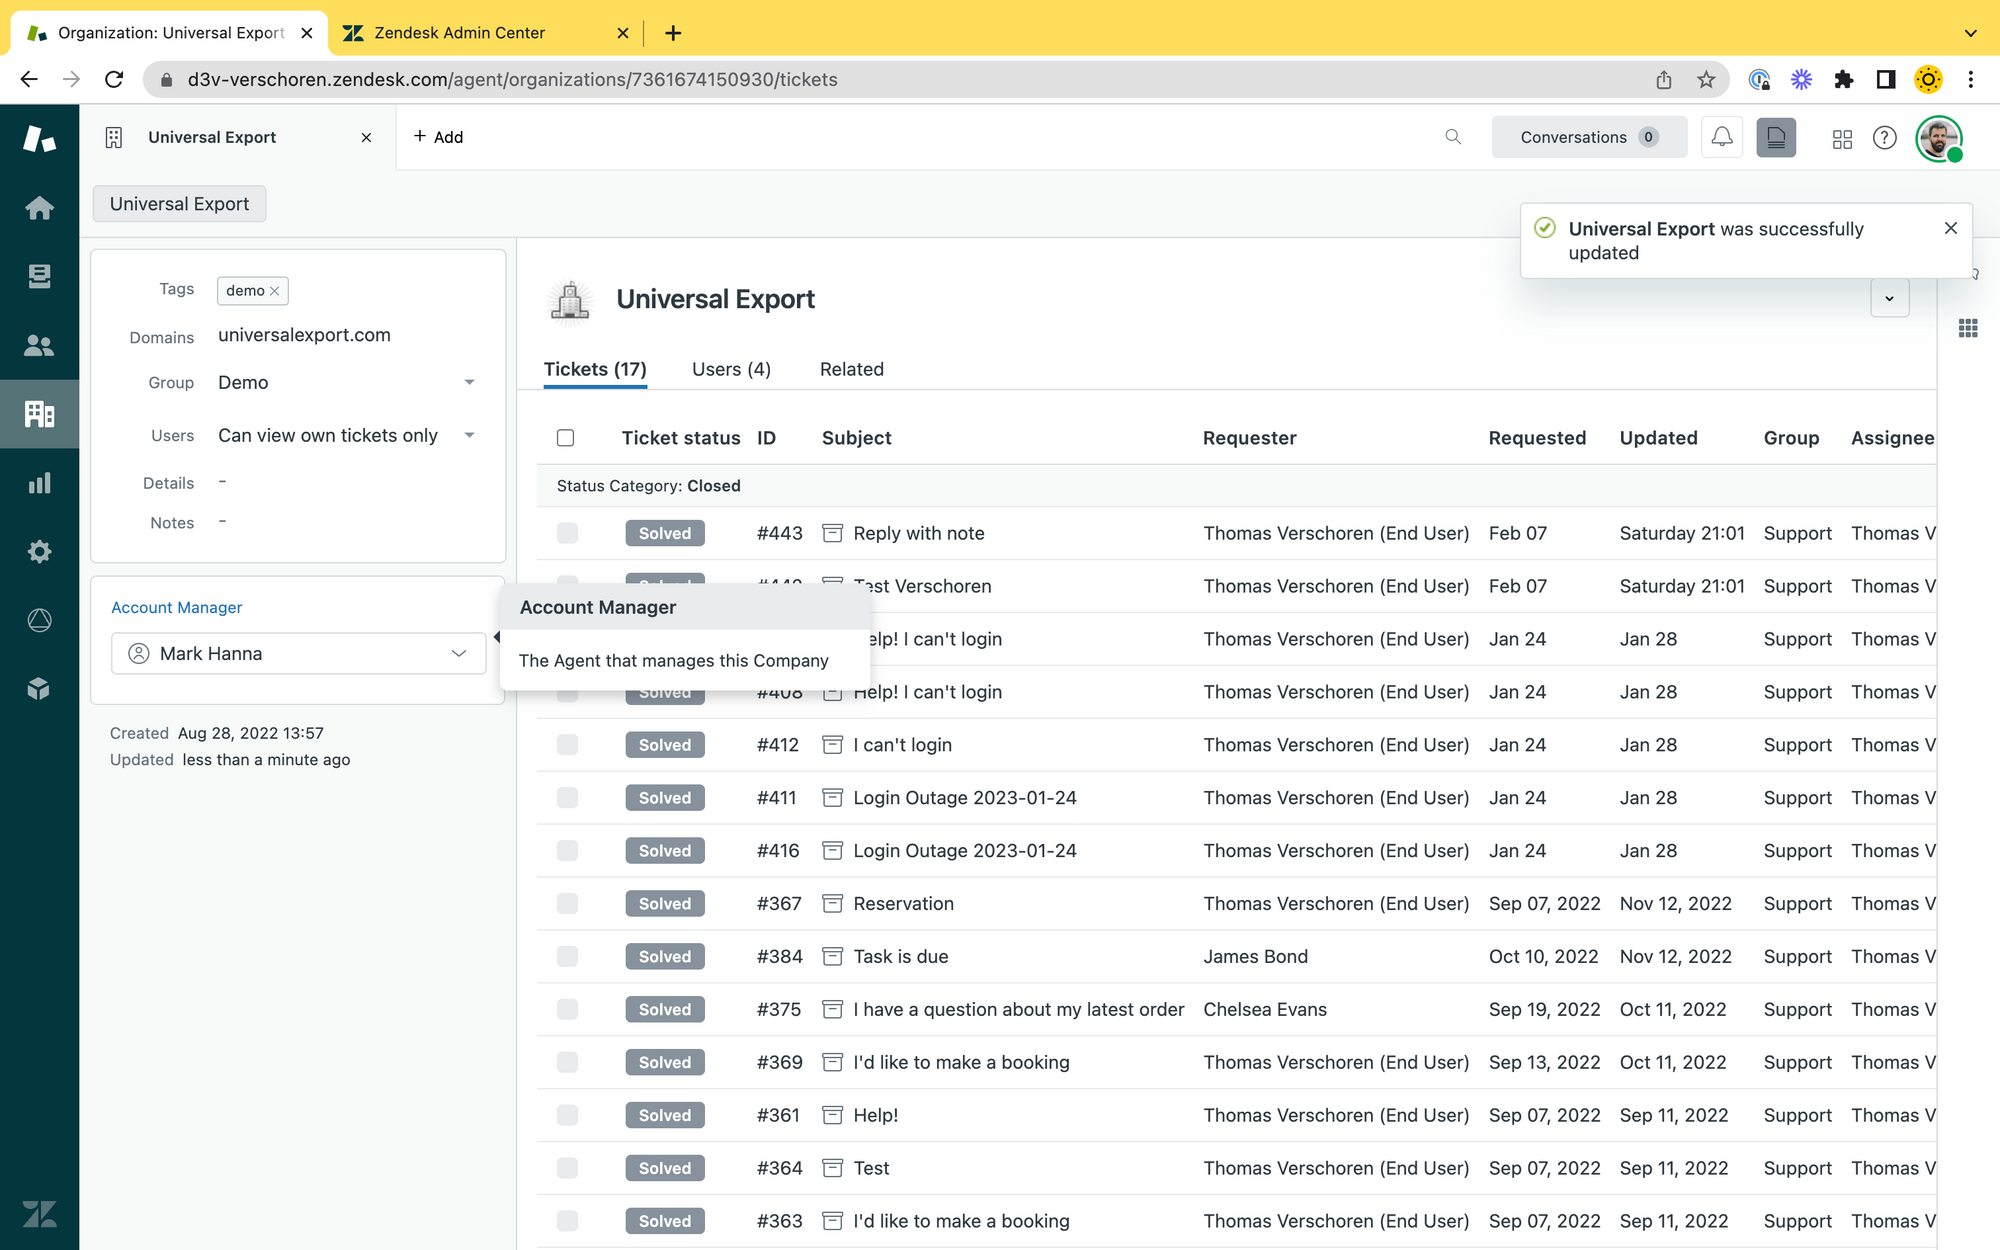
- Select the Agent and they will now be stored in the Organisation Profile
Similarly, if you open the Agents' profile, the Organisations they manage, will show up as related items.
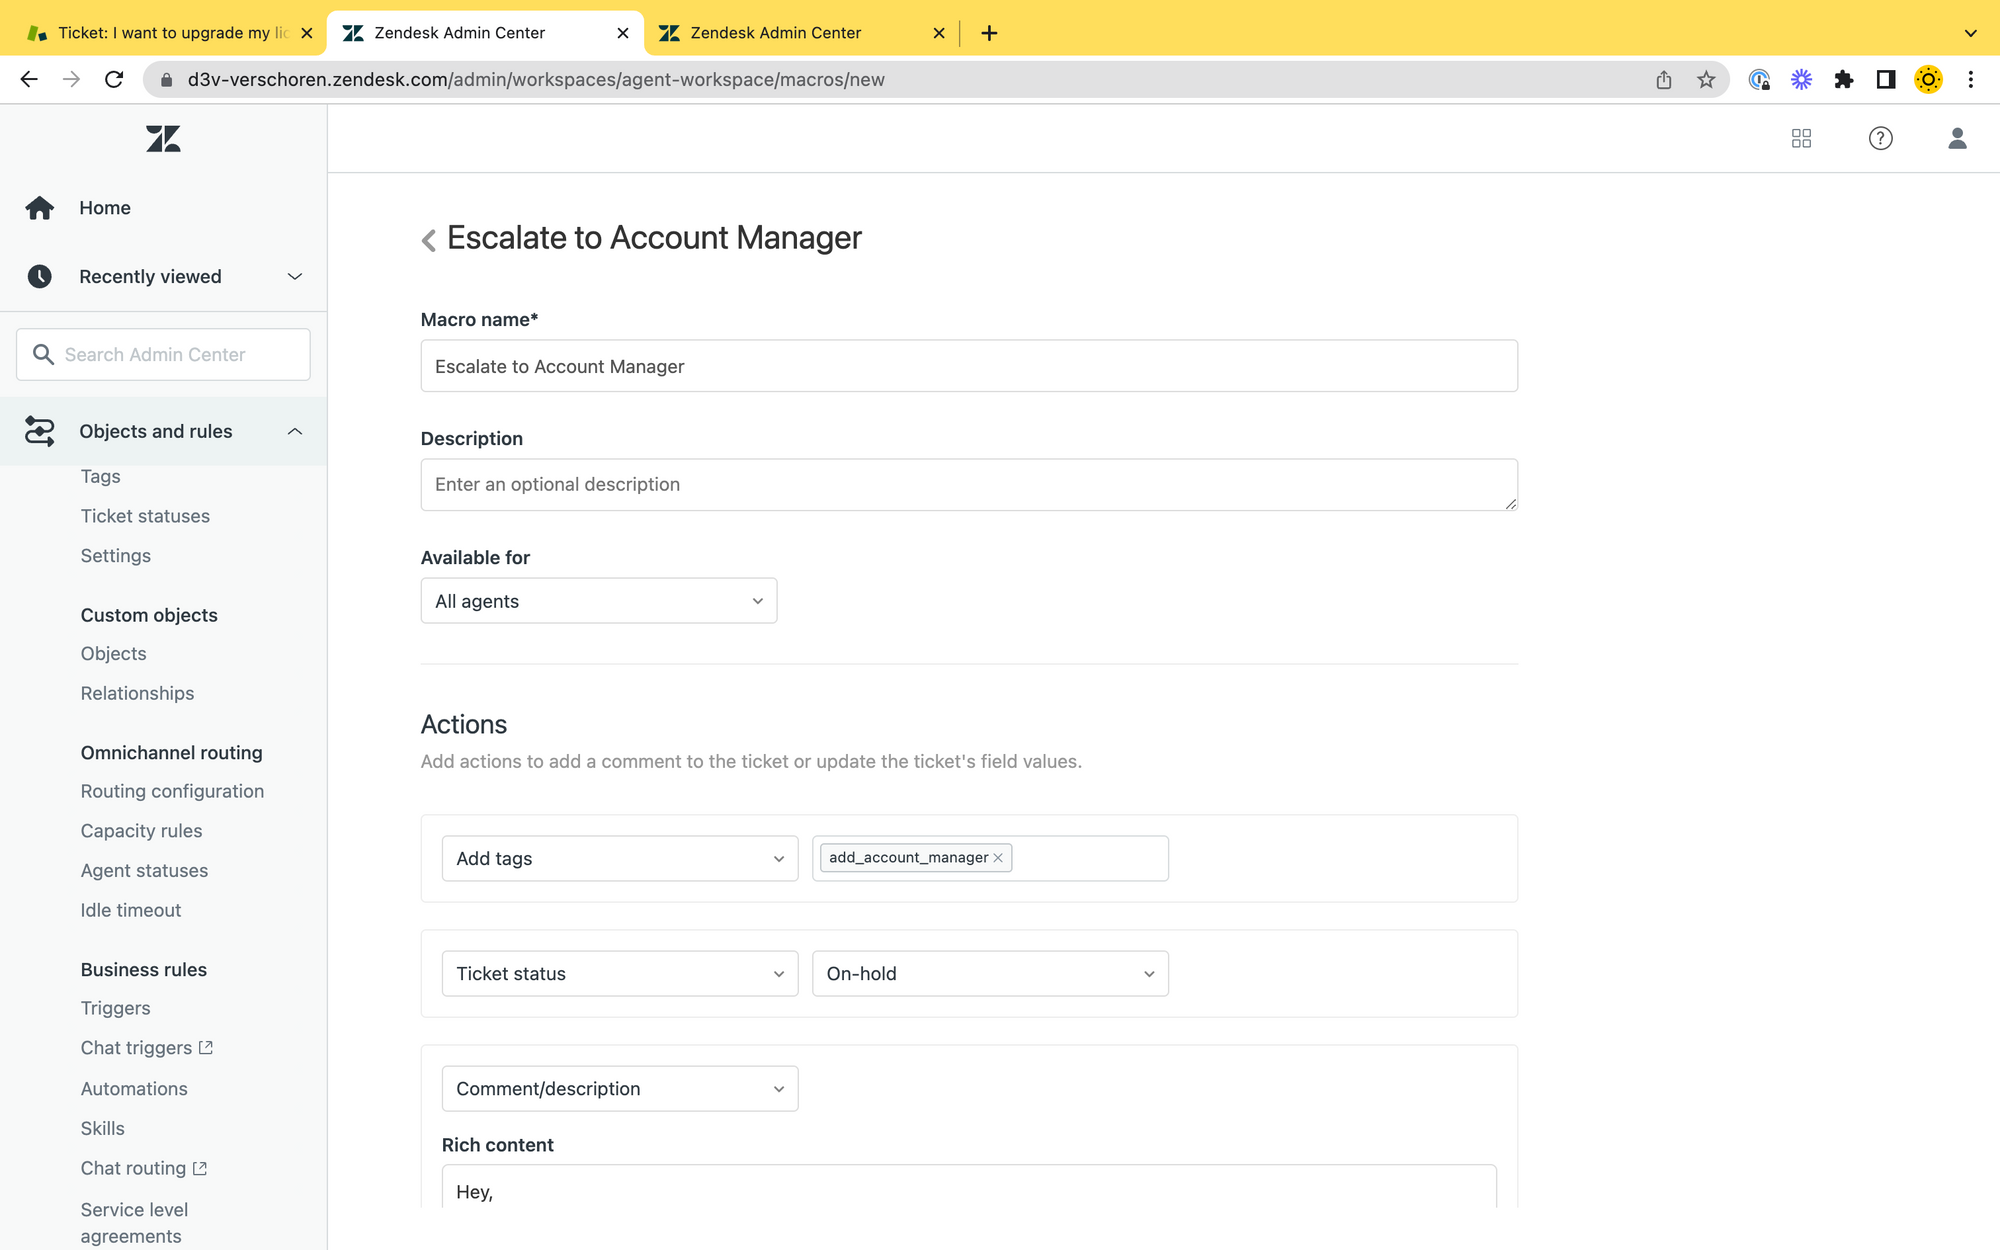
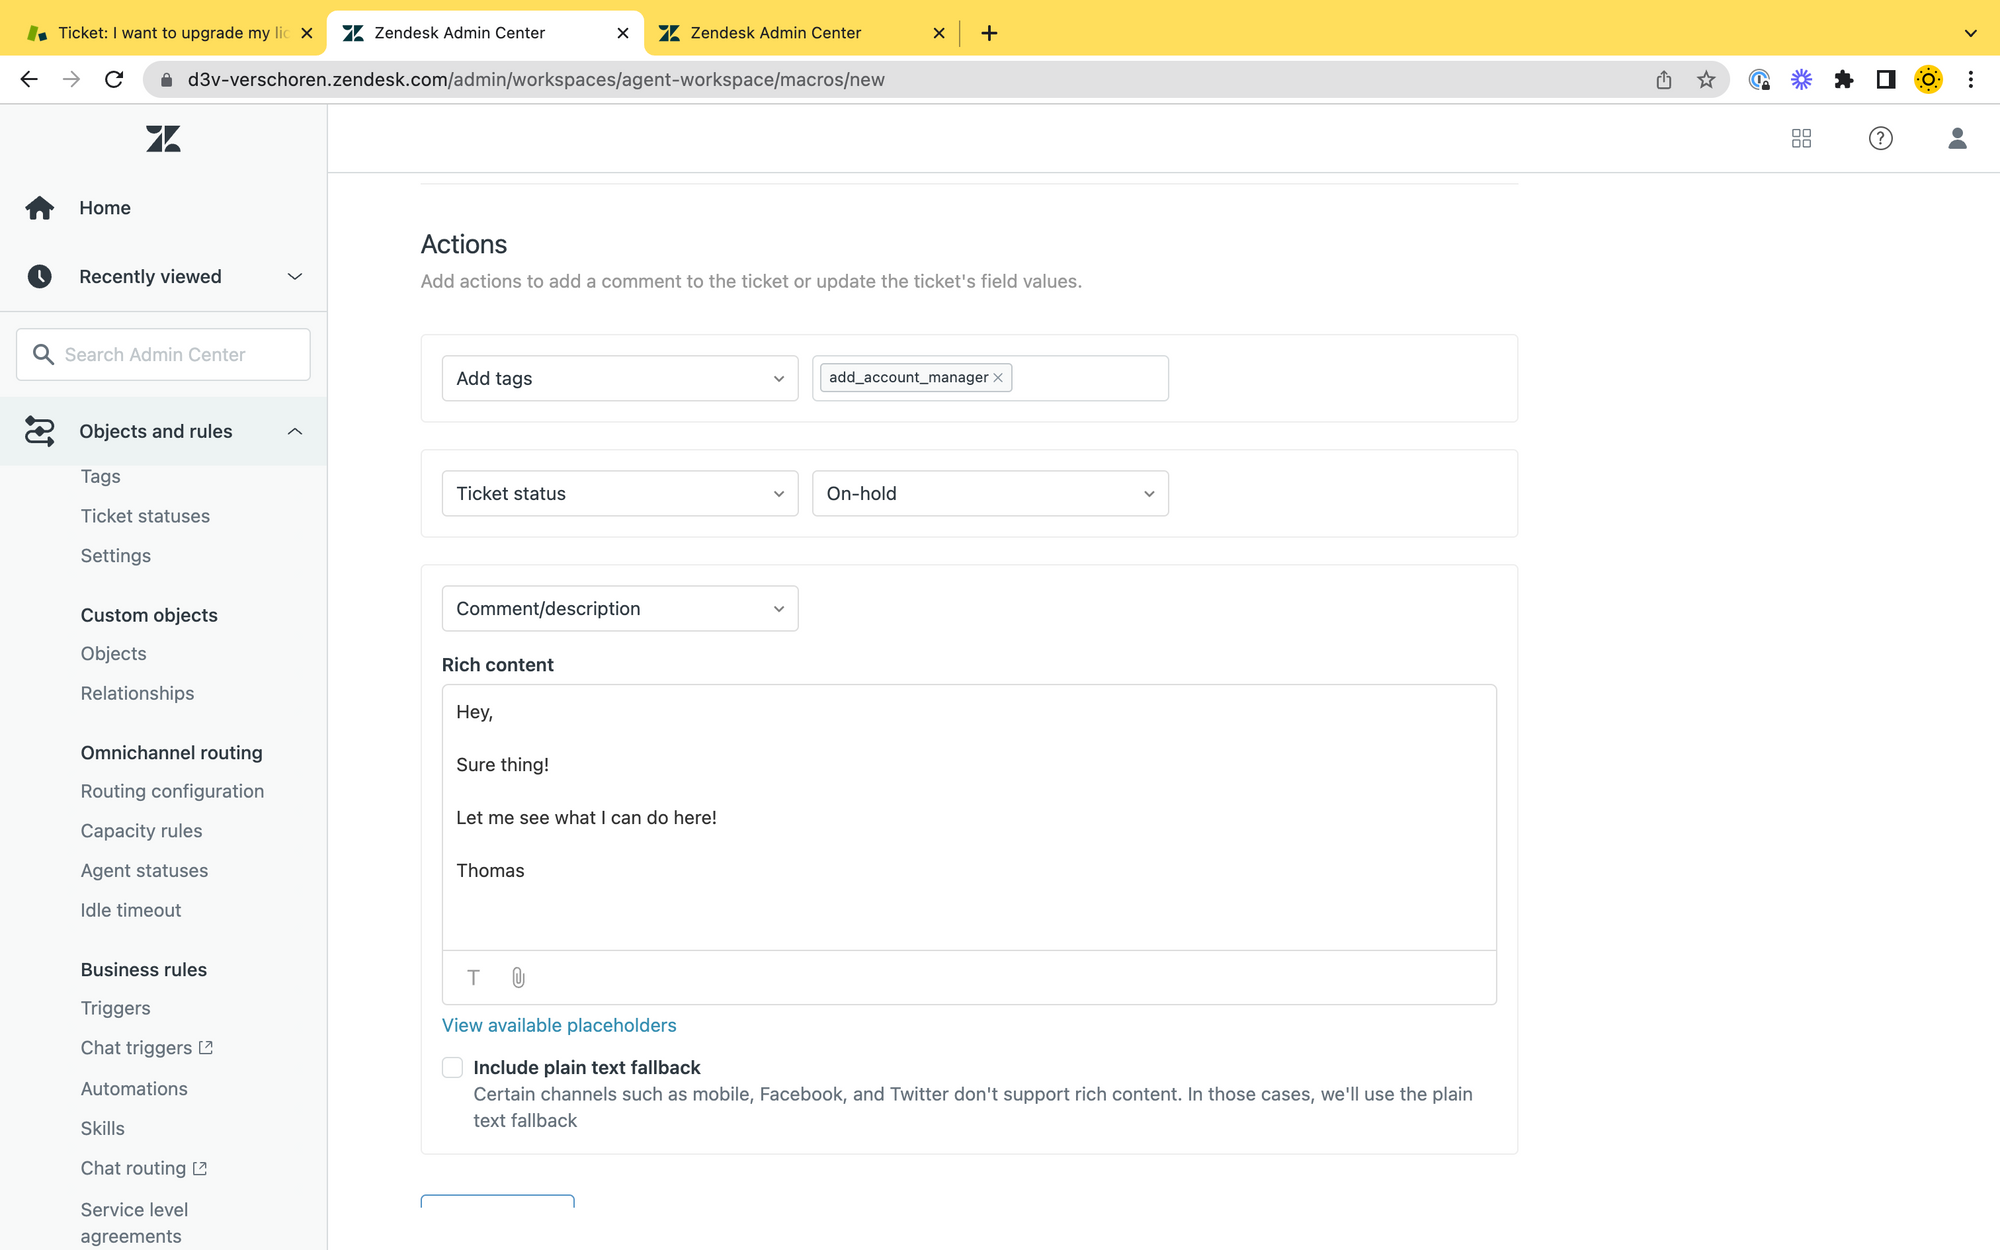
Macro
The Macro is pretty straight forward. Just make sure it adds a Tag add_account_manager to the ticket. In my case I also set the ticket to On Hold and a Public Comment to the customer.
The technical stuff
This blog is a blog about APIs and development, so naturally, the next step in this process will involve some code.
We need to create three things:
- A Cloudflare Worker that handles an incoming POST request and updates our ticket
- A Webhook in Zendesk that calls our worker
- A Trigger that initiaties the Webhook
Cloudflare Worker
{{ticket.organization.custom_fields.account_manager}} placeholder returns the name of the Agent, and not the User IDSince the above approach currently doesn't work, we need to resort to external tools to make the update happen. Luckily, Cloudflare Workers are free, fast, easy to deploy.
Our Worker does the following things:
- It reads a POST from an incoming webhook and parses the JSON data within
- For the
Organisation IDin the JSON data we lookup the Organisation viaapi/v2/organizations/{organization_id}}.json - We use the
account_managervalue in theorganization_fieldsto retrieve its ID and we update the ticket accordingly to add a Follower. - We add an internal note to the ticket so the Account Manager immediately gets notified.
Get Organisation Data
// GET /api/v2/organizations/{{organization_id}}.json

{
  "organization": {
    "id": 4112492,
    "organization_fields": {
      "account_manager": "1234567890"
    }...
  }
}
Update Ticket
//PUT /api/v2/tickets/{{ticket_id}}.json

{
  "ticket": {
    "followers": [
      { "user_id": account_manager, "action": "put" }
    ],
    "comment": {
      "body": "You should take a look at this ticket.",
      "public": false
    }
  }
}
Example Code
 verschoren
Webhook
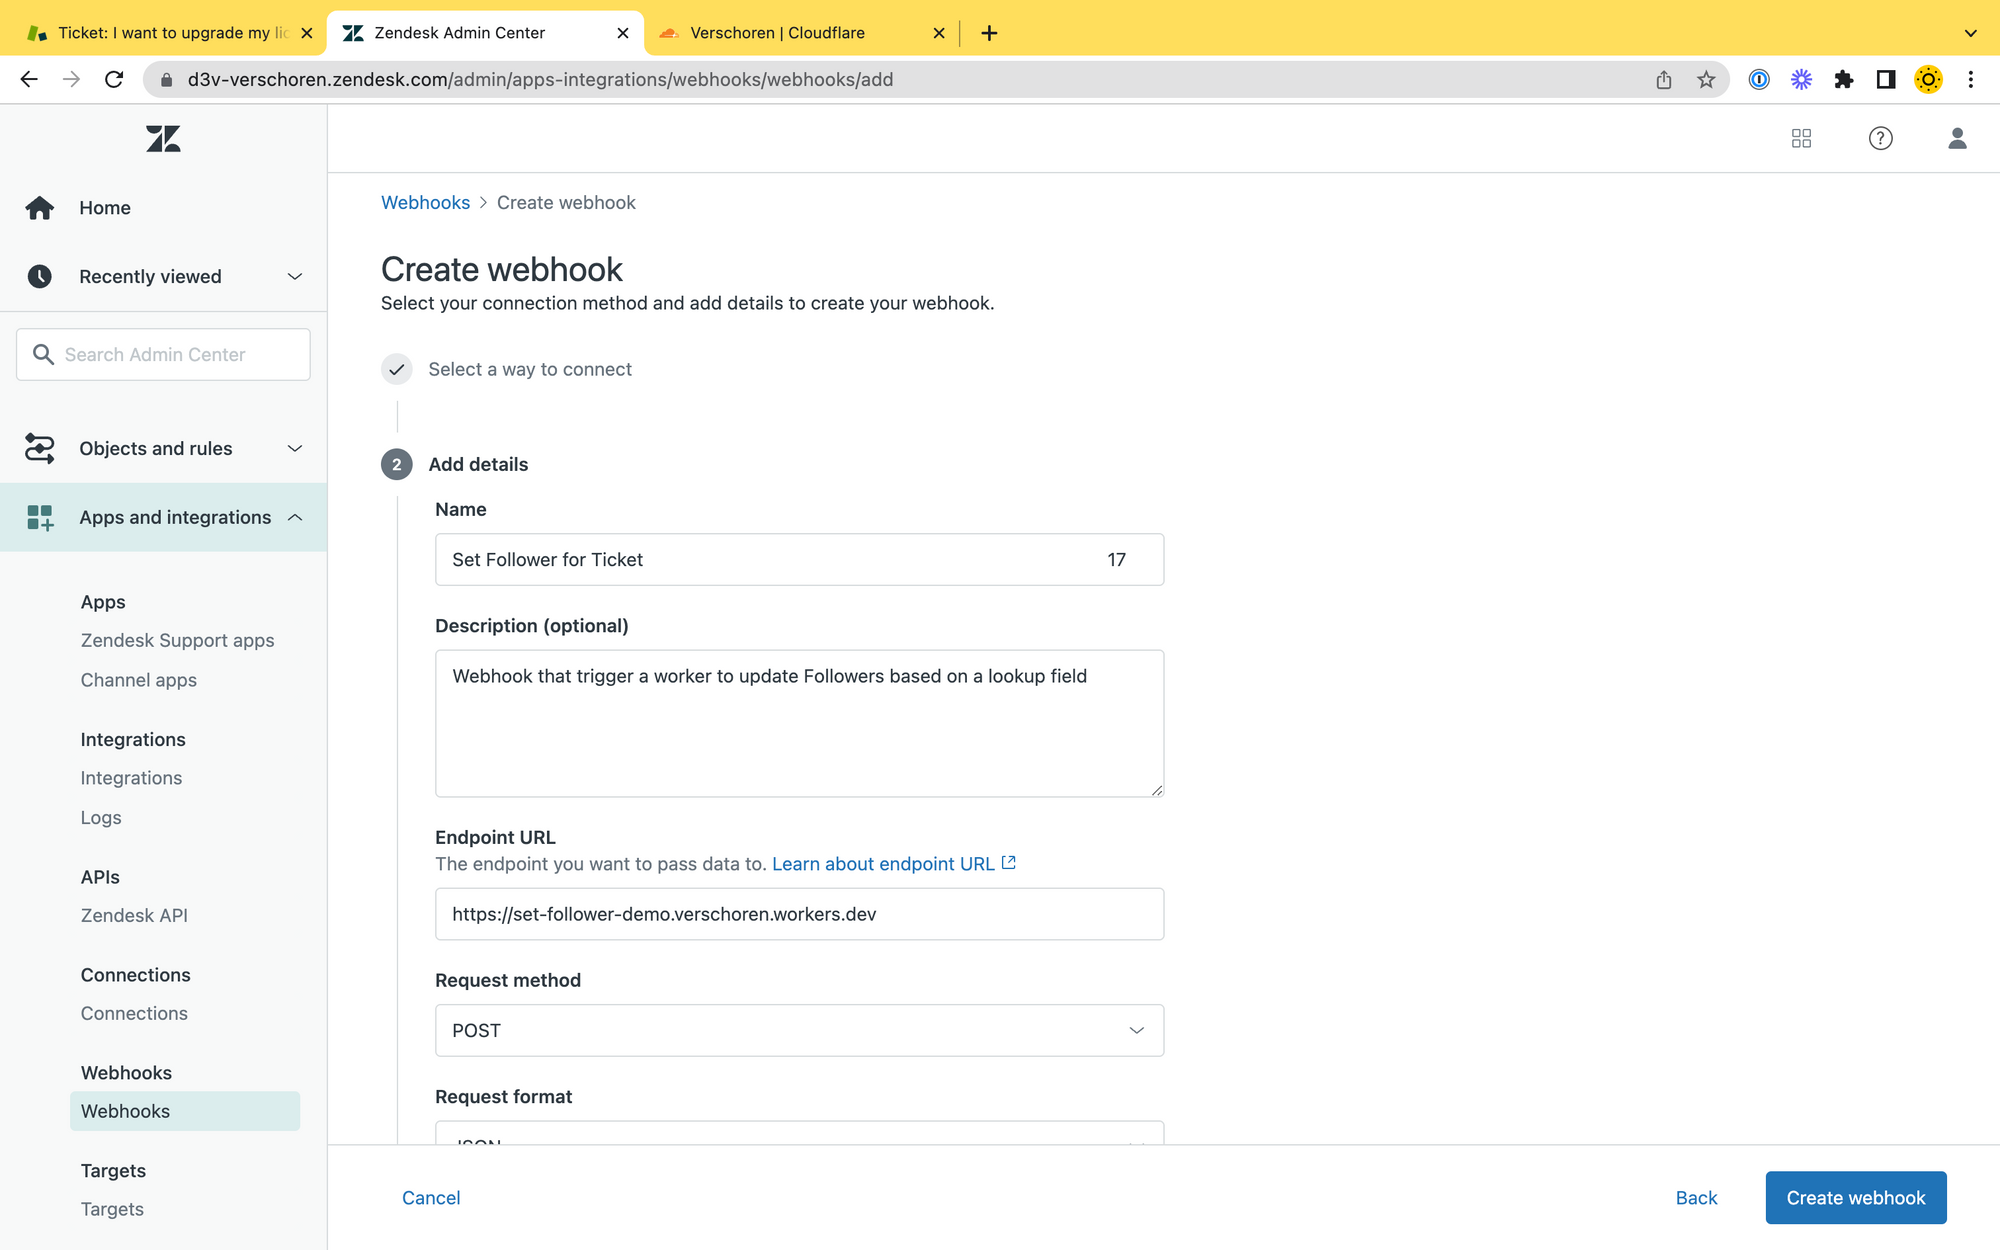
We talked about creating webhooks in an earlier article. For our use case we need the following webhook:
- A Webhook that reacts to a Trigger or Automation
- Set the
Endpoint URLto the url of your Worker - Choose
POSTwith aJSON payload
Best practice is adding a security header, for demo purposes we omit this.
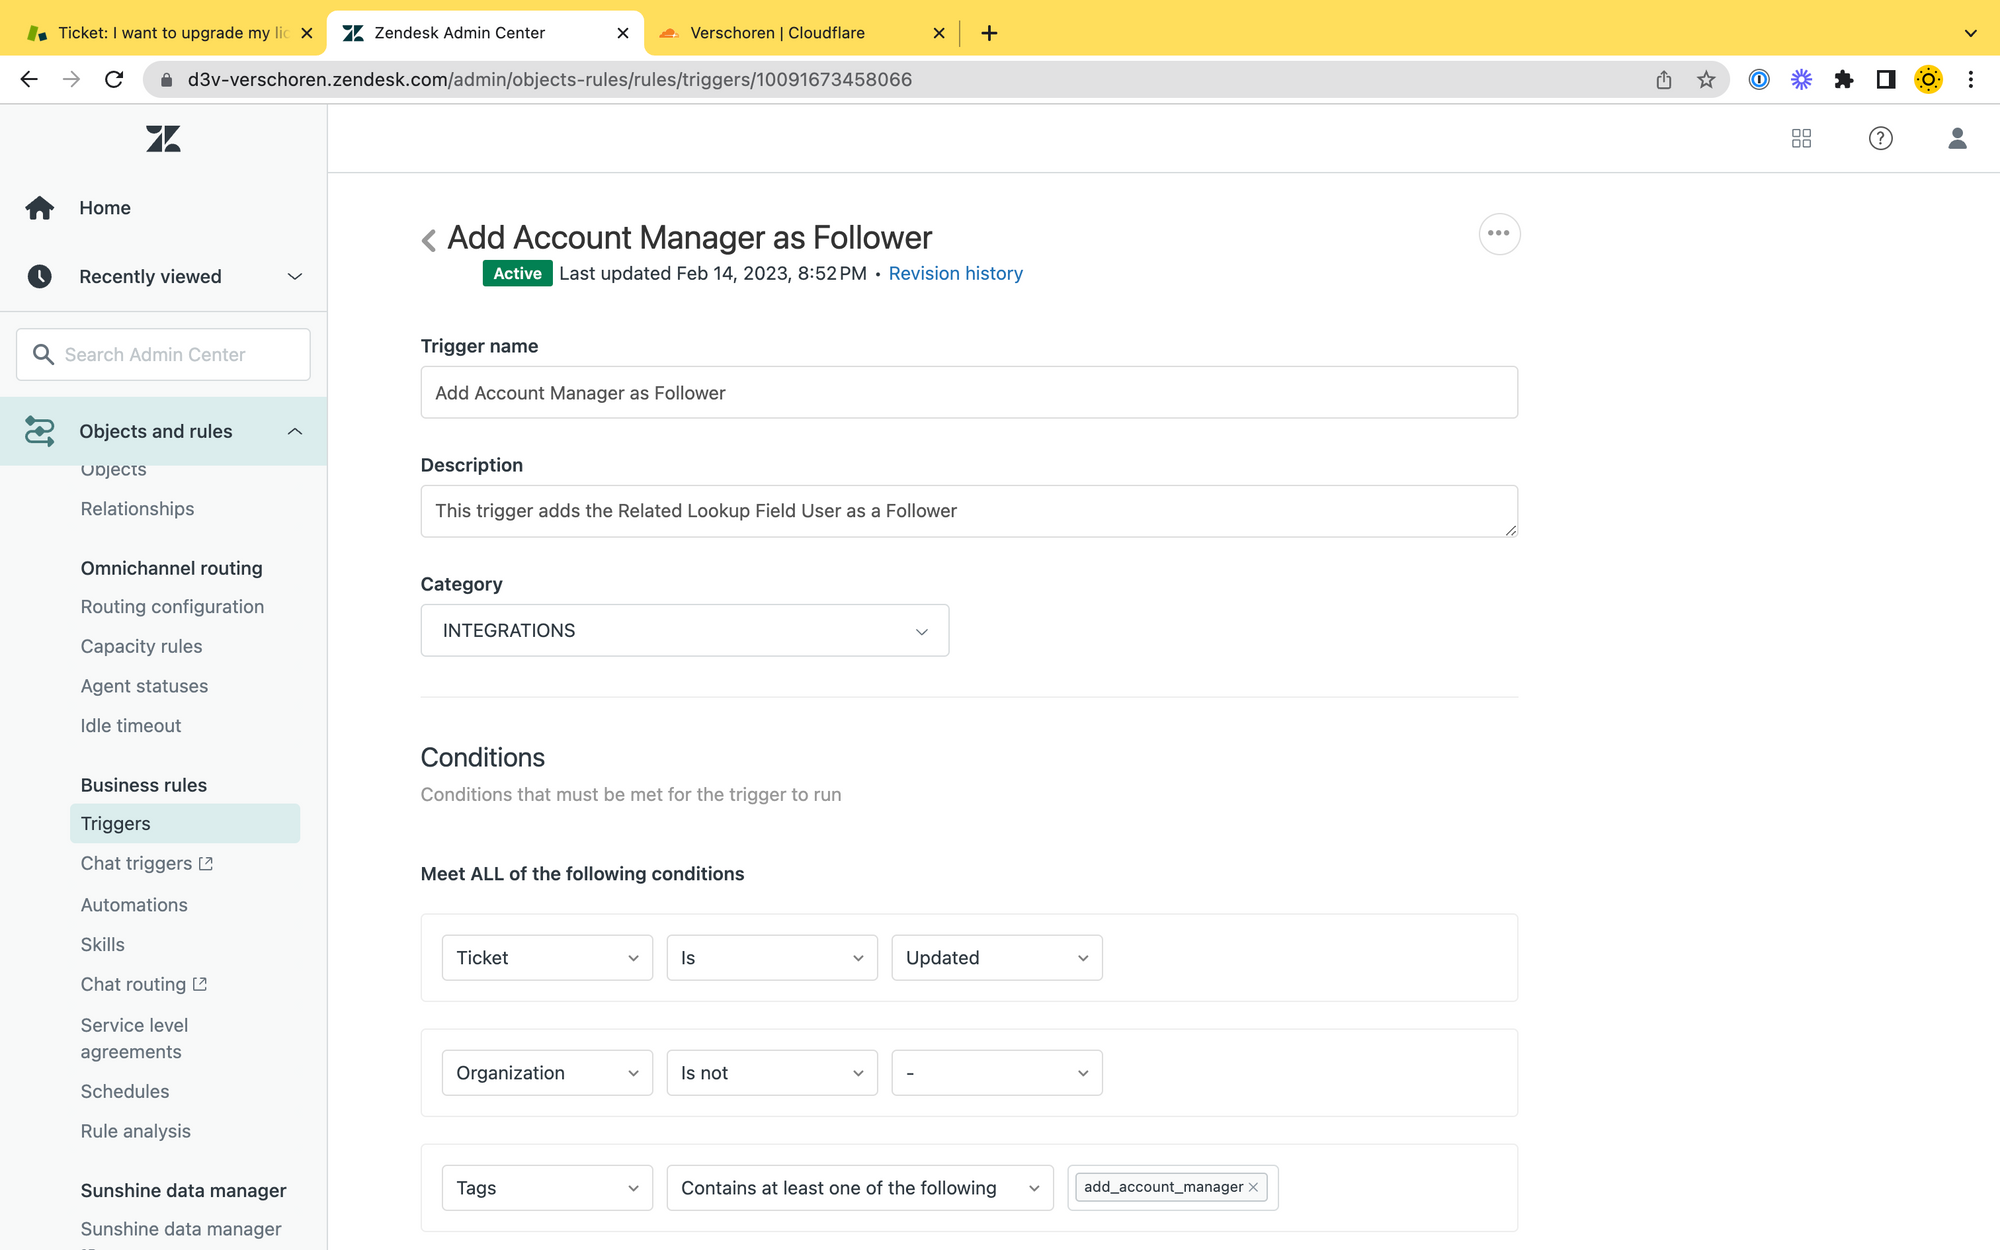
Trigger
The final piece of the puzzel is a trigger that gets triggered by the macro, and activates the webhook.
- Conditions:
Ticket is Updated
Tags containadd_account_manager
Organization is not-(So we don't needlessly run the trigger) - Actions:
Remove tagadd_account_manager(So we only run once)
Notify active webhook: (the one you just created) with the following payload
{
  "ticket":"{{ticket.id}}",
  "organization":"{{ticket.organization.id}}"
}

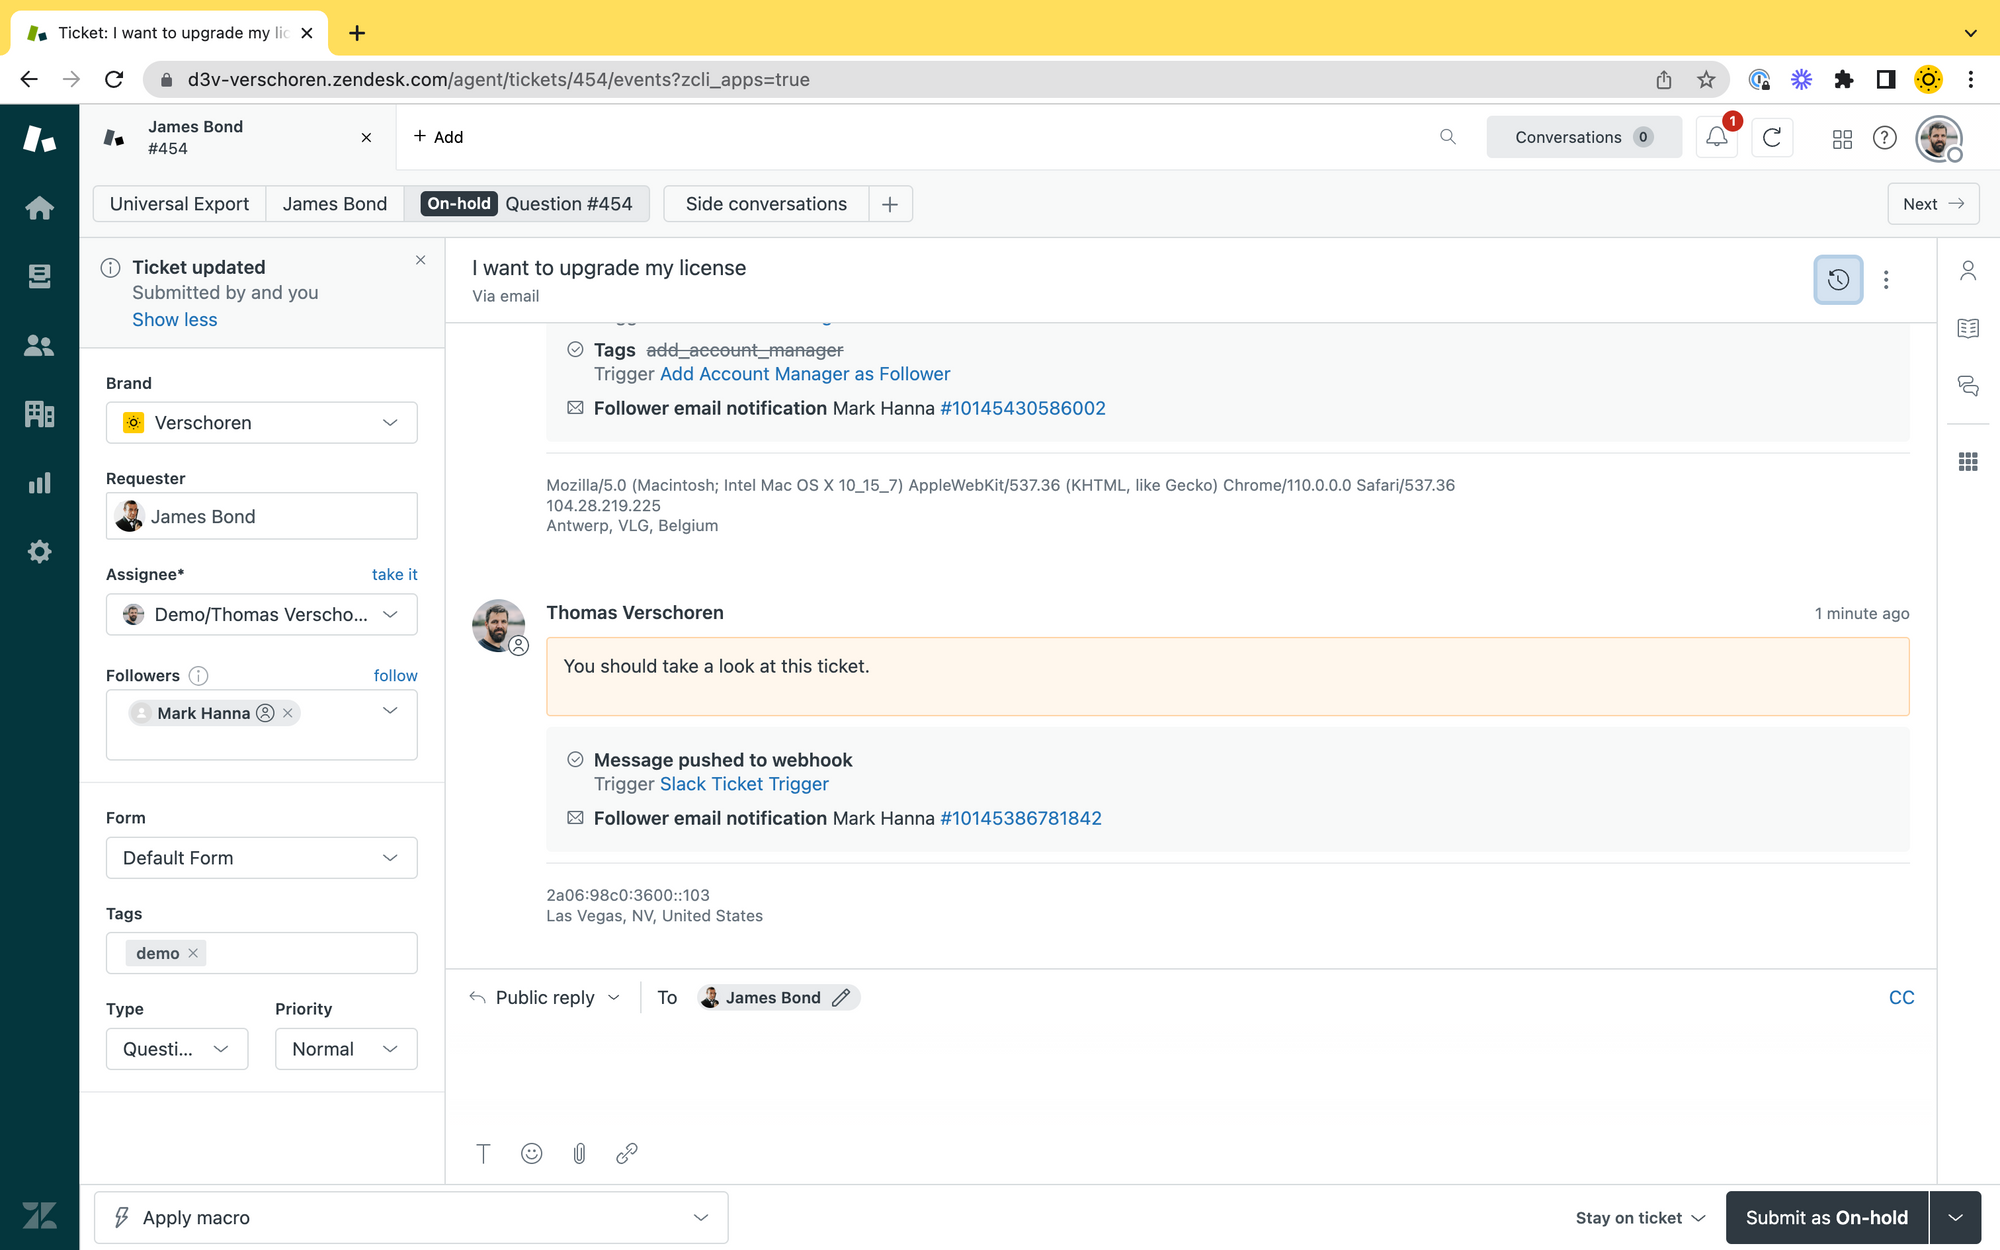
Result
Combining the above steps together creates an easy flow for your Agents to escalate tickets to the right Account Manager.

If you want you can tweak the above steps to get slightly different behaviour:
- Escalate to a specific vendor via Side Conversation by replacing the API endpoint with
POST /api/v2/tickets/{ticket_id}/side_conversationsand using theemailinstead of theidof the user linked in theLookup Field
{
  "message": {
    "subject": "You should read this!",
    "body": "{{ticket.description}}",
    "to": [
      { "email": account_manager.email }
    ],
  }
}- Add the Finance Contact of a customer as CC by slightly tweaking the Update Ticket payload in the worker via Adding CCs
How will you organisations these Relationship Lookup Fields? Let me know in reply to this email, or as a comment on the blog!