Webhooks for User and Organisation events
Zendesk recently launched an expansion on their webhooks functionality that allows you to subscribe to changes in Users and Organizations and act upon those actions. In this article we'll show how you can auto-complete agent profiles with a signature, alias and profile image upon creation.
Webhooks for User and Organisation events

On this page
Zendesk recently launched an expansion on their webhooks functionality that allows you to subscribe to changes in Users and Organizations and act upon those actions.

Turning theoretical functionality into a real use case can be daunting, so in this article we'll highlight one use case to show what's possible with this cool new feature.
Completing Agent Profiles
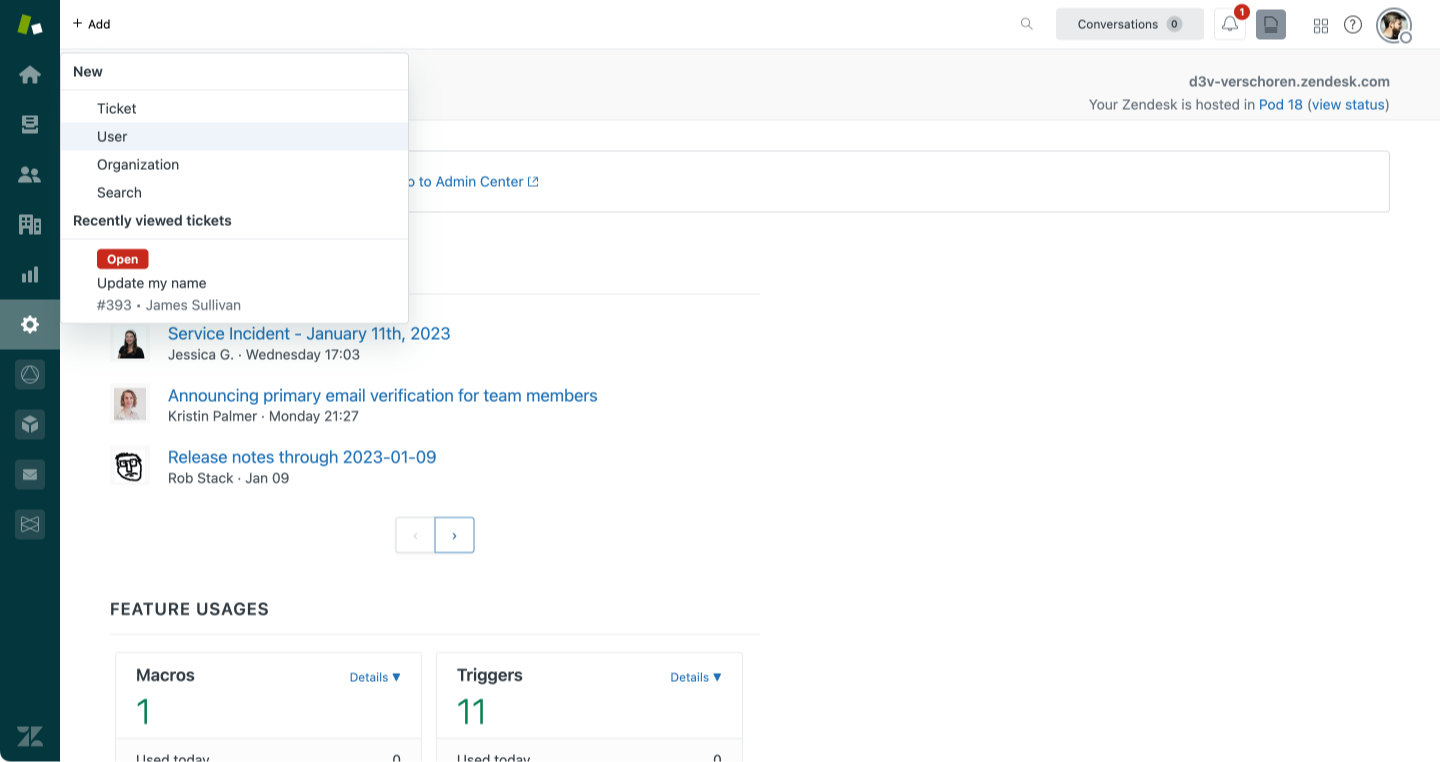
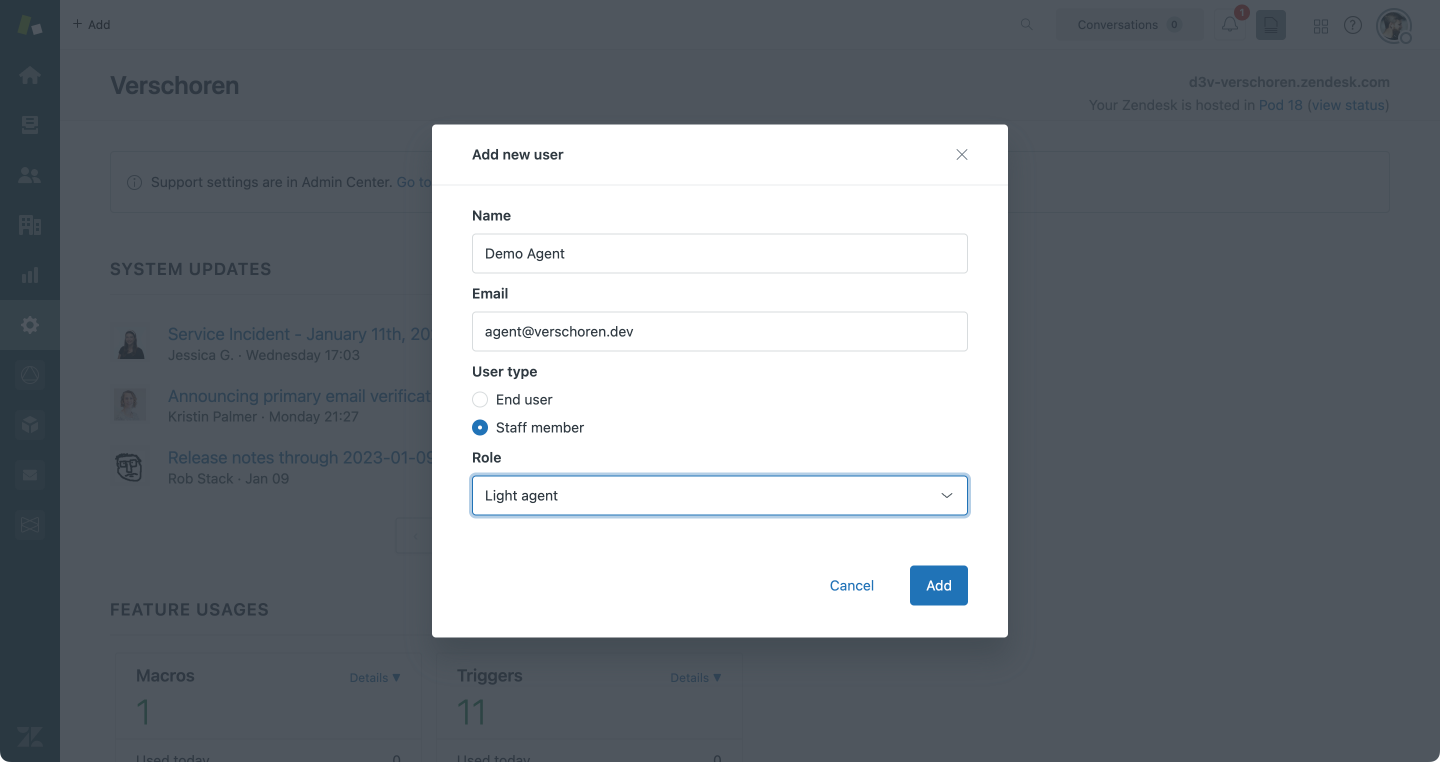
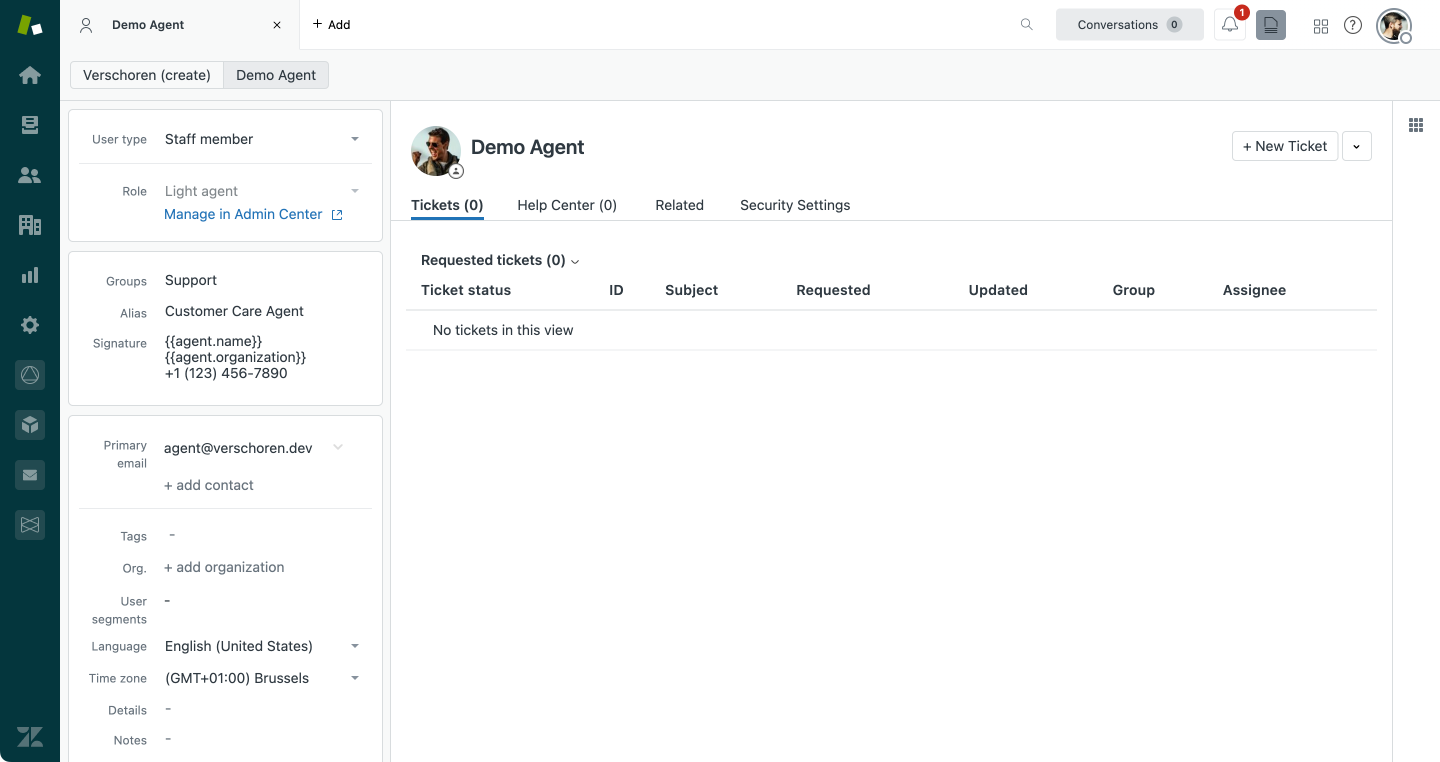
When an admin adds a new Agent to the Agent Workspace Zendesk only asks for a name and email address. But often, we need to add more data to the profile: signature, alias, verify the email address, or add a Profile Picture.
Instead of doing this manually for each agent, we can leverage the Zendesk Event Webhooks and an external script to automatically complete profiles upon creation.
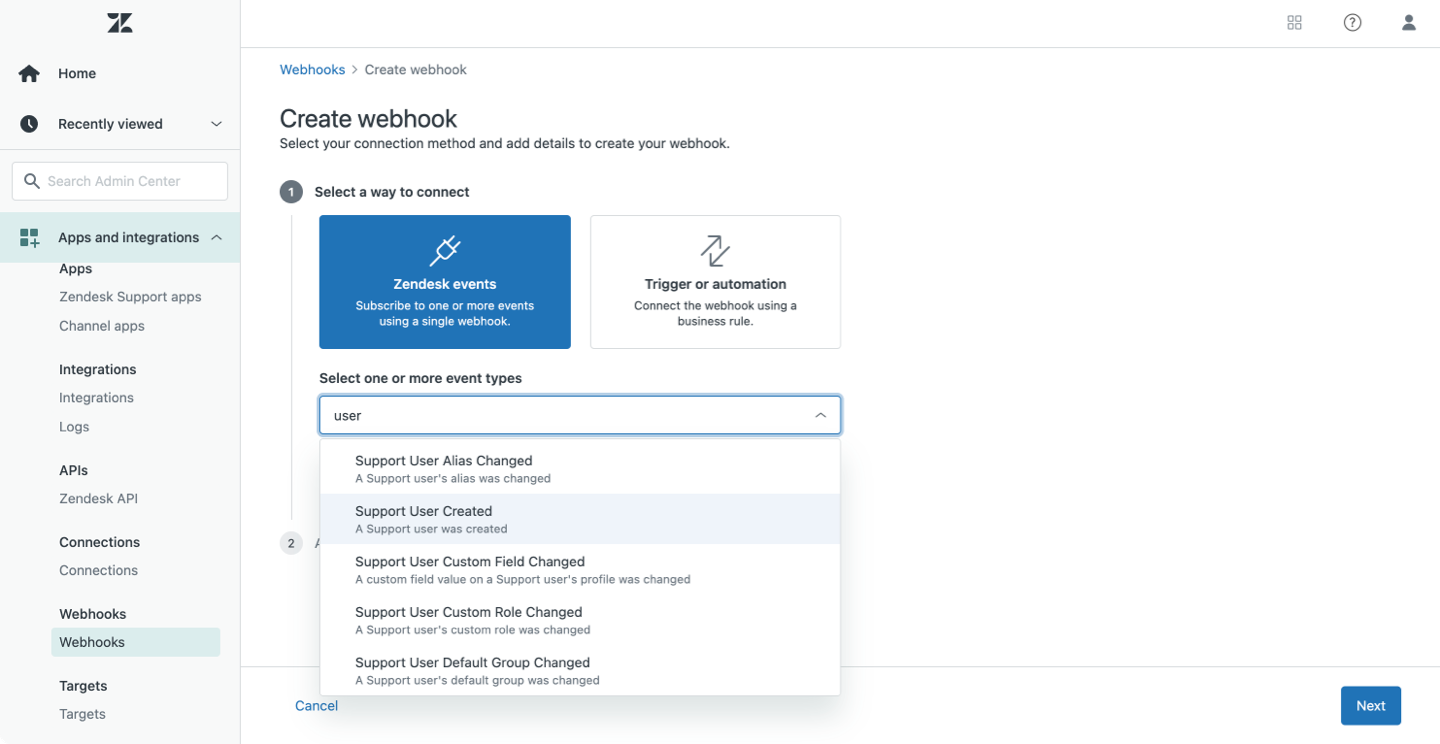
In our scenario we subscribe to the Support User Created event zen:event-type:user.created to get notified whenever a new user has been added to your instance.
We then run a script on Cloudflare Workers that will grab the incoming user ID, checks if this is an Agent, and adds a few items to their profile.
More info here
Setup the Webhook
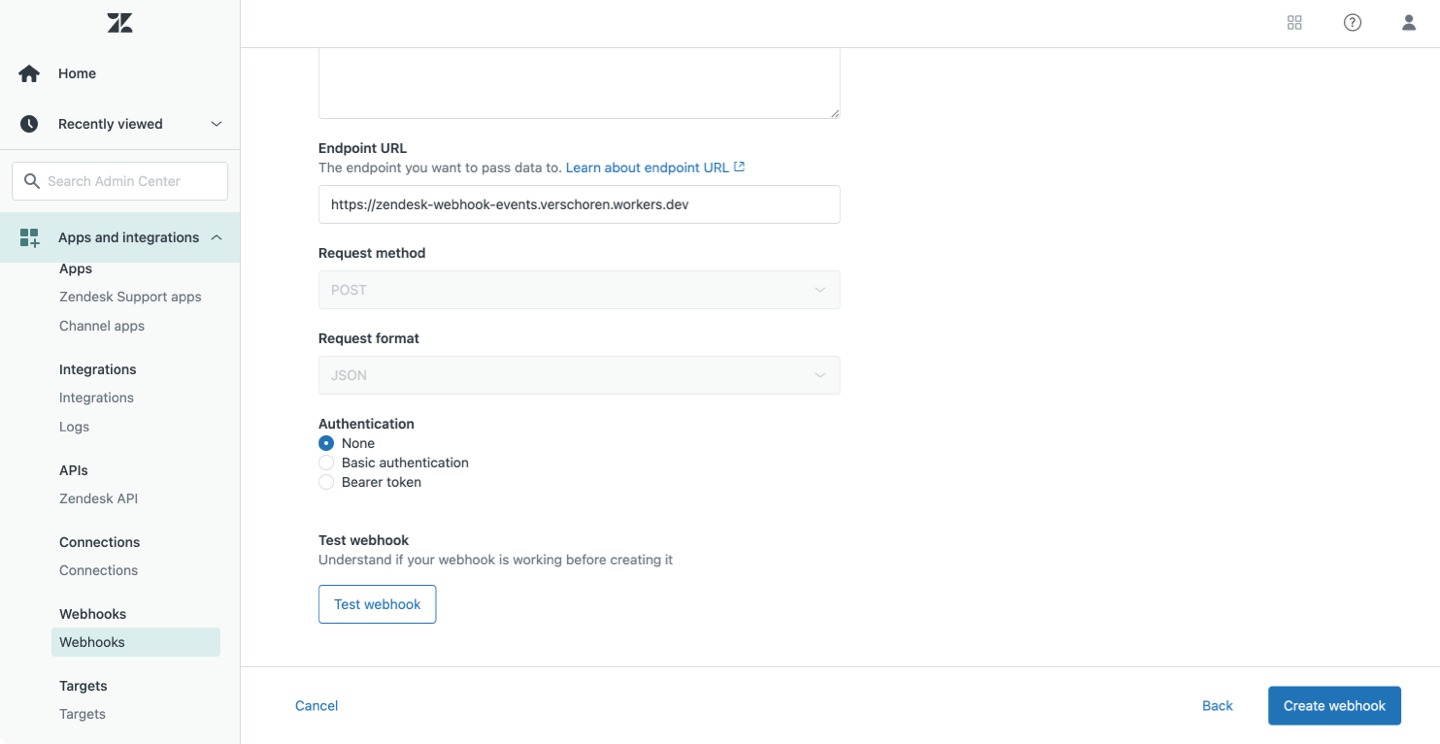
- Go to the Admin Panel and create a new Webhook. Choose the Zendesk Events type.
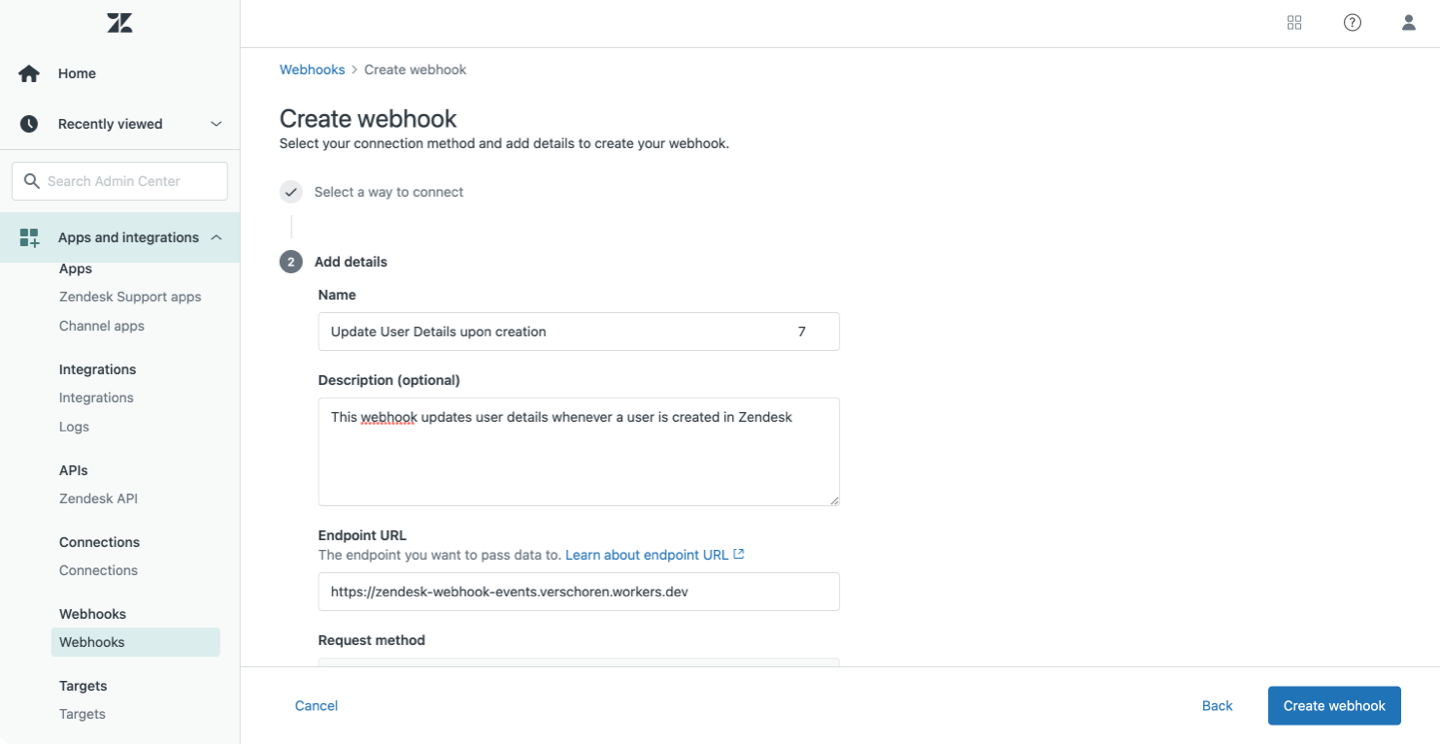
- Give it a recognisable name Update User Details upon creation
- Enter the URL of your Worker
https://zendesk-webhook-events.verschoren.workers.dev - Since this is a demo I did not add any authentication. You should!
Worker Script
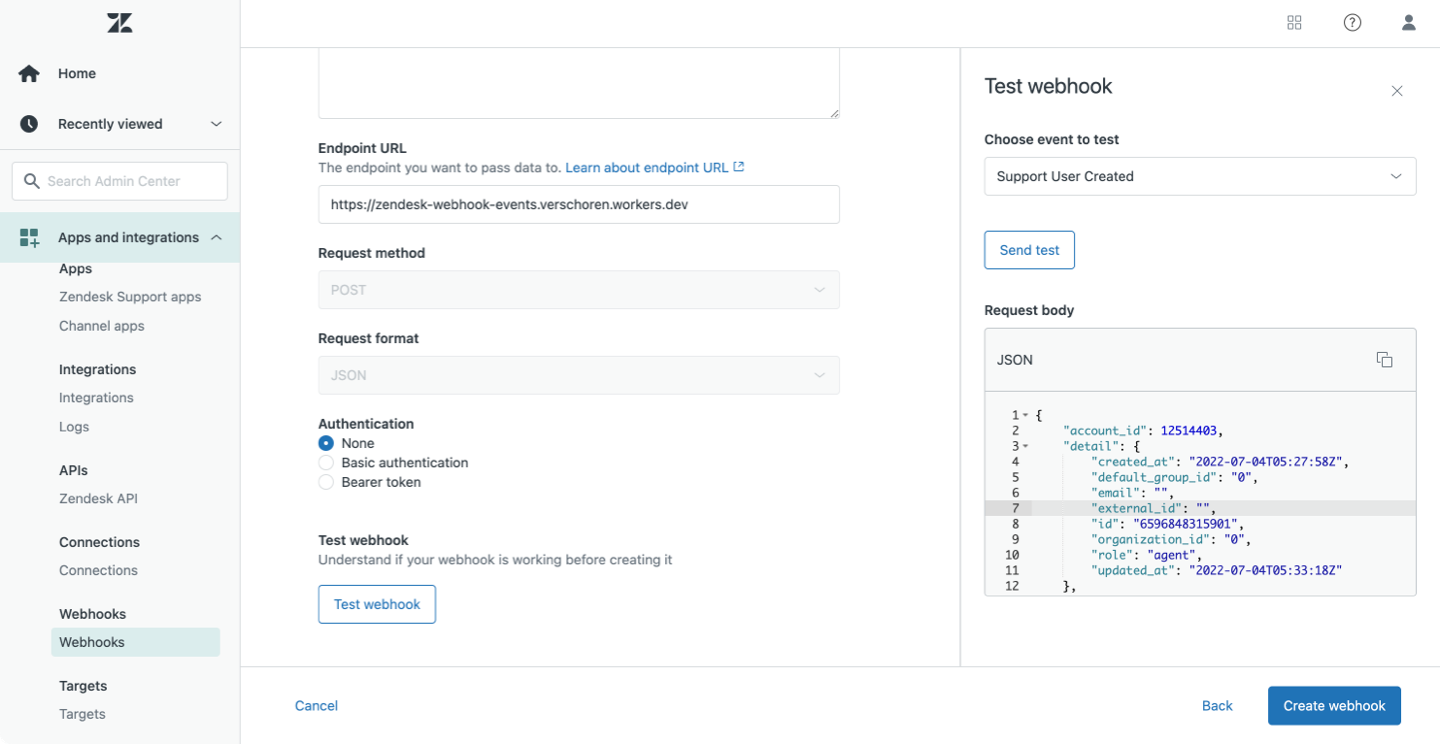
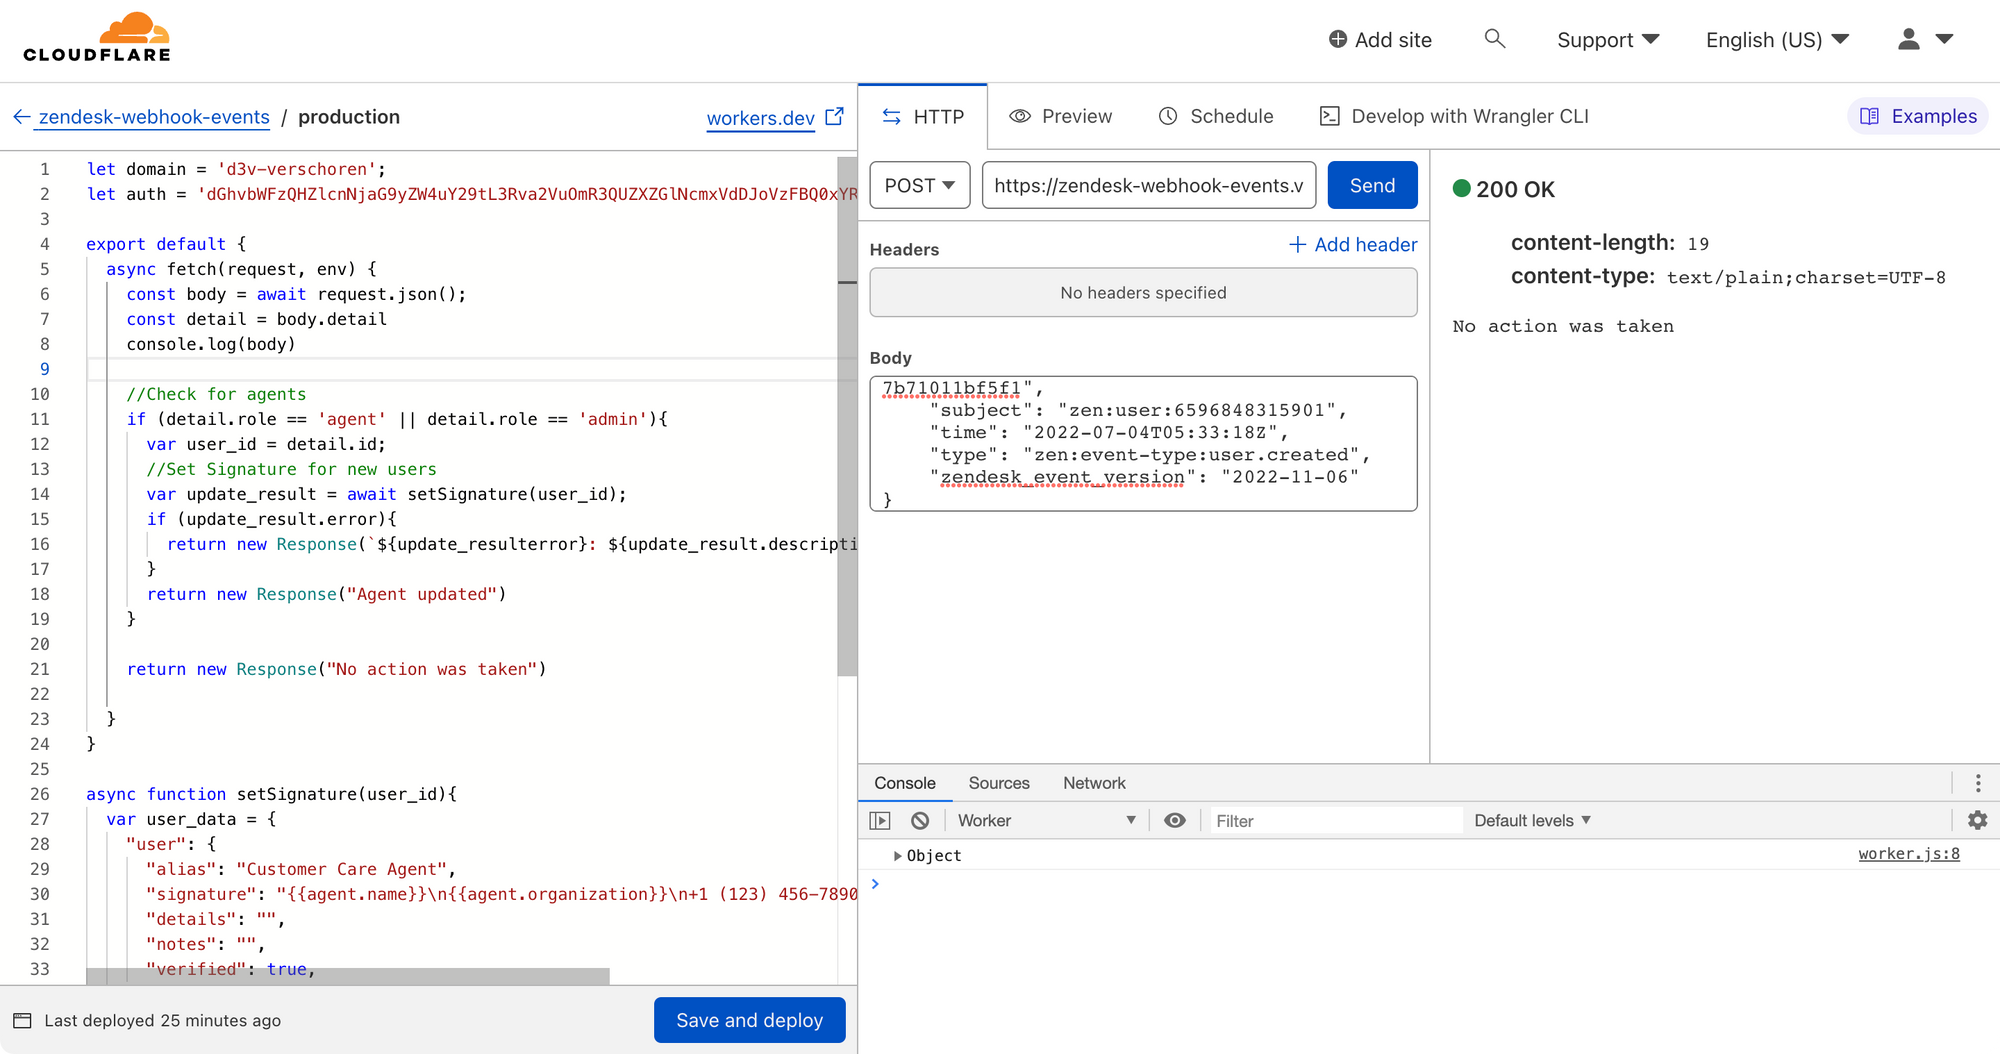
Whenever the webhook notifies us of a created user, we'll receive a POST with information about the created user:
{
"account_id": 12514403,
"detail": {
"created_at": "2022-07-04T05:27:58Z",
"default_group_id": "0",
"email": "",
"external_id": "",
"id": "6596848315901",
"organization_id": "0",
"role": "end-user",
"updated_at": "2022-07-04T05:33:18Z"
},
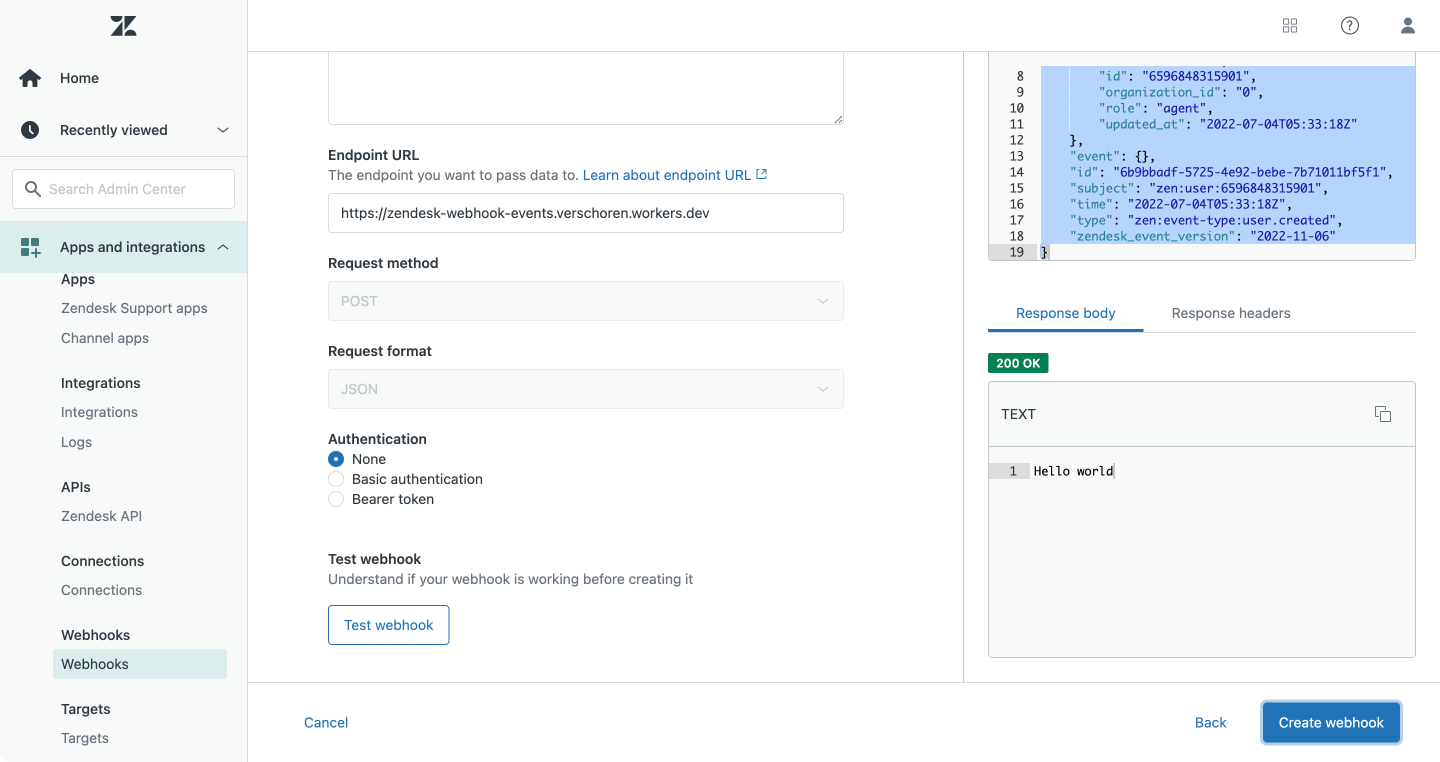
"event": {},
"id": "6b9bbadf-5725-4e92-bebe-7b71011bf5f1",
"subject": "zen:user:6596848315901",
"time": "2022-07-04T05:33:18Z",
"type": "zen:event-type:user.created",
"zendesk_event_version": "2022-11-06"
}The first thing we do is check if the user is an Agent or Admin by reading the object.detail.role key.
export default {
  async fetch(request, env) {
    const body = await request.json();
    const detail = body.detail;

    //Check for agents
    if (detail.role == 'agent' || detail.role == 'admin'){
        //move forward
    }

    return new Response("No action was taken")
  }
}
We then need to grab the User ID of the Agent we want to update var user_id = object.detail.id;.
And we push the information we want to their profile.
In this case we will create a user_data object that will add:
- an alias to their profile
- a signature with their name, the company name and an email address as placeholders
- Verify the email address
- Set a Profile picture
var user_data = {
    "user": {
      "alias": "Customer Care Agent",
      "signature": "{{agent.name}}\n{{agent.organization}}\n+1 (123) 456-7890",
      "verified": true,
      "remote_photo_url": "https://cdn.domain.com/avatar.png"
    }
}
And we update the user profile with a PUT to the update_user API endpoint
async function setSignature(user_id){
    let headers = {
      'Content-Type': 'application/json',
      'Authorization': 'Basic ' + auth
    }

    const init = {
      method: 'PUT',
      headers: headers,
      body: JSON.stringify(user_data)
    }

    const result = await fetch(`https://${domain}.zendesk.com/api/v2/users/${user_id}`, init)
    let json = await result.json();
    return json;
}
You can find the full script here:
 verschoren
How does this work in practice
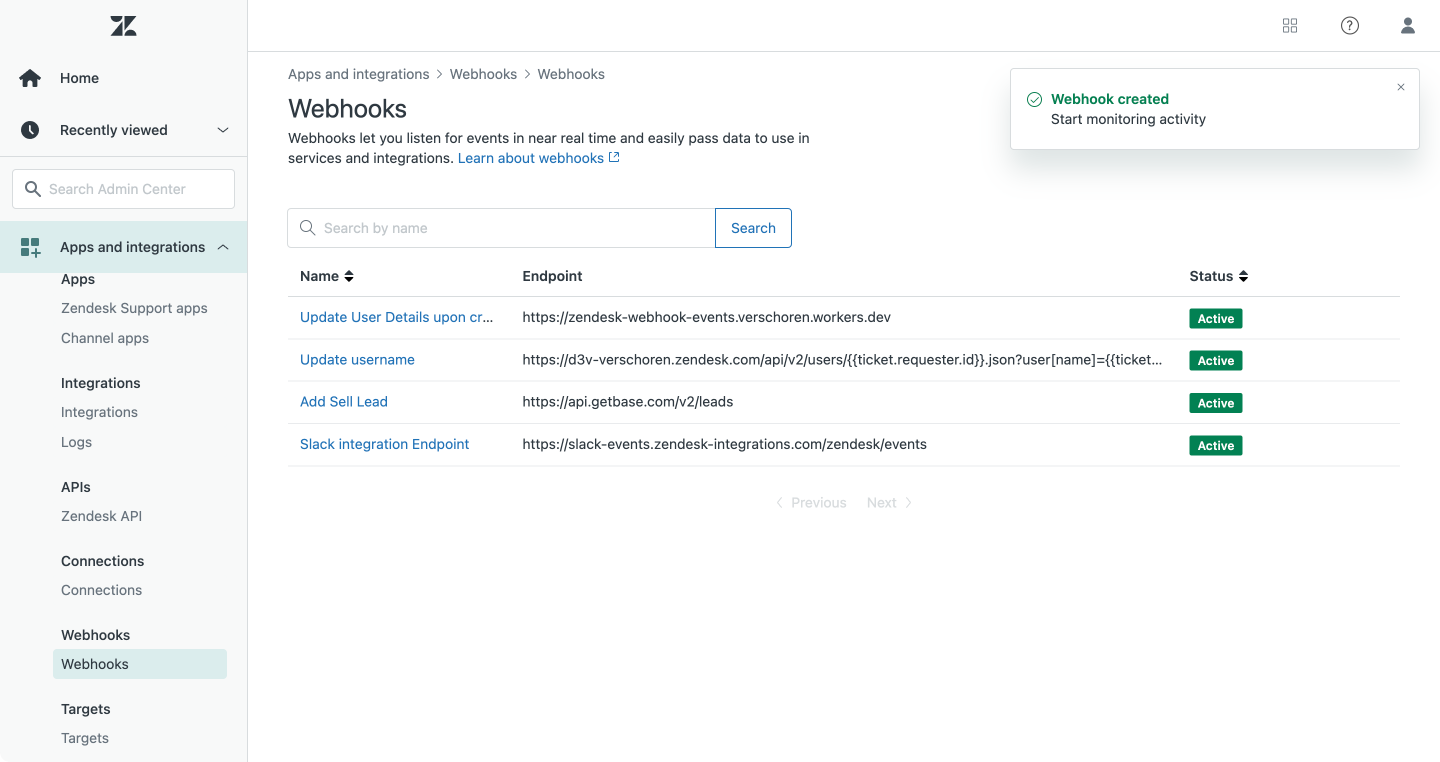
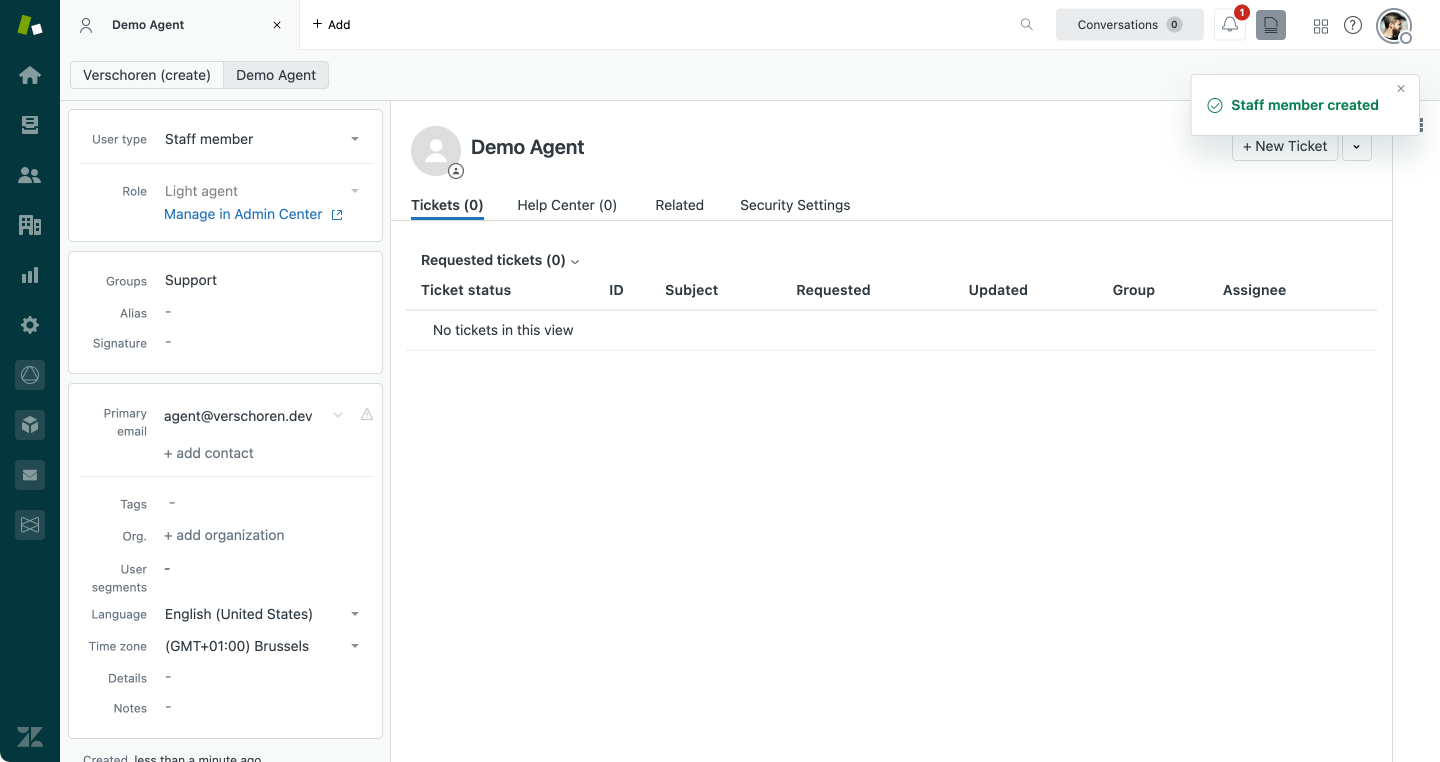
Once we deploy the Worker, whenever you add an agent to your instance it will fire a webhook POST to our script. The script updates the agent, and a few moments later we have an updated profile.
Other scenario's
- Fetch a users VIP level and add it to the end-user profile to improve SLA and response time
- Add a new Support user to your Mailchimp mailing list by leveraging Zapier and it's webhooks
- Whenever a user is removed from an organization, call an external webhook to reset their password and deactivate the account.
- ...